
It is a particularly cold Winter here in the Southern and Eastern states of Australia. It comes as a surprise to many people that we actually get genuinely cold weather here. The cold is absolutely exacerbated by the fact that we don’t build our houses to be properly insulated against cold, or at least up until recently we didn’t anyway. Something I’ve noticed in our house this year is the incredibly cold breeze that seems to come in under the front door and goes right through the house. We need to do something about it, of course, but my inner craft goblin rears her head again and I simply cannot go buy a door snake, I must make one! Further, it must be whimsical! So instead of a door snake, we will have a door dragon!
 What you’ll need:
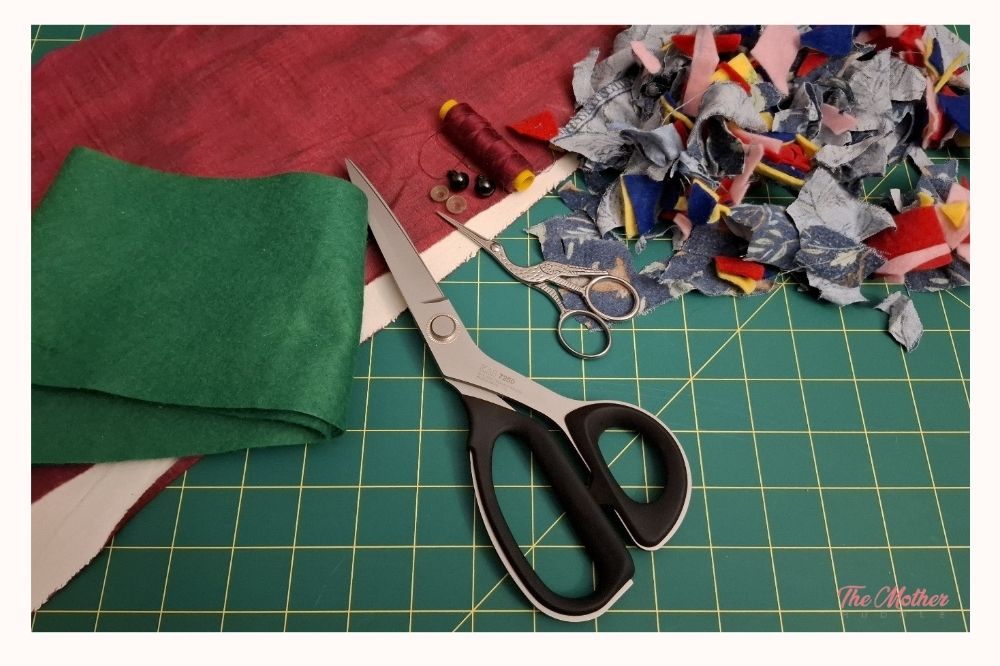
- Sturdy fabric*
- Felt for spine and flame
- Scissors
- Thread
- Sewing machine and a hand-sewing needle
- Thimble
- Stuffing**
- Safety eyes
- Clips or pins
Notes:
* Think curtain fabric, denim, cotton drill, coutil, etc
** You want heavy stuffing for this, so not regular fibre-fill like in toys, cut up fabric scraps are perfect, but some people even use sand or sawdust.
This is a really simple project, and doesn’t require all that much sewing, either. It’s a great way to get rid of small fabric scraps, too, as you cut them up and stuff your dragon with them so it really stops those pesky drafts! Ours has made a noticeable difference to the house temperature already!
Step 1:
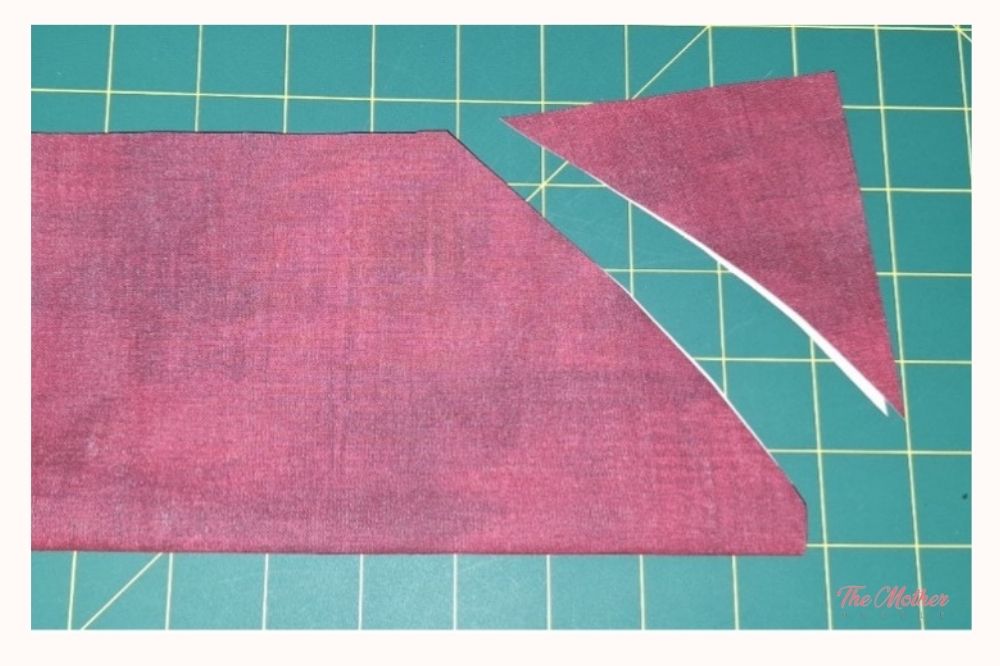 First things first, measure the door you’re making the dragon for. The width of your door plus 5cm or 2in so it overlaps the doorframe, plus another 5cm for the tail taper at the end, this is the total length.
Now mark your fabric with a rectangle that’s 22cm or 8½in by your required length. Cut it out, and then fold it in half length-wise and cut the 5cm taper at the end.
Step 2:
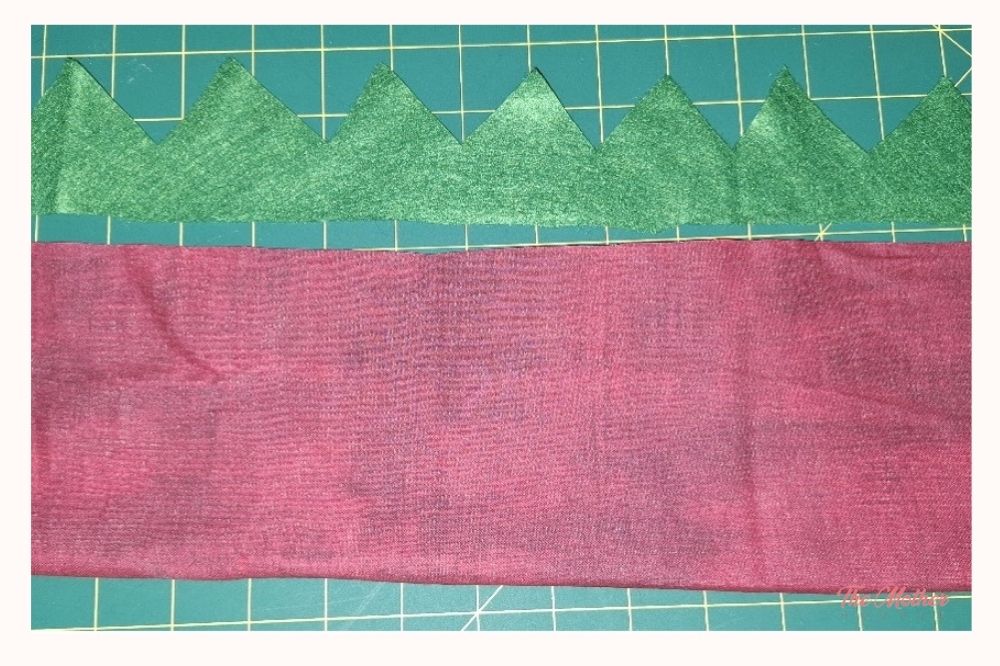 Next, cut two strips of felt that are 8cm wide, or 3in, and as long as your total length measurement. Hold them together so that your dragon will have dual rows of spines. I did not measure my spines, I just cut them, but remember to leave a 2cm (1in) band at the base of your spines that you don’t cut into, which goes into the seam allowance.
Step 3:
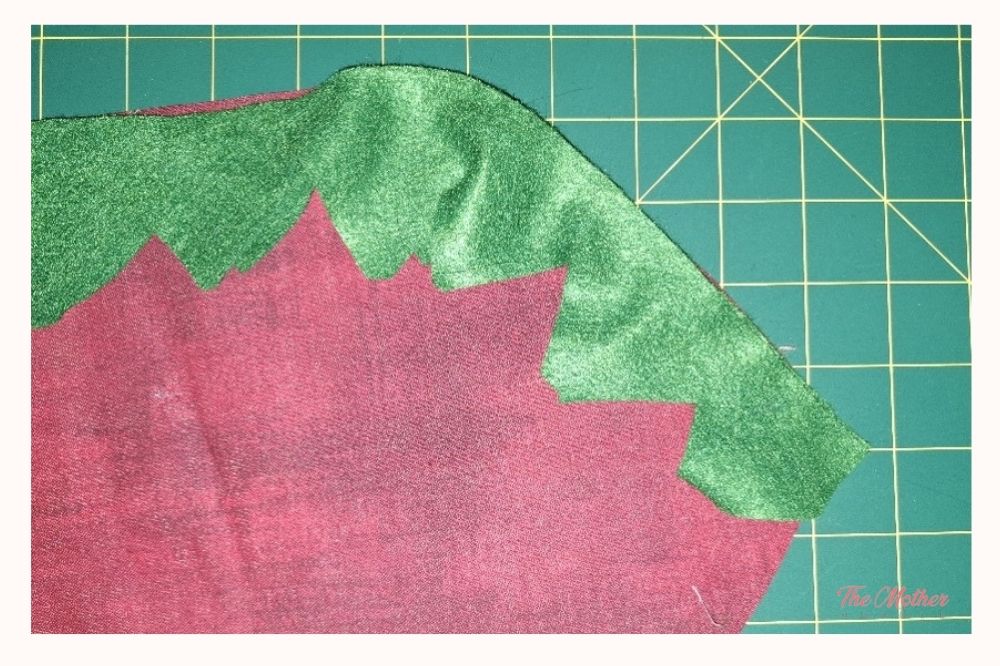
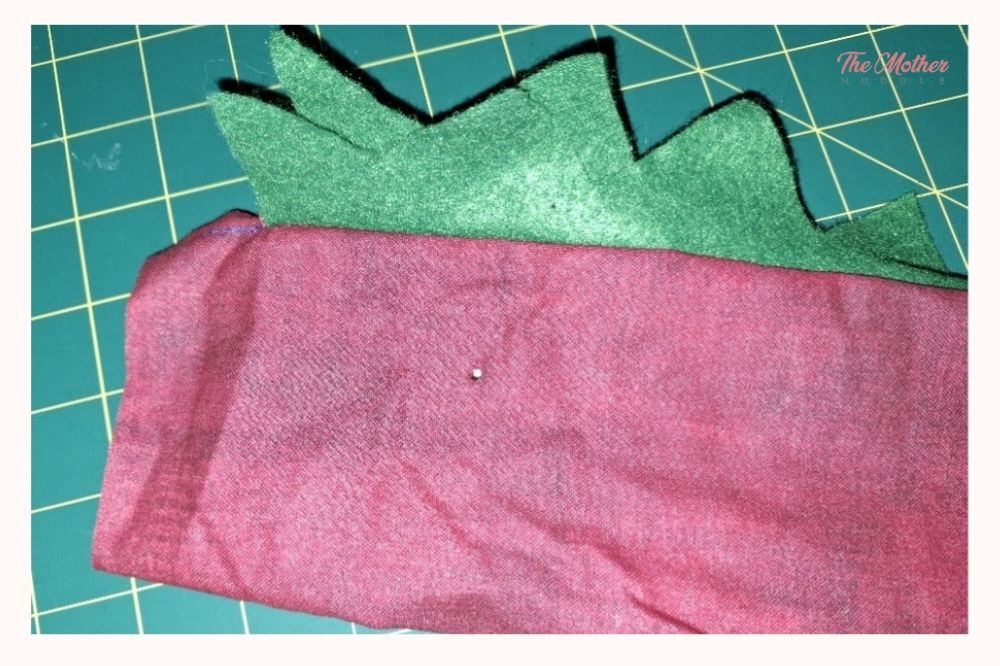
Lay out your dragon fabric with the right-side facing you. Along the top edge lay your felt spines, with the spiky side down.
Remember to round the spines down the tapered edge.
Step 4:
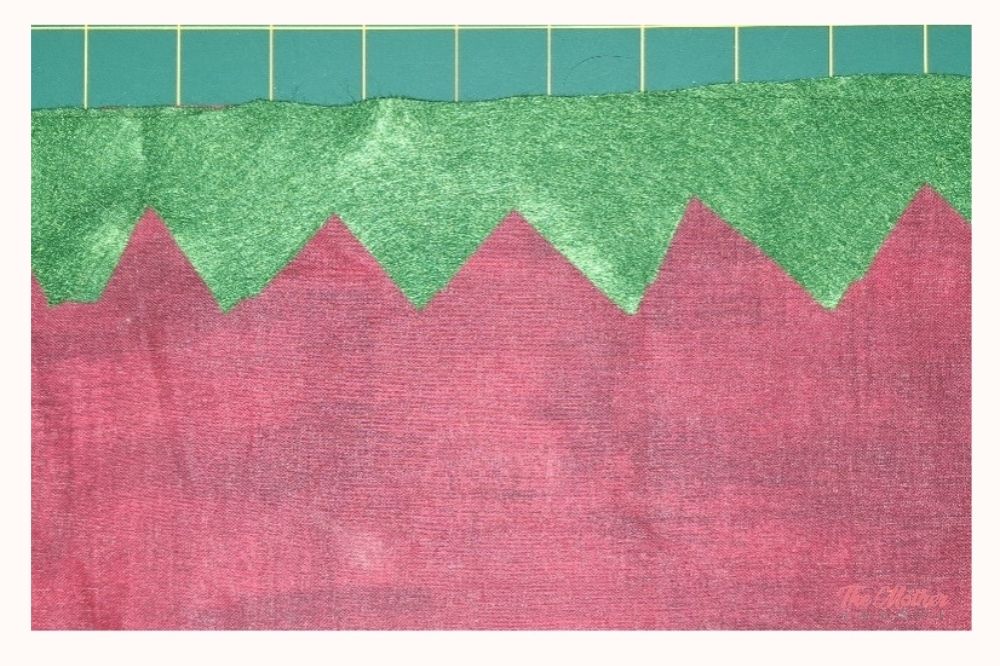
 Bring the bottom edge of your fabric up and line it up with the top, sandwiching in the felt spines.
Step 5:
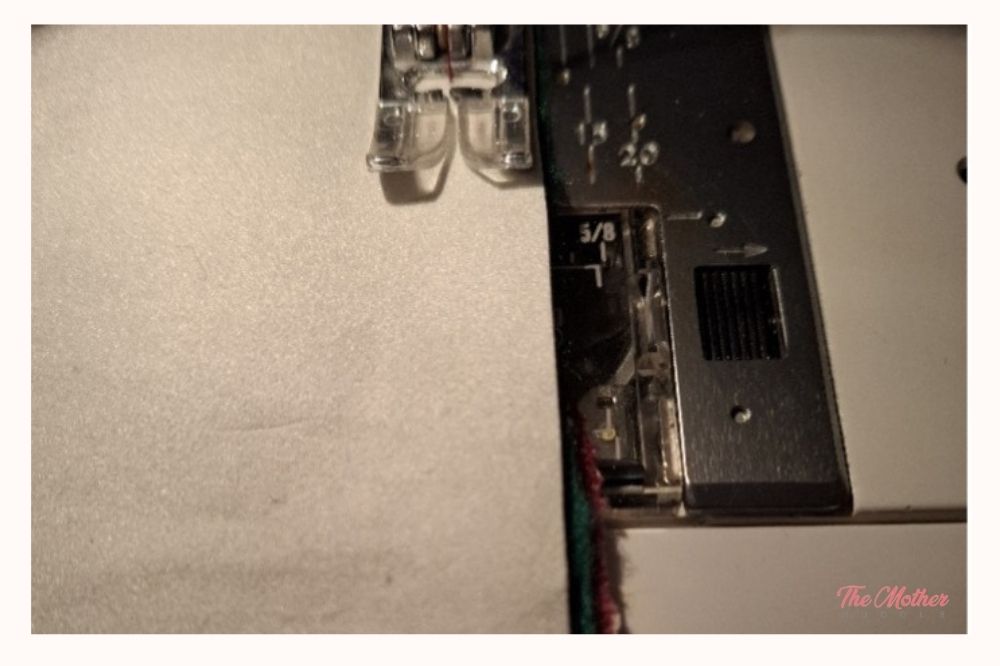
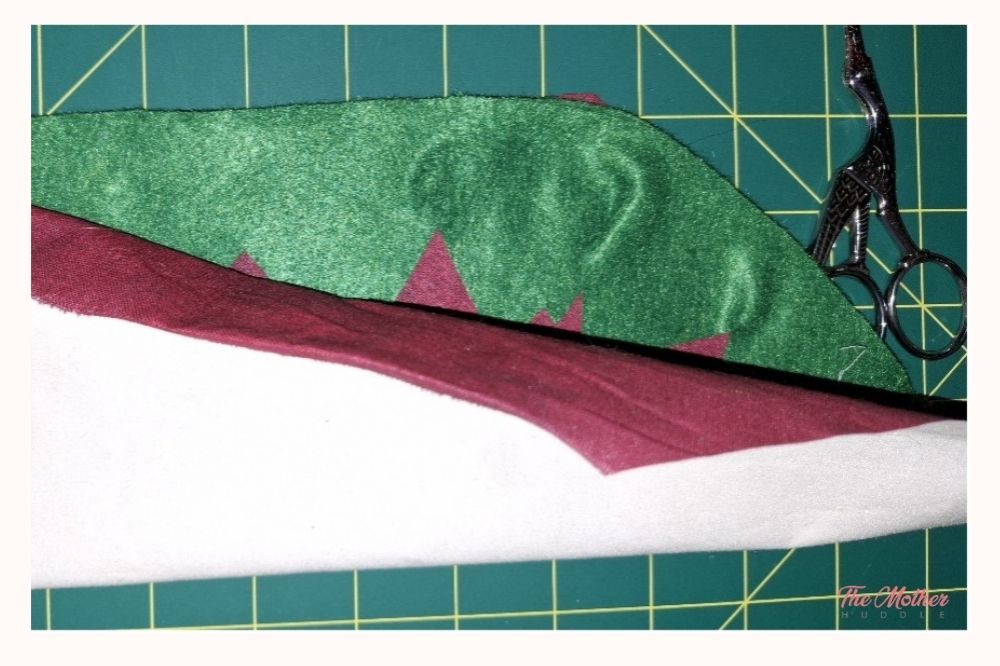
Take it over to the machine and, starting at the tail end, sew along the raw edge all the way, forming your dragon’s body.
Step 6:
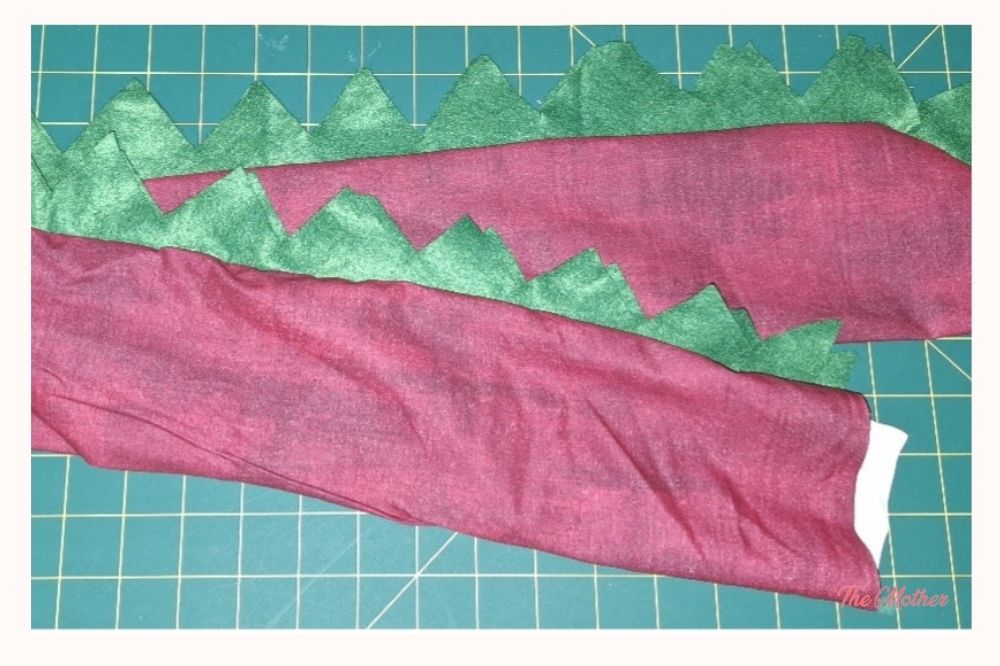 Turn your dragon’s body right-side out.
Step 7:
I also opted to use my awl to put the tiny holes in for the safety eyes at this point. You could do this later, for sure. But it’s easier to line up the eyes when the body is empty and you can poke all the way through both sides. If you don’t have an awl, you could use your scissors to poke the tiny holes through the fabric. The awl does much the same, but without cutting any of the fibres, making the hole stronger and less prone to tearing.
Step 8:
 Now stuff that dragon! We cut up all the left over felt scraps from our DIY felt letter wall, and a shocking amount of a flannelette sheet that wore out and had to be retired. I love not wasting fabric, putting even the stuff that’s too threadbare to be used anymore to work as stuffing or wadding. Insert the eyes just before you stuff that section of the dragon, so you can still get to the backs of them to put the backing caps on the safety eyes. Finish stuffing the dragon after putting the eyes in.
 Now if you’d like your dragon to have a flame, here’s where you do that. I just free-cut two pieces of red felt and a piece of yellow felt, and drew some orange marker on the yellow felt, then sewed the flames together with the yellow sandwiched between the red. A single row of stitching down the centre and you have some dragon flame! You could do any colour dragon flame you like, though, and I think I’m going to experiment with green or purple for my next door dragon!
Step: 9
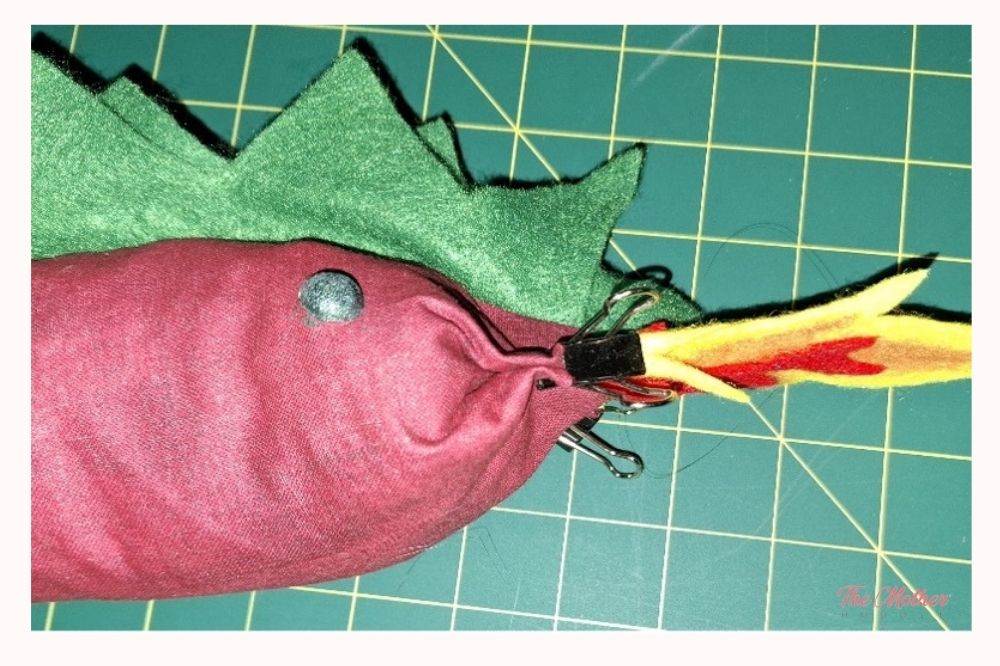
This next bit is the only bit of the whole project that’s fiddly, and here’s how to do it. Turn the open edge of your dragon in by 1cm or ½in, and then looking into the opening, with the spines at 12 O’clock, bring in 3 O’clock and 9 O’clock to meet, giving you a sort of figure 8 opening. Now lay your dragon flame, horizontally, at 6 O’clock, and then flatten 12 O’clock to 6 O’clock, giving you a flat end that’s sort of reminiscent of a milk carton. But with dragon flame sticking out of it… Then clip the ends shut.
Step 10:
I hand sewed the end shut because it was going to be too awkward to put under the machine. Remember to use your thimble to push the needle through as there’s a lot of layers of fabric here. After that I just styled his spines a little by gently pulling on each one.
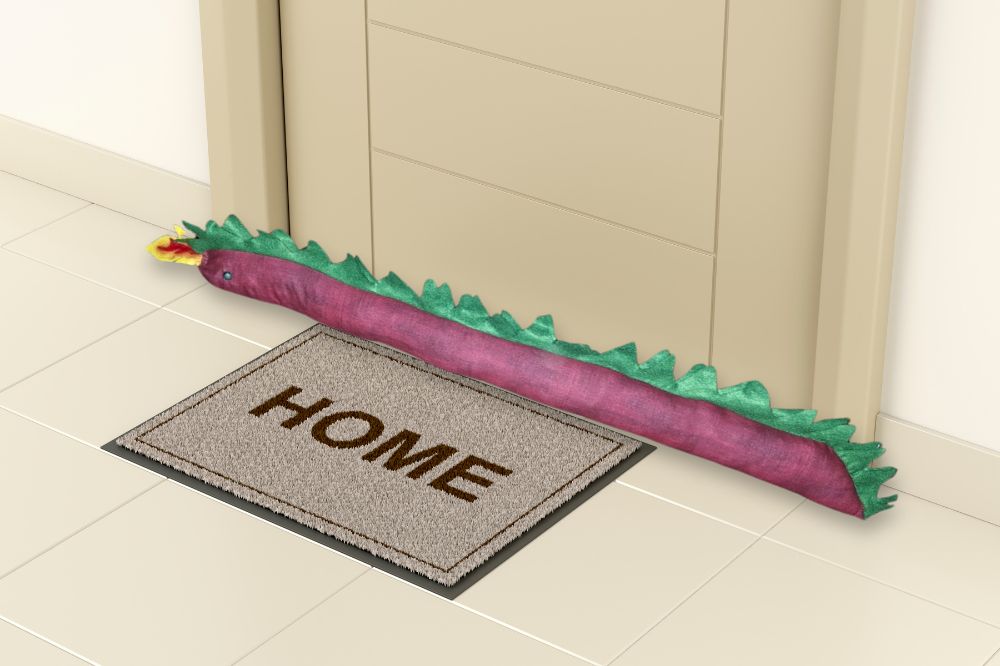
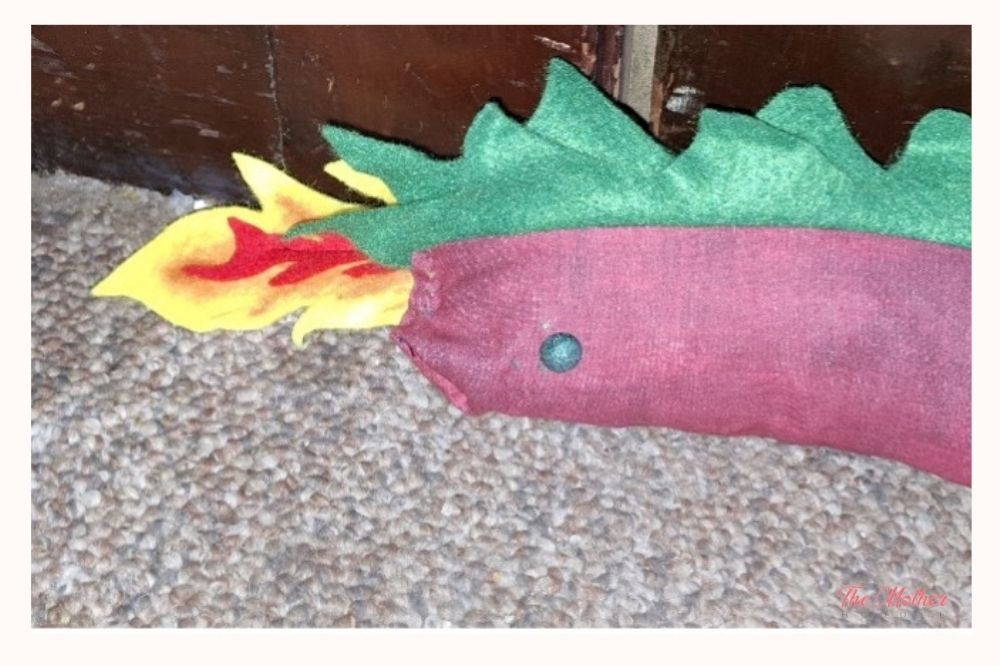
Voila! Easy DIY Door Dragon!
The door dragon has been a big hit in our house, we all love him, have named him Drongo (Australian colloquialism for fool) and he kind of reminds me of an Arabian sand boa…
Want to add more for your door? Try this DIY Felt Letter Wall Tutorial.
I’m super happy with Drongo the door dragon and look forward to adding more of them to the house! I’m also looking forward to the inevitable reduction in my heating bill!