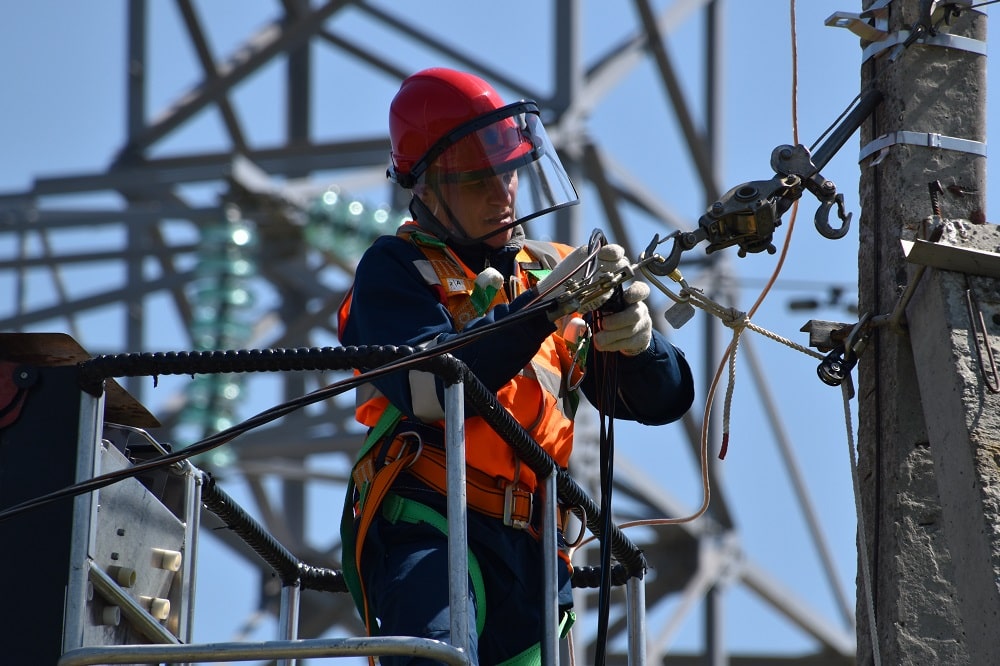
Do you know how to fix electrical installations at home? It can be tricky, but with the right tips, it can be a lot easier. In this blog post, we will discuss some of the most common problems that people encounter when fixing their electrical systems and provide some solutions to help you out. We will also talk about some of the most important safety precautions to take when working with electricity. So whether you’re a beginner or an experienced electrician, this blog post is for you!
1. Checking the breaker box and fuse box
Since the electrical system in your home is designed to protect you from shocks and fires, the first step in any repair or maintenance project should be to check the breaker box and fuse box. These are typically located in a utility room or basement, and if you find that the breaker has been tripped or a fuse has blown, simply reset it or replace the fuse.
2. Replacing light fixtures
If a light fixture in your home is not working, it may be due to a loose connection or a burned-out bulb. To fix this, first check the connections to make sure they are tight, and then replace the bulb. If the problem persists, you may need to replace the fixture itself.
3. Checking the wiring
Thermostats, light fixtures, and other devices that use electricity can be replaced or repaired by a qualified electrician. If you have any questions about the wiring in your home, it’s best to contact a professional. And, if you don’t know one, don’t worry. As you can find one online, and at www.repairs.sg you can see which types of services professionals usually offer. That way, you can get an idea of what to expect from a professional, and you can be sure that you’re getting the best possible service.
4. Checking the outlets and switches
Once you have determined that the problem does not lie in the electrical panel, the next step is to check the outlets and switches. Begin by unplugging any devices that are plugged into the outlet or switch, and then remove the cover plate. With a voltage tester, touch the probes to the screws on either side of the outlet or switch. If the voltage tester does not light up, then the outlet or switch is not receiving power and needs to be replaced. Plus, if you see any signs of burning or charring around the outlet or switch, it is definitely time to replace it.
5. Installing a new outlet
First, you should shut off the power to the circuit that you will be working on. Once the power is off, you can remove the old outlet. To do this, unscrew the screws that are holding it in place and then pull it out of the wall.
Next, you will need to drill a hole for the new outlet. The size of the hole will depend on the type of outlet that you are installing. Once the hole is drilled, you can feed the wires through it and then attach the outlet to the wall using the screws.
After the outlet is in place, you will need to strip the insulation off of the wires and then twist them around the screws. Be sure to tighten the screws so that they are secure. Finally, use electrical tape to cover any exposed wires.
In order to install a new outlet, you will need the following tools:
– A screwdriver
– A drill
– An electrical tester
– Wire cutters
– Cable strippers
– Electrical tape
– A hammer
– Nails
– A level
6. Replacing a light switch
First, you should shut off the power to the circuit that you will be working on. Once the power is shut off, you will need to remove the switch plate by unscrewing the screws that hold it in place. With the switch plate removed, you should see two wires connected to the switch. One wire will be connected to a brass screw, and the other wire will be connected to a silver screw.
You will need to use your screwdriver to remove the screws that are holding the wires in place. Be careful not to let the wires touch each other, as this could cause an electrical shock. Once the wires are disconnected, you can remove the old switch. To install the new switch, simply connect the wires to the new switch in the same way they were connected to the old switch.
In order to replace a light switch, you will need the following tools:
– A screwdriver
– An electrical tester

In the end, regular maintenance of your home’s electrical installations is crucial to ensuring the safety of your family and your property. By following the tips outlined in this article, you can keep your electrical system in top condition and avoid costly repairs down the road. Thanks for reading!

