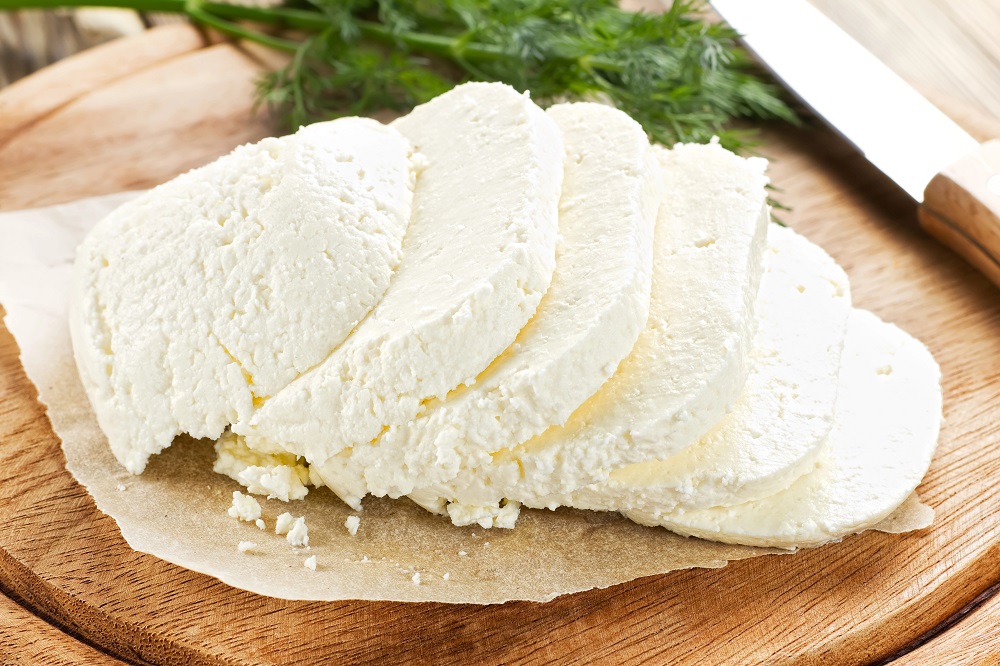
Making cheese at home can be a fulfilling experience. The process becomes easier and safer with the right tools, like a milk pasteurization machine. The best homemade cheese recipes using a milk pasteurizer often include types like mozzarella, paneer, and ricotta, which are known for their simple methods and delicious results.
For beginners, mozzarella is a popular choice because it can be ready in just an hour. It’s a fun cheese to start with since it requires basic ingredients that you probably already have in your kitchen. Paneer is another simple option; this non-melting cheese is perfect for frying or adding to curries.
Exploring cheese-making with these recipes not only provides delicious homemade options but also gives you control over the ingredients and flavors. Experimenting with different cheeses can create unique recipes, starting from a few basic ingredients and a handy pasteurization tool.
Essentials of Milk Pasteurization for Cheesemaking
Pasteurization of milk is an important step in cheesemaking. It removes harmful bacteria and keeps the cheese safe while ensuring a good quality product. Understanding the right techniques and having the necessary tools is essential.
Understanding Pasteurization Techniques
Pasteurization involves heating milk to kill harmful bacteria while preserving its nutrients. There are two common methods: low-temperature, long-time (LTLT), and high-temperature, short-time (HTST). LTLT heats the milk to around 145°F for 30 minutes, while HTST brings it up to about 161°F for just 15 seconds.
These methods preserve the taste of the milk and are good for making cheese at home. After heating, the milk is quickly cooled to 39°F to keep it fresh. This cooling step helps maintain milk quality and mineral content. Pasteurized milk is a good base for cheese like cheddar and gouda.
Equipment and Tools Required
You’ll need a few pieces of equipment to pasteurize milk at home. A heavy-bottomed pot is essential for even heating, which helps prevent scorching. A reliable thermometer is also necessary to monitor the milk’s temperature. You’ll also need a spoon for stirring and a container or sink filled with ice water to cool down the milk quickly after heating.
For those wanting more control, a double boiler setup might be useful. Placing a smaller pot into a larger one filled with water can help regulate temperature. Together, these tools make the pasteurization process accessible and efficient.
Homemade Cheese Recipes Using a Pasteurizer
Using a pasteurizer can simplify the process of making homemade cheese. It helps you control the temperature precisely, which is important for both soft and hard cheeses. You can explore different types like mozzarella, ricotta, cheddar, and gouda and even experiment with flavored cheeses.
Soft Cheese Delights: Mozzarella and Ricotta
Making mozzarella with a pasteurizer involves heating the milk to around 115°F. Once it reaches this temperature, you add an acid to help curds and whey separate. Stir gently until you see clear whey and distinct curds.
Ricotta is slightly different. Start by heating milk to 195°F. After adding an acid like lemon juice or vinegar, allow the mixture to rest. The curds will form gently, and you can scoop them out using a slotted spoon. Both cheeses require brief heating and stirring, which makes them great choices for beginners with a pasteurizer.
Hard Cheese Adventures: Cheddar and Gouda
For cheddar, using a pasteurizer involves carefully heating milk to around 90°F. After adding a mesophilic starter culture, let it sit. A second heat treatment will follow, reaching 100°F to develop the curds. Calcium chloride can be added to improve coagulation, especially with pasteurized milk. You press the curds and then age the cheese for several months to develop the flavor.
Gouda is similar, but it’s washed with warm water during the process to give it a milder taste and softer texture. After pressing, wax the cheese and allow it to age for at least a month. Both cheeses benefit from the controlled heating a pasteurizer provides, leading to consistent and delicious results.
Creating Flavored Cheeses
Flavored cheeses can be exciting and simple to make with a pasteurizer. Add herbs, spices, or even nuts to your basic cheese recipe. For example, adding crushed red peppers to mozzarella gives it a spicy kick, while mixing garlic and chives into ricotta produces a savory spread.
Always add flavors after the main cheese process, before pressing or forming the cheese. This ensures that the flavor spreads evenly throughout the cheese. With a pasteurizer, you can try new combinations in a controlled way, making each batch a unique creation.
Conclusion
Using a milk pasteurizer can open up a world of cheese-making possibilities in your own kitchen. It allows for the safe and consistent milk preparation, which is important for any homemade cheese.
Easy Recipes to Try:
- Mozzarella
- Paneer
- Farmhouse Cheddar
Mastering these recipes can provide you with fresh, delicious cheese while adding your personal touch. Enjoy the process and the rewarding taste of your homemade creations.

