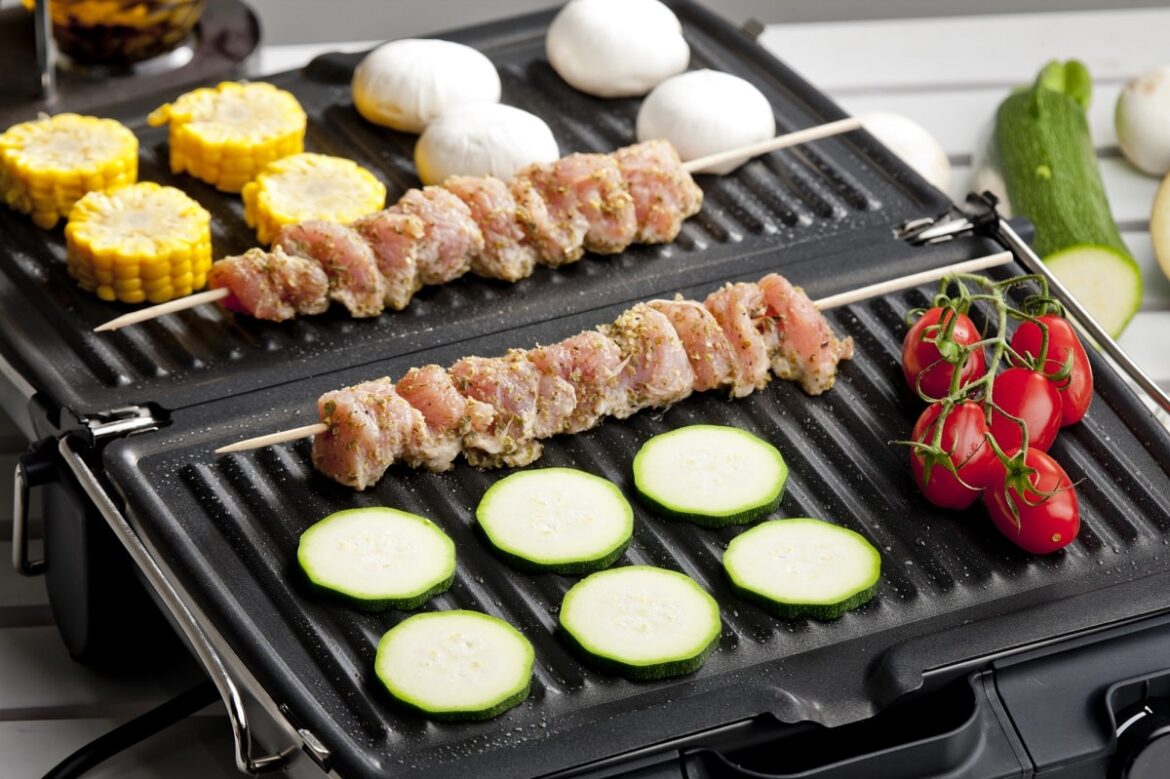
Sunshine. Warm weather. Cold beer. Burgers on the grill.
It is not that time of year where you are.
However, you still crave the flavor of grilled fare, and you want to figure out how you can get it while cooking inside. You can’t drag your grill inside — a dozen people die each year from carbon monoxide poisoning when they do so.
Instead, you have to learn a few hacks so that you can grill inside, too. Here are five of the best tips to achieve indoor grilling perfection and impress your family and guest with their favorite grilled fish, Denver steak, burger, or ribs :
1. You Don’t Need Any Fancy Tools
When you grill out in the summer, you want to make sure you do so on the best flat top grill you can find.
In wintertime, you might think you need the same fancy tools to get the same savory fare, but that’s not necessarily true. Forego panini presses, thin grill pans or any other faux grilling machines.
All you need is a solid metal pan, preferably one made of cast iron. The latter material retains heat well, and it can withstand high temperatures on the stove and in the oven. You can get a grill-style one, too, so that you get the same lined effect on your food.
Season your skillet before using it. You need to bake it with a layer of shortening or vegetable oil on the surface. Then, get cooking.
2. Avoid Burning Meat and Veggies
Cast iron pans work a bit differently than your normal ones. Rather than oiling up the base of the skillet, you’ll brush oil onto the food you want to cook. Then, you’ll place it in the pan, which will grill it right up to temperature.
Preparing your meats and veggies this way helps prevent them from burning, too. So, pat your foodstuffs dry before brushing them with the oil of your choice. Add seasonings if you want, then grill indoors.
3. Crack a Window While Indoor Grilling
It can get a bit smoky when you’re inside grilling, especially if you’ve over-oiled your food.
In preparation, be sure to crack your kitchen windows. Crank the overhead fan up to high, too.
You can also get ahead of the smoke by pressing down on food before cooking it to release any lingering liquid. This step will cut down on smokiness, too. If it’s still too smokey it’s worthwhile checking out these Solo stove accessories that will help you make grilling indoors as stress free as outdoor cooking!
4. Get Grill Marks on Your Food
Perhaps you’ve chosen a grill-style cast-iron skillet. If so, you can use the lines to make your finished fare even more appealing.
Let’s say you’re making steaks. Place the meat at a 45-degree angle over the lines in the pan. Then, after two to three minutes, rotate your steaks 90 degrees. This step will give your meat the crisscrossed grill marks you get in a restaurant or on your outdoor barbecue.
5. Check the Temp — and Let It Rest
Finally, you should always check the temperature of your meat before serving and eating it. But don’t wait until it reaches that number to take it off of the stove.
Instead, pros recommend you take food from the pan when it’s five degrees away from your desired temperature. At that point, plate it and loosely tent your fare with tin foil. Then, let it sit for 5 to 15 minutes.
The tin foil tent will help your food heat up an additional five degrees. Plus, its rest time lets it get nice and juicy before you dig in.
Get Your Grill On
With these five tips, you’re well on your way to mastering indoor grilling. So, grab your apron and your cast iron pan — it’s time to fire up the stove and get started.
Check back often to never miss our latest!

