
My little girl is closing in on her tenth birthday and seems to be constantly growing out of her clothes! She’s getting taller and taller and suddenly a ton of her clothes are all too short. Looking in shops and online, I find that all the cute, colourful, frilly, and fun skirts and dresses don’t go up to her size, they nearly all stop at size 7, and all the options for my daughter’s age group are so often dull colours, lacking embellishments, boring silhouettes, or too utilitarian. It’s a weird phenomenon that I have no explanation for, but it does provide me with a perfect excuse to make my girl a bunch of new skirts and dresses! Which also provides me with the opportunity to make what is, without doubt, the simplest skirt tutorial!
Just like my Ultimate Upcycled Skirt Tutorial, you’re going to use a thrifted bed-sheet! Any pattern or print, though this time I’ve opted for a plain blue cotton that I’m going to embellish (which I will talk about in another post later because that step isn’t part of this tutorial).
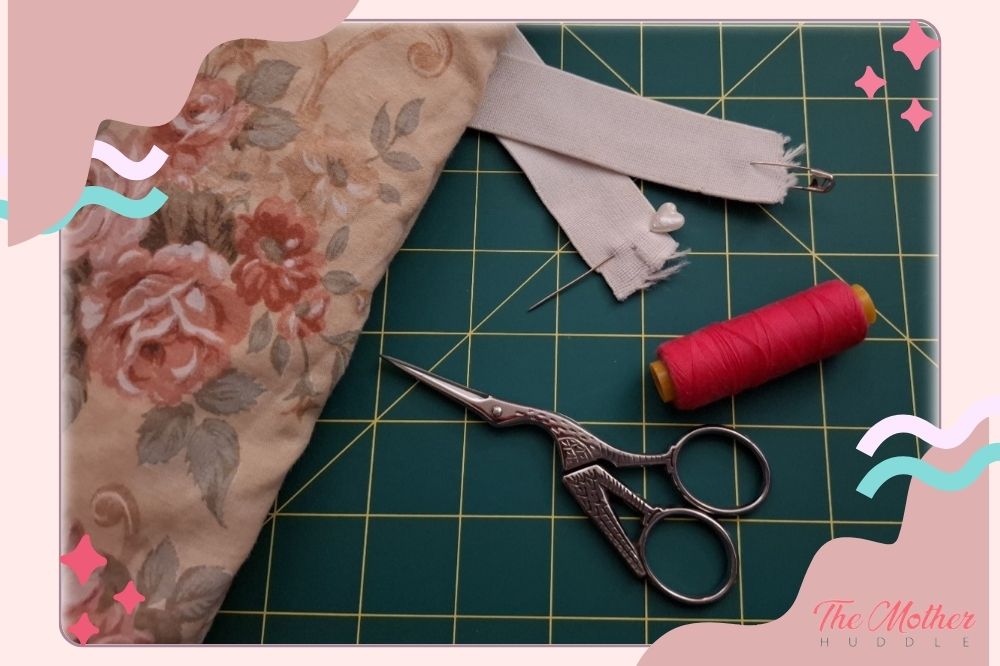
What You’ll Need
- A single-bed sheet of your choice, I prefer cotton ones
- Thread
- Elastic
- Scissors
- Safety Pin
- Sewing Pin
- Sewing machine or hand-sewing needle
- Iron
- Optional: Fluffy sewing buddy of your choice to oversee your work. The one pictured here is Betty Mewrion White.
Firstly, after picking out the single-bed sheet you’d like to turn into a skirt, pre-wash and iron it, or dry in the dryer and then you probably won’t have to iron it, but if it comes out all bunched up and crinkly, then please do iron it. Now if your sheet has one of those thick, decorative bands that’s meant to go at the top, we’re going to get rid of that. Snip just below the band, and then because it’s a woven fabric, you can tear the rest away! Fun! My sheet is an older one that doesn’t have one of those bands, so I don’t have to do this step.
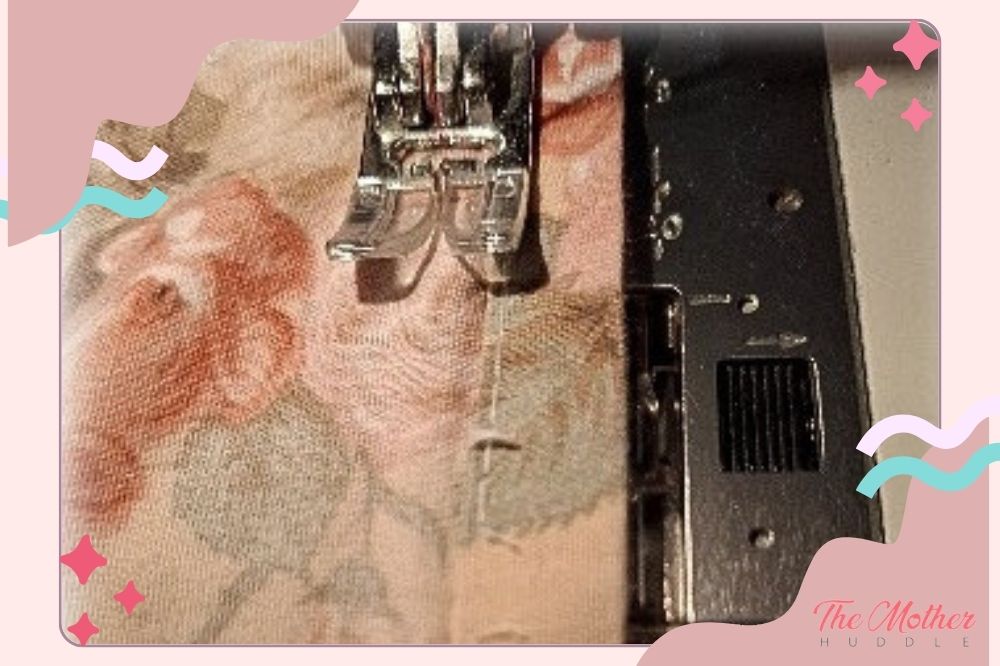
Now you’re going to match up the short ends of your sheet, with the right-sides facing each other, and sew it into a giant tube, essentially. You’ll have one hemmed edge, and one raw edge in this seam, so after straight stitching you’re going to go over the seam allowance with a zigzag stitch to stop it fraying, or you can use whatever finishing method you like. If your sheet is like mine and you don’t have a raw edge, then you don’t need to do any finishing in this seam as it’s already done!
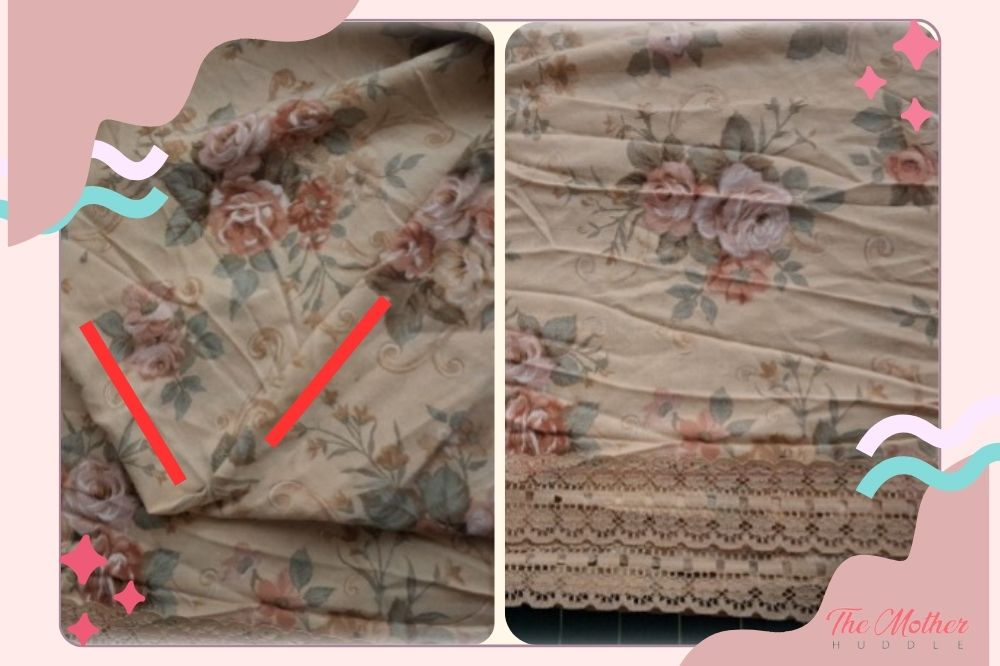
Next, you’re going to fold your sheet-tube in half by brining one of the tube ends down to the other, so that it’s still a tube, but now it’s double layered. Like how you wear a turtle-neck. I’ve taken a picture below of the tube opened up and marked where the fold lines are so you can see that you’ll have the outside print of the sheet on both the inside and outside of the skirt. The seam you’ve just sewn will be hidden inside this double-layered tube. You can either do this at the exact centre, so that your two layers are even, or if you’d like you can do it about 2.5cm, 1in, off centre, so that you will see both layers at the bottom of the finished garment. This is perfect if you’d like to zhuzh it up a little with any embellishments like embroidery, lace, or trim as I have on mine. I put a line of lace on the hem of both layers, as you can see below.
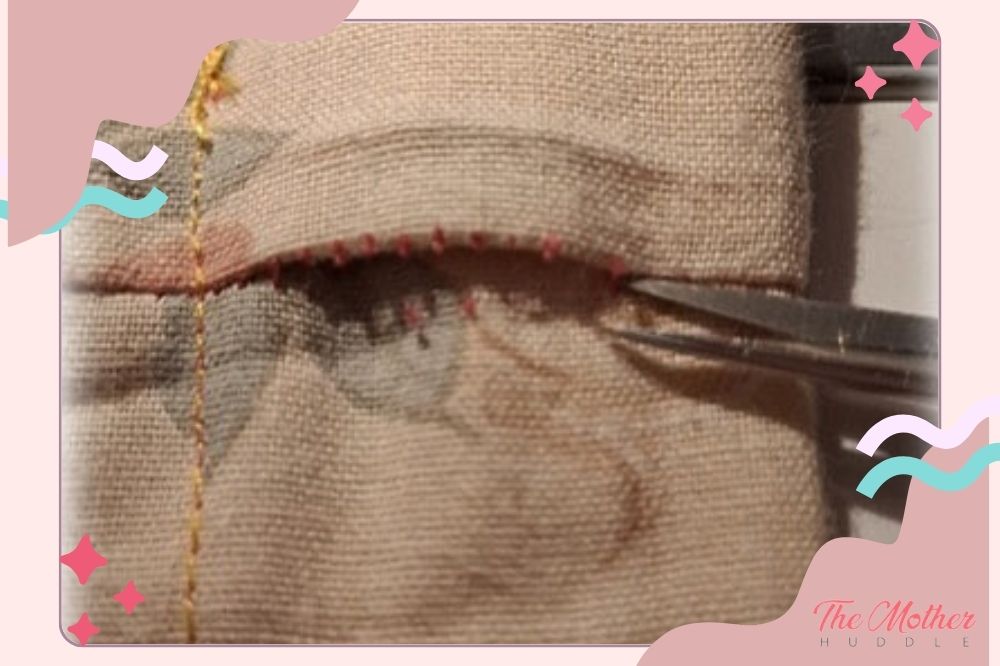
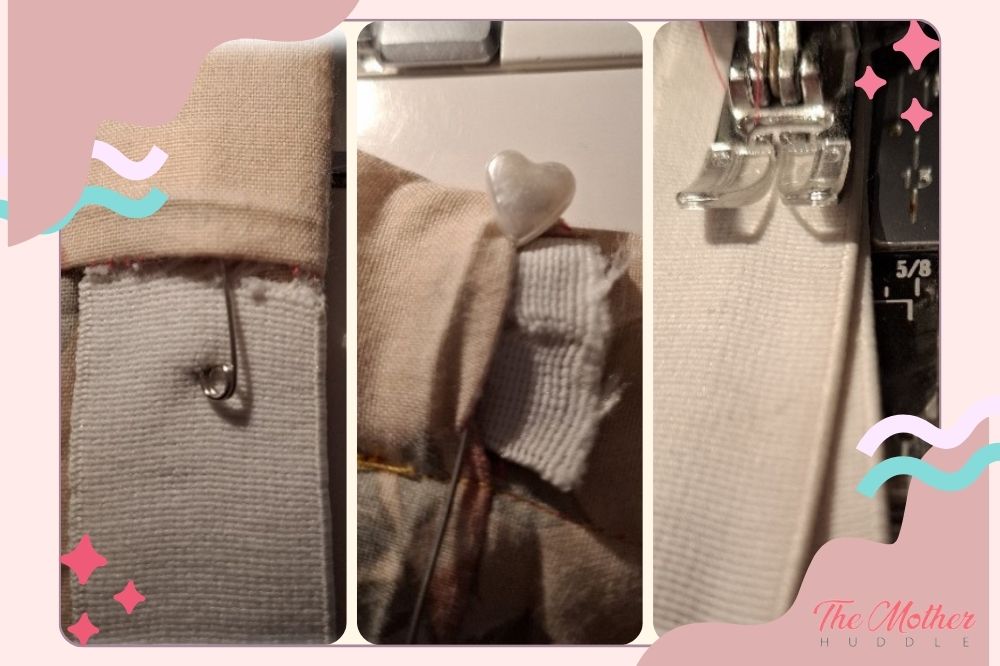
Now you’re going to take your folded sheet-tube back to the sewing machine, and sew along the folded edge 3cm, 1¼ in, from the fold. That’s the elastic casing for the skirt!

Lastly, unpick enough stitches in that first seam line so you can thread elastic into the casing you’ve just made. With a safety pin on one end of the elastic, work it all the way through the casing. Remember to pop a pin on the end of the elastic so it doesn’t disappear into the casing, and once your elastic is all the way through, use the safety pin to hold the ends together and do a fitting on whomever the skirt is for to ensure the correct amount of elastic is used. We want the skirt securely held up, but not squeezing the wearer.
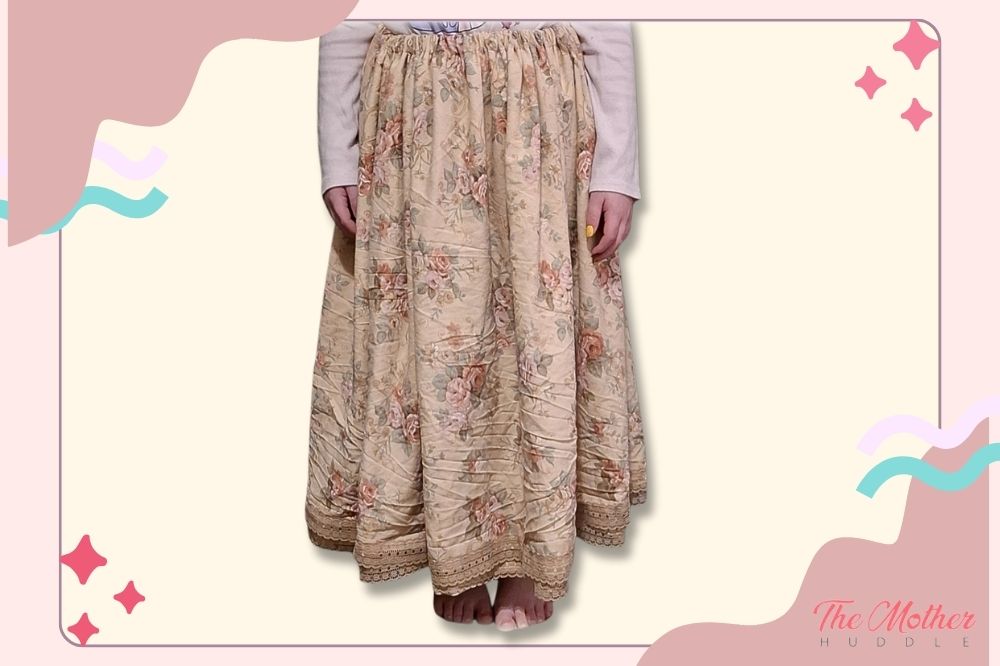
That’s literally it, if you don’t want to decorate further. That’s why this is the simplest skirt tutorial ever! All the hems are done for you, and all that’s required to turn your cute thrifted sheet into a pretty and fun skirt is two seams and a bit of elastic!
Viola! Your Own DIY Skirt is Ready!
Congratulations! You’ve successfully created your own DIY skirt that you can proudly say you made yourself! Whether you chose to use an old clothes or new fabric, you can now sew your own design and customize the skirt that you like to add to your wardrobe.
More Sewing Tutorials to Try:
Cute Circle Skirt Tutorial
Ultimate Upcycled Skirt Tutorial
Easy Harem Pants Tutorial
Fat Quarter Pillow Case Dress Tutorial
Dress up and Flex Your New Skirt!
By following this tutorial, you’ve not only learned new sewing skills but also how to measure, cut, and assemble fabric with precision. Remember, practice makes perfect, so don’t be discouraged if your first attempt isn’t flawless. Each project will help you improve and gain more confidence.
Feel free to experiment with different fabrics, patterns, and embellishments to make each skirt truly your own. Sewing is a wonderful way to express your creativity and fashion sense, and the possibilities are endless.
We hope you enjoyed this DIY skirt tutorial and feel inspired to take on more sewing projects in the future. Happy sewing!