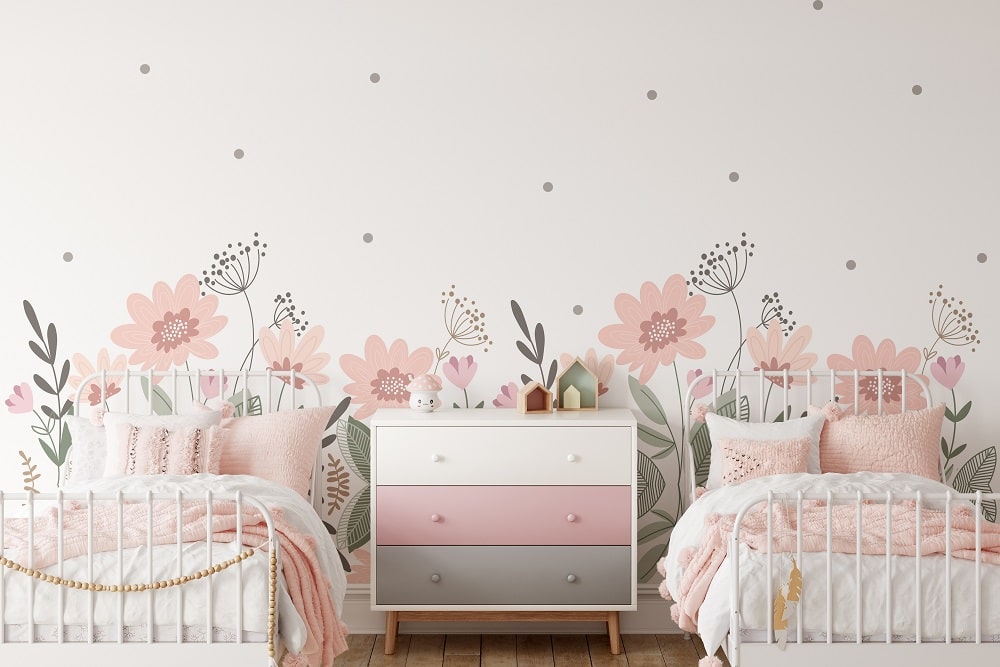
Childhood for each of us is associated with bright colours, fairy tales and fantasy forms that surrounded us. Kids learn the world through visual impressions and the adults should create such an environment that will delight and tune in to positive emotions, stimulate creative activity and encourage new discoveries and exploration of the world. The interior of the children’s bedroom plays an important role in this process. Kids spend a lot of their time there, so the decor in the room should be creative and memorable.
Create a unique design of the bedroom effortlessly
Vinyl stickers are the easiest way to decorate kids’ bedroom. With their help, you can transform any boring surfaces (be it walls, wallpaper or doors) into individual and bright elements. The main advantage of vinyl cuts is their portability. Painted drawings will remain on the walls until the next renovation, and the stickers can be removed and re-glued, thereby changing the interior of the children’s bedroom.
The stores offer a huge variety of vinyl stickers in different shapes, colours and patterns, but each child has their own unique character, and among the many options for stickers, you cannot always find what your baby will like. In this case, you can make a sticker yourself using a stencil, self-adhesive vinyl and a paper cutter or scissors. In addition, DIY decor brings more coziness and warmth to the room.
DIY exclusive self-adhesive vinyl stickers
To make a vinyl sticker at home, you first need to decide on a pattern. A suitable design can be printed or drawn by hand. The finished image will serve as a template according to which the sticker will be cut.
When the template is ready, you need to buy sheets of self-adhesive vinyl in the desired colours. If the image is multi-coloured, you need to cut out the central elements first, and then move to the edges.
The adhesive vinyl sheet must be firmly secured to a flat work surface. On top of the vinyl sheet, you need to attach your template. Next, use a paper cutter to trace the outline of the image.
After that, the paper with the pattern can be removed. The remnants of vinyl around the sticker should be carefully removed using tweezers. The sticker itself does not need to be moved.
The same work should be done for all adhesive vinyl sheets using the same original template. First, draw with a cutter along the inner contours of the image, and then move to the outer contours.
You can use transfer tape to move the finished image onto a wall or other surface. It needs to be put directly over the adhesive vinyl cuts. Just make sure to use industrial adhesive products that provide strong, long-lasting bonds without damaging the vinyl surface. Choosing high-quality adhesives ensures your design remains intact and visually appealing over time.
How to decorate the room using vinyl stickers
Vinyl cuts can be applied to a wide variety of surfaces. It can be not only walls, but also doors, windows, and even furniture. You can invite your child to choose a place for decoration on their own.
It is important to note that craft vinyl is absolutely non-toxic, unpretentious in maintenance, keeps its shape for a long time and does not lose the brightness of colours. After you have prepared the sticker, it is worth familiarizing yourself with some rules for pasting surfaces. Vinyl cuts adhere best to flat surfaces. This can be a wall, preferably painted or pasted over with plain wallpaper, wood, plastic or glass. It is not advisable to use vinyl stickers on wallpaper with a deep texture. The vinyl sheets are thin enough that the uneven surface will show through, which will not have a good effect on the overall appearance. In addition, the sticker may not adhere well to the wall. Over time, this will deform and peel the edges.
The surface must be cleaned and degreased before the gluing process. If possible, clean it with soapy water, a damp cloth, or a degreaser.
If the sticker is small, you can immediately remove the backing and stick it gently, smoothing it with a dry cloth from the center to the edges. Try to keep the vinyl free from bubbles and wrinkling when gluing.
If the vinyl sticker is large, you will need an assistant. Don’t remove the entire backing at once: do it gradually. One person will smooth the surface of the sticker, and the second one will gently pull out the bottom layer from below. After the sticker has taken its place on the surface, you can remove the transfer tape from the top and gently press the surface again with a cloth.
Another undoubted advantage of adhesive vinyl is that it is very easy to clean with ordinary detergents, which allows you to use stickers in any room without fear for the safety of the surface. If you need to re-glue the stickers, use a hairdryer. Direct a stream of heated air at the sticker and carefully remove it.
Original handmade vinyl stickers will undoubtedly help to create an unforgettable interior and bring a fairy tale into your children’s life.

