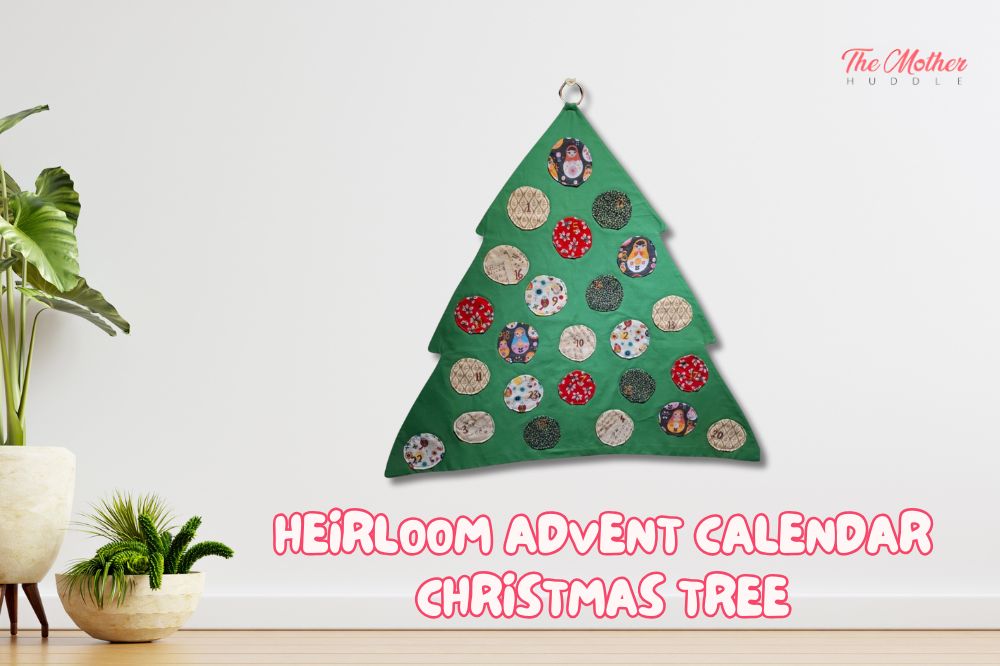
I love advent calendars; I remember fondly opening the tiny cardboard doors each day in December for that tiny piece of chocolate inside. Once I was a parent I rediscovered advent calendars, and was pleased to find that a far wider array of calendars were available than those that merely furnished one with a meagre and dubious piece of chocolate. Then I noticed in the last few years that the quality of the non-food advent calendars was rapidly declining, and that the price was just as rapidly increasing. Last year I decided to YouTube any advent calendars I was considering purchasing, and was shocked to find that most of them were an absolute no-go. This got me onto watching a whole bunch of them being unboxed and nearly all of them were a rip-off, especially those with a higher price point. I will say, though, the LEGO advent calendars are still really good value and I do recommend them.
With many of us feeling the burn of the cost-of-living crisis, it was hard to justify spending any money on an uninspiring advent calendar this year, so I was inspired to make a re-usable one! Custom patterned, heirloom quality, and something that we could fill with our own choice of treat or toy each year.
So that’s what I’ve done, and because I know that many of you crafty types like a good holiday project, I’m sharing it here, including the pattern for the one I made! I like that this tree advent calendar could be customised to be something completely unique depending on fabric choices. I used fabric and notions I already had in my stash, and even if you did need to buy something for this project, you could probably source the necessary items from your local op (thrift) shop.
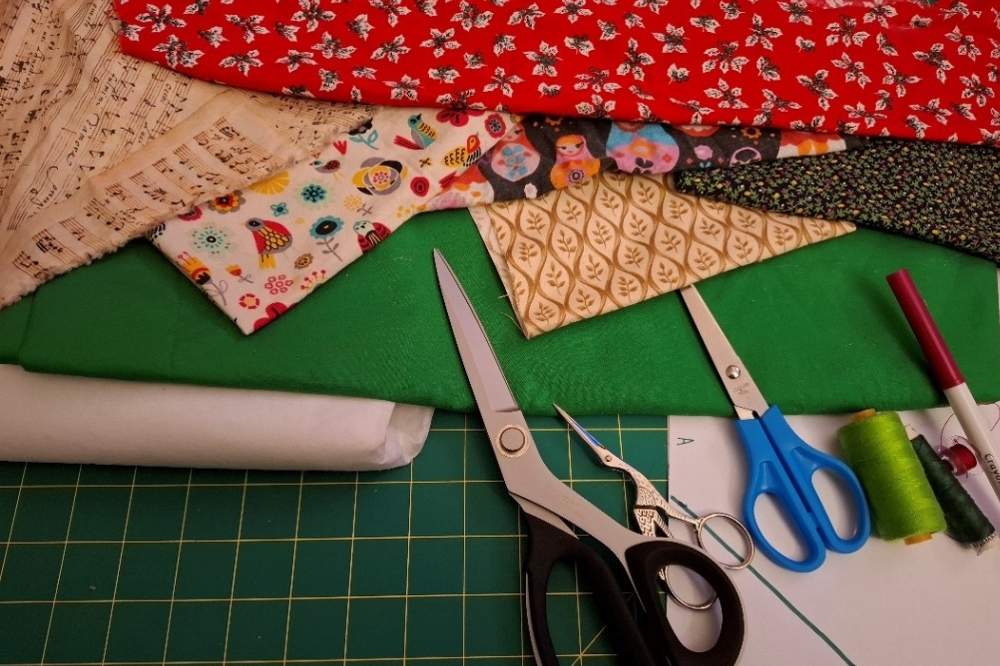
What You’ll Need
- 8m x 90cm (2yds x 1yd) main fabric for tree
- 6 pieces of 30cm x 30cm (12’’ x 12’’) fabric for the bauble pockets
- 60cm x 90cm (24’’ x 1yd) main fabric for the back of the baubles
- 90cm x 90cm (1yd x 1yd) heavy weight sew-in interfacing
- Scissors (fabric and paper)
- Thread
- Printed pattern
- Tape
- Fabric marker or chalk
- Chopstick, blunt pencil, or thin paintbrush
- Fabric paint
- Paint brush
- Hanger ring
Instructions
Step 1
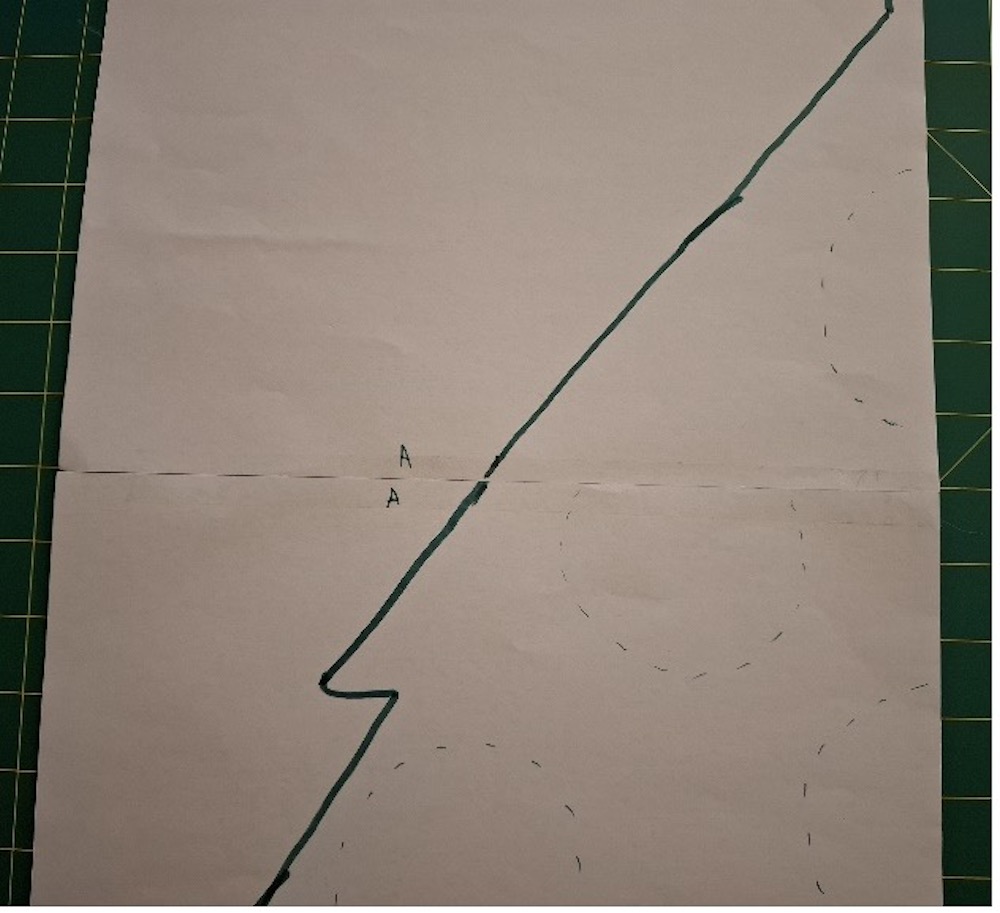
Download Pattern 1
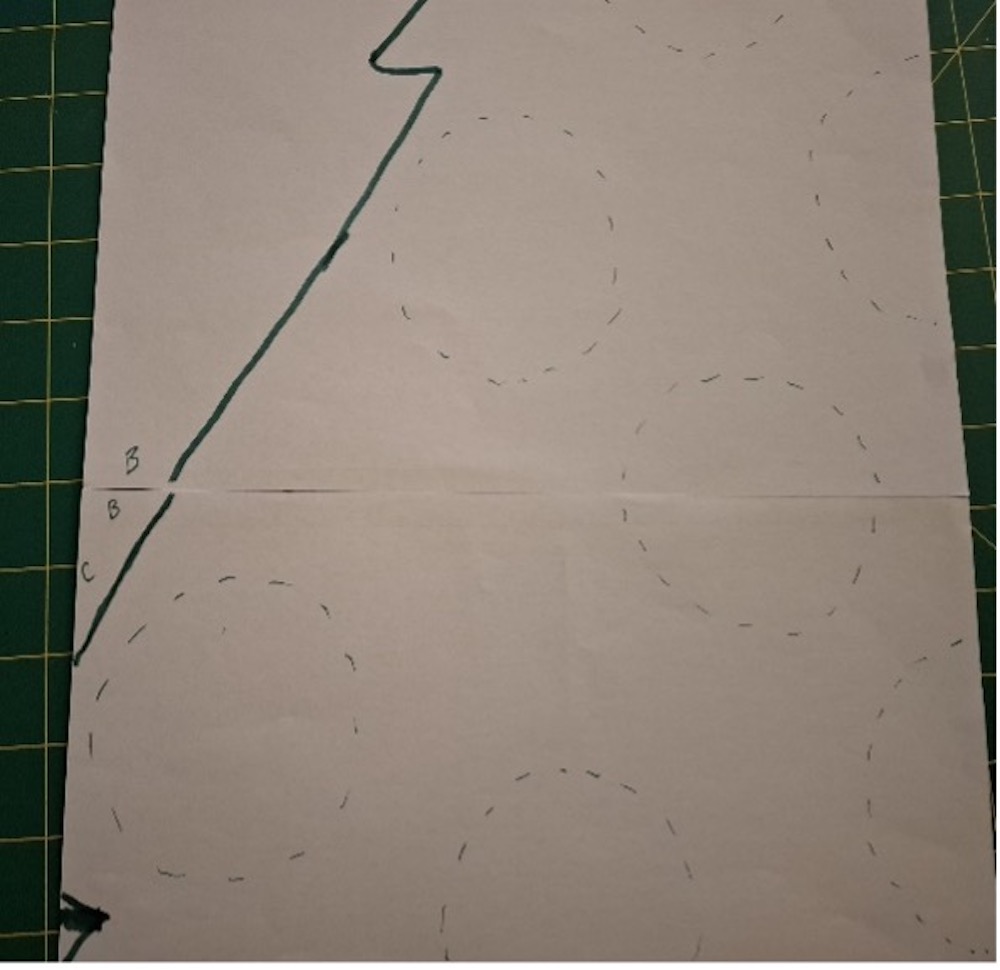
Download Pattern 2
Download Pattern 3
Download Pattern 4
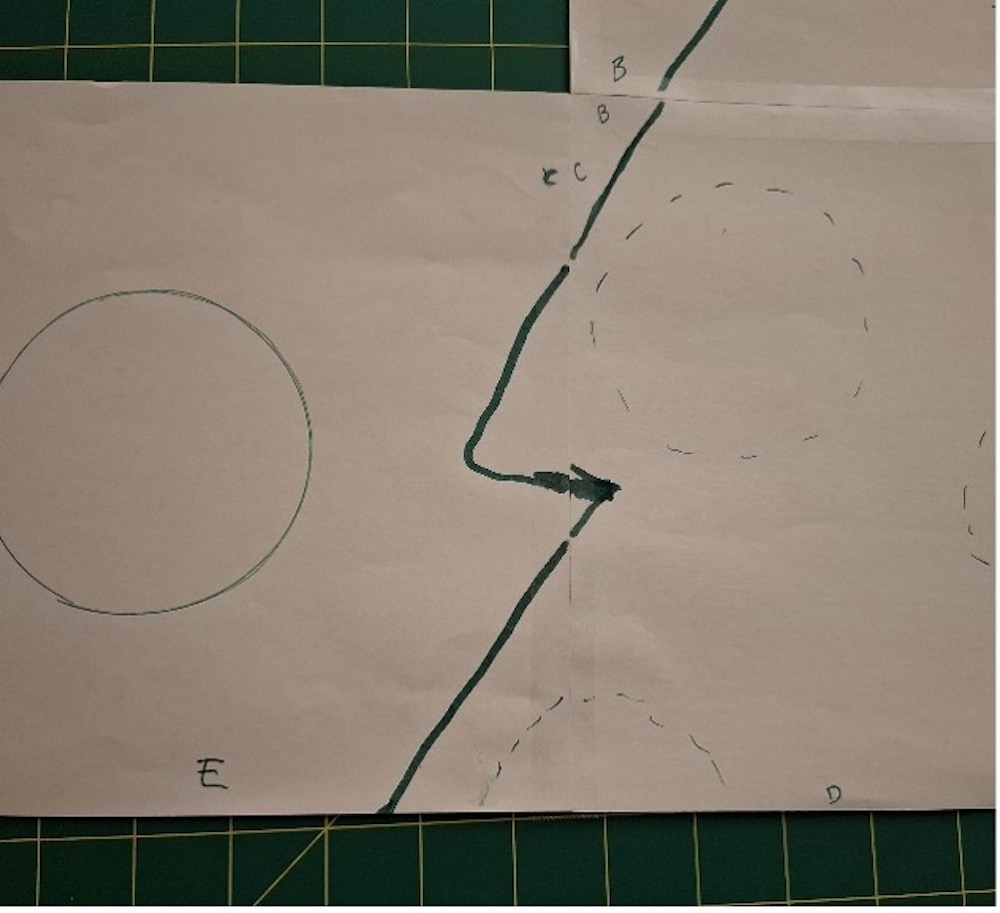
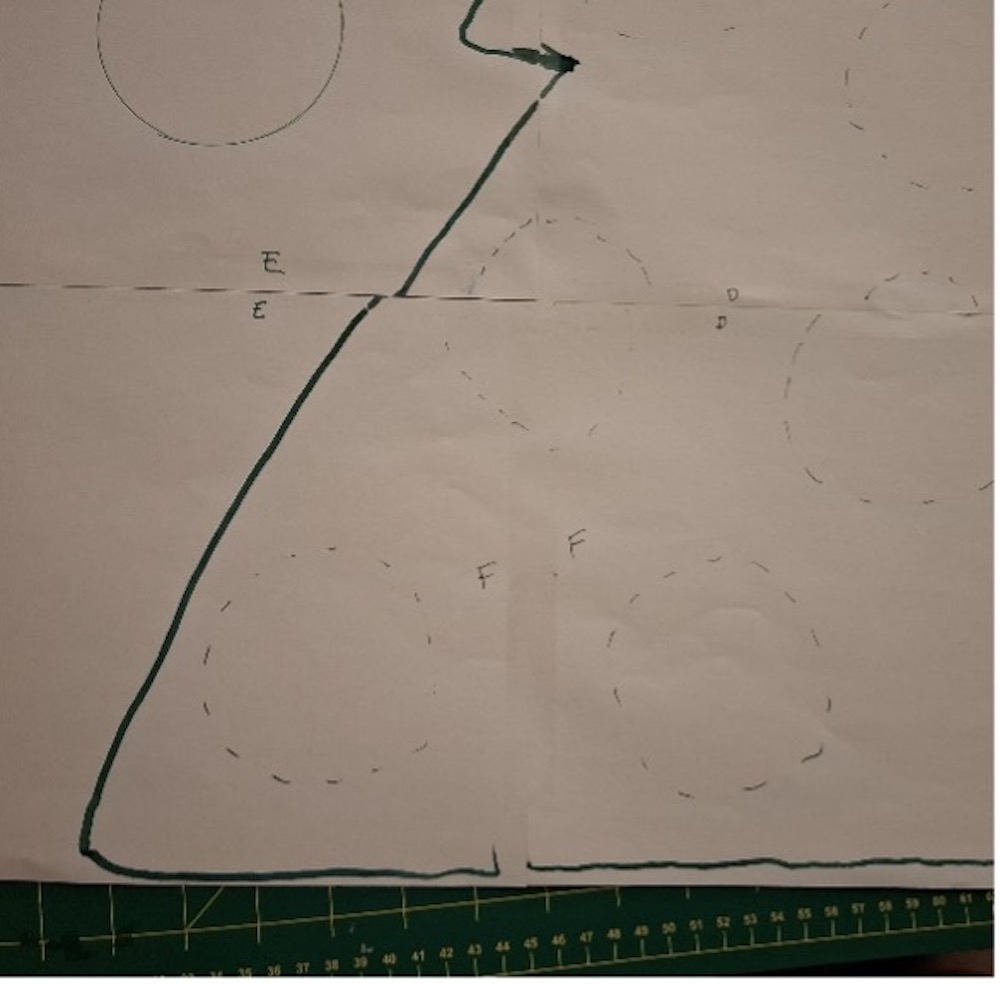
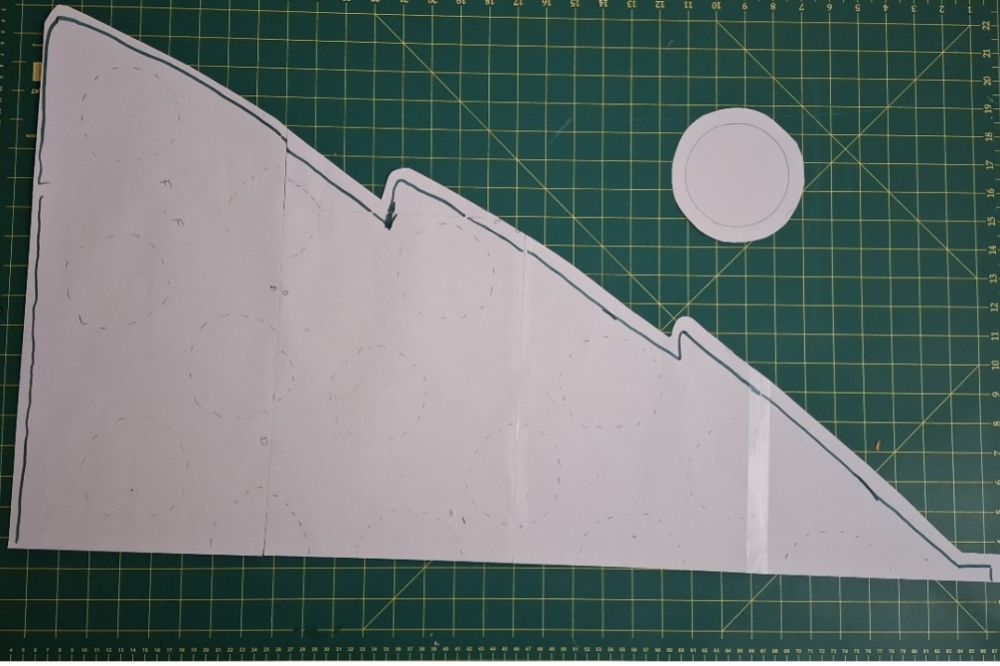
Download and print out the pattern. Tape the pattern together with A to A, B to B, etc. The pattern does not contain seam allowances so you will have to add them to the pattern when you cut them out. This means that the seam allowance is up to you, so long as you stick to the one you choose. Generally, I go with 1cm (~ ½’’) seam allowances.
Step 2
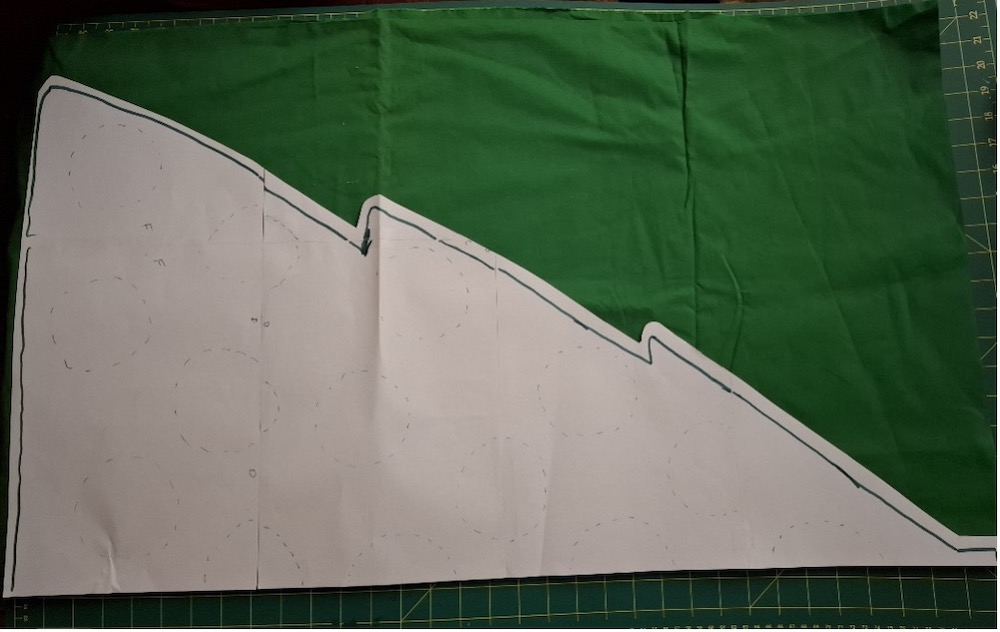
After pre-washing and drying your fabrics, and ironing if you can bring yourself to, cut your main fabric into two even pieces. Holding your two pieces of main fabric, with right-sides together, fold the fabric in half and lay it out smooth on your cutting surface. Now lay the straight edge of the tree pattern on the fold, trace around the tree, and cut it out. Now fold the interfacing in half and place it on your cutting surface, then lay the straight edge of the tree pattern on the fold, trace around the tree, then cut that out, too.
Step 3
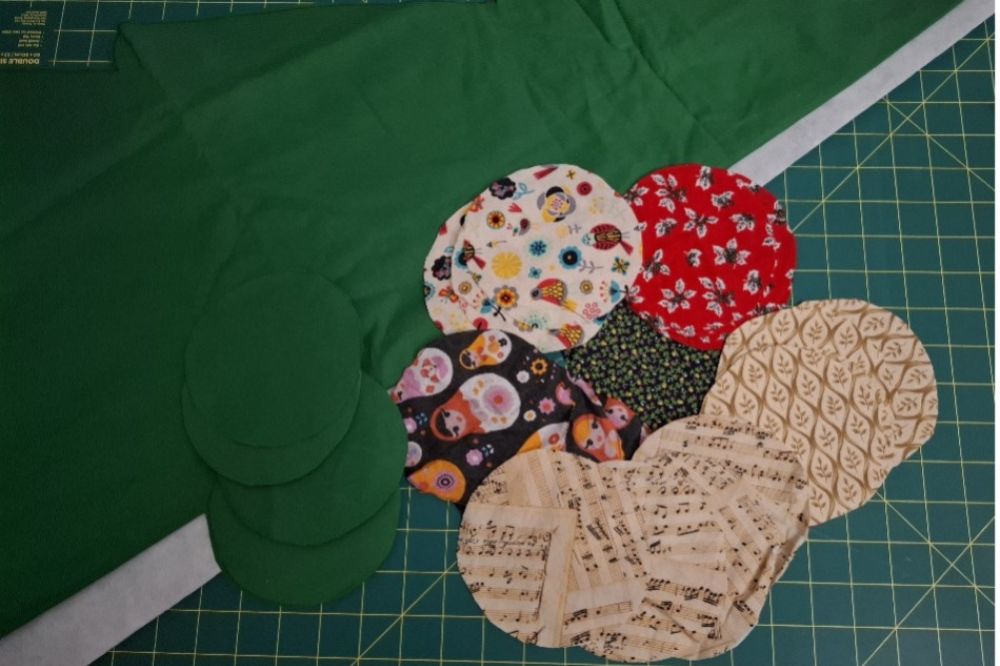
Now get your bauble fabric, pre-washed and ironed, and cut four of the bauble circles for each of the six fabrics. Then cut 24 circles of the bauble backing fabric, aka, the main tree fabric. Then pair up the bauble outer and backing fabrics, right-sides together, ready to sew. If you wanted you could do more baubles in the same colour, or make every one of them unique, it’s up to you!
Step 4
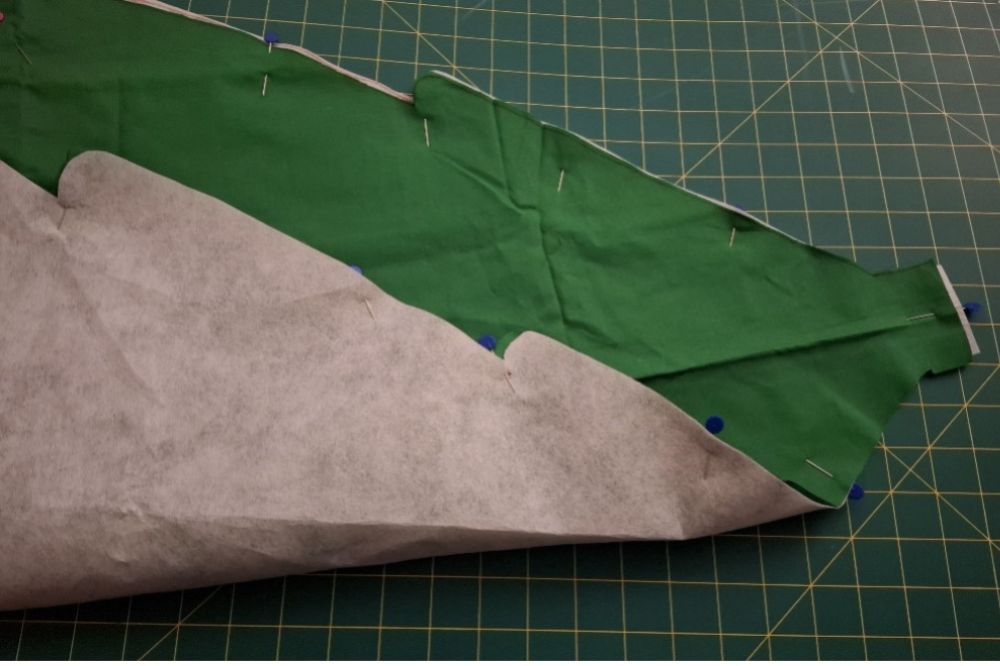
Lay out your tree fabric, unfolded, still with right-sides together, place the interfacing on top, and pin in place.
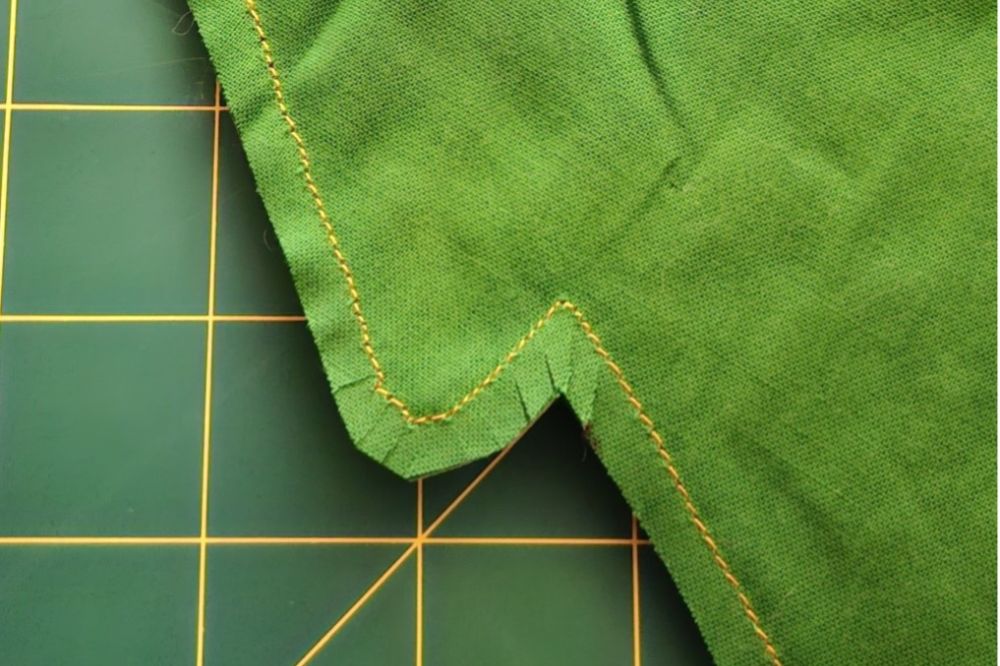
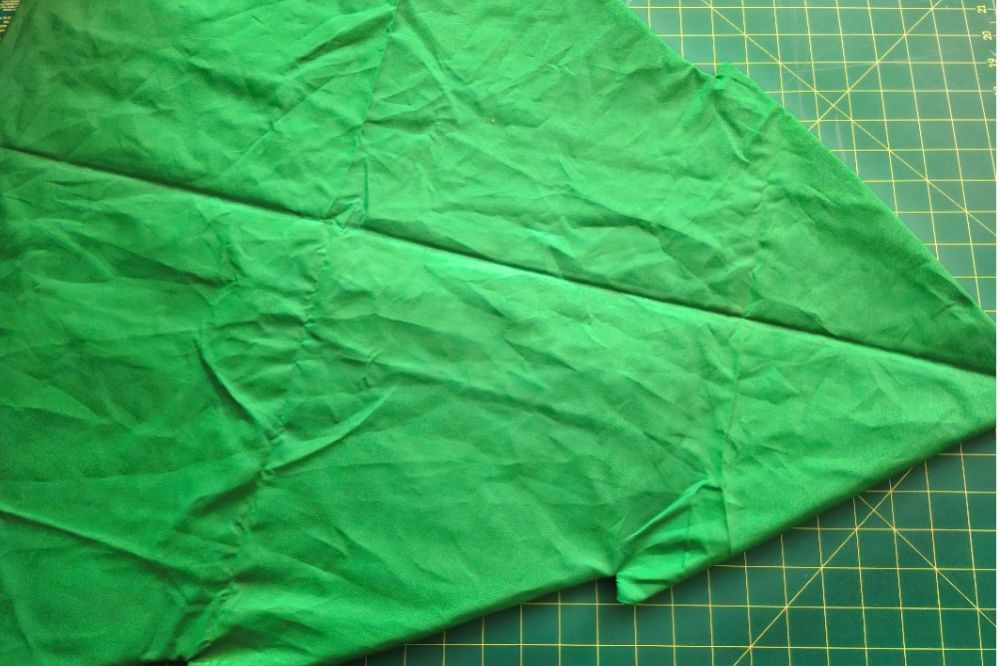
Starting at the top of the tree, and leaving the very top open, sew along the outside, then just under half way along the bottom – we’re going to leave a gap to turn it out the right way. Next flip it over and do the same thing on the other side. Now clip all the curves and angles on your seam allowance, then turn the tree out the right way through the gap you left across the bottom.
Step 5
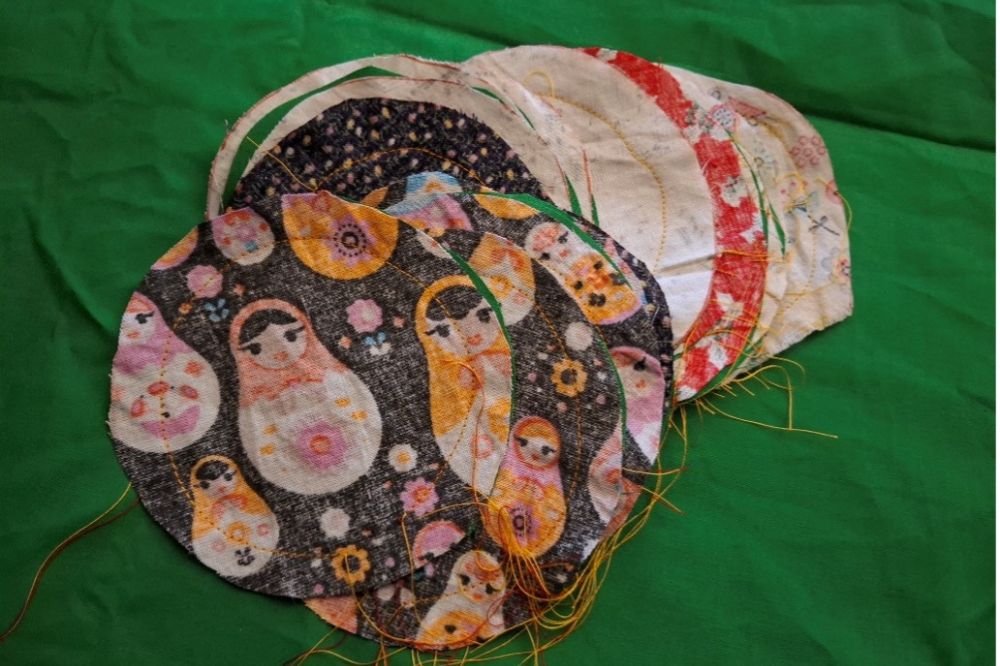
It’s bauble time! Sew around each of your bauble/backing pairs, leaving a small gap at the bottom to turn them out the right way.
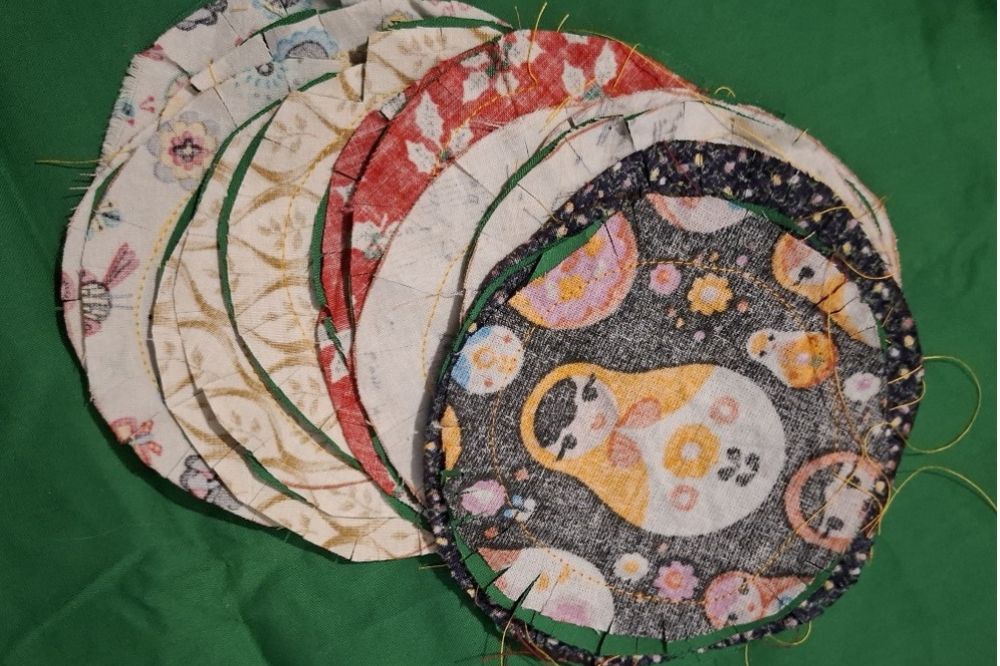
Then clip the seam allowance all the way around each bauble. All 24 of them! This task, plus the next one, seemed to take me SO long! This is a good one to do when you’re watching TV or listening to a podcast, in my opinion.
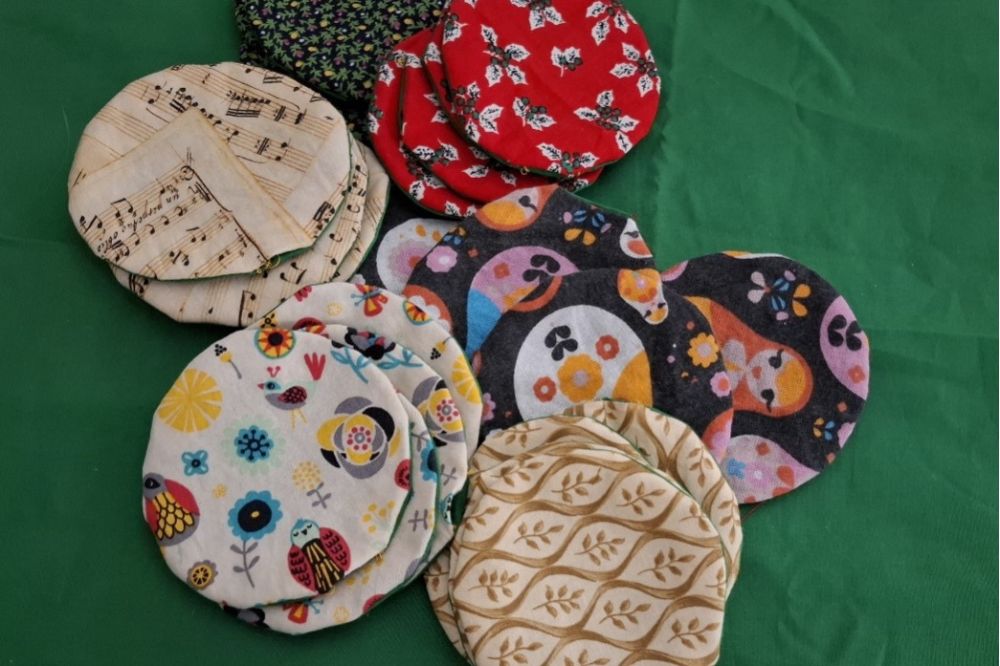
Turn the baubles right-side out! Using a chopstick, blunt pencil, or the non-brush end of a paintbrush (actually I used the non-brush end of an old make-up brush which worked really well) you’re going to push along the seam, from the inside of the bauble, so your chopstick or brush is inserted through the opening you used to turn each bauble right-side out, to ensure that they’re fully turned out and the seams are nice and smooth.
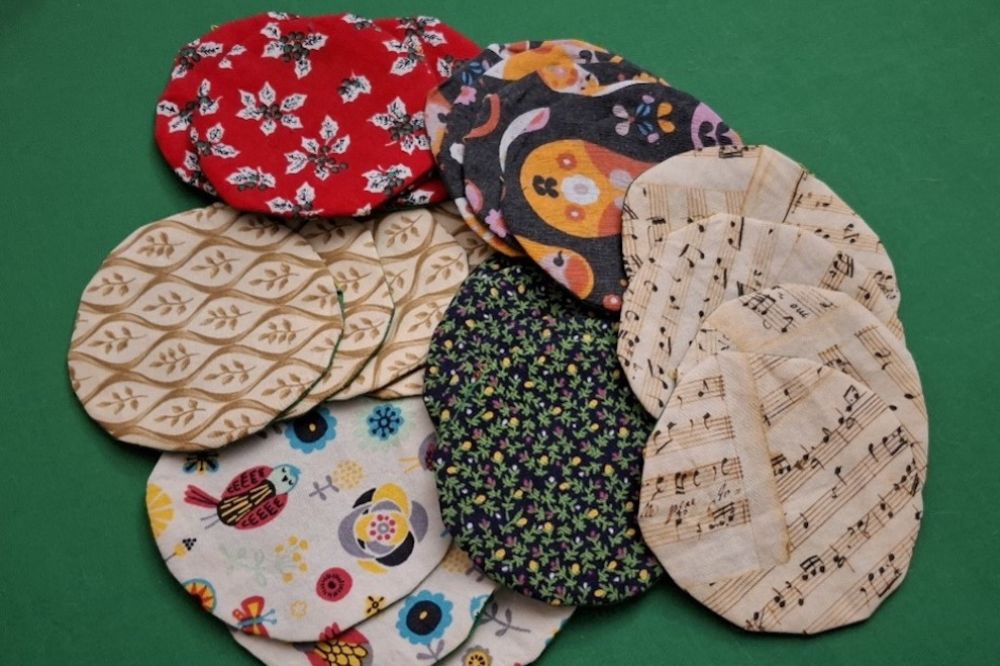
Now iron them! And the tree, while you’re at it!
Step 6
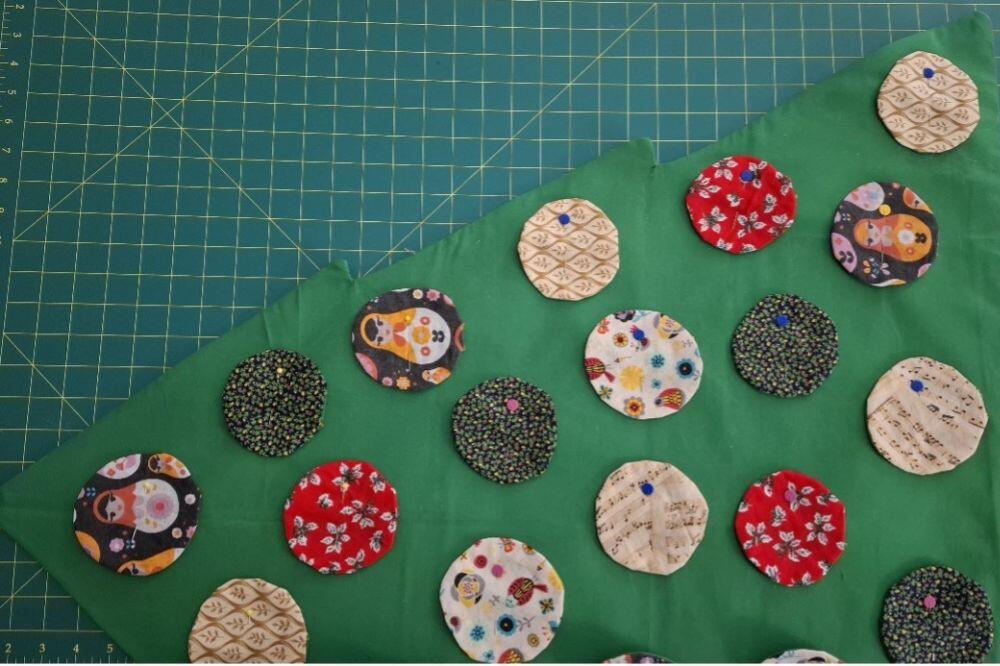
OooOOOooo, the tree calendar is starting to take shape, now! So now that everything is nice and ironed (only one more round of ironing after this, I promise!) you’re going to pin your 24 baubles in place. The pattern has dash-line circles indicating roughly how to set out the baubles. They don’t have to be perfectly exact, but generally symmetrically placed looks best in my opinion, but you do you!
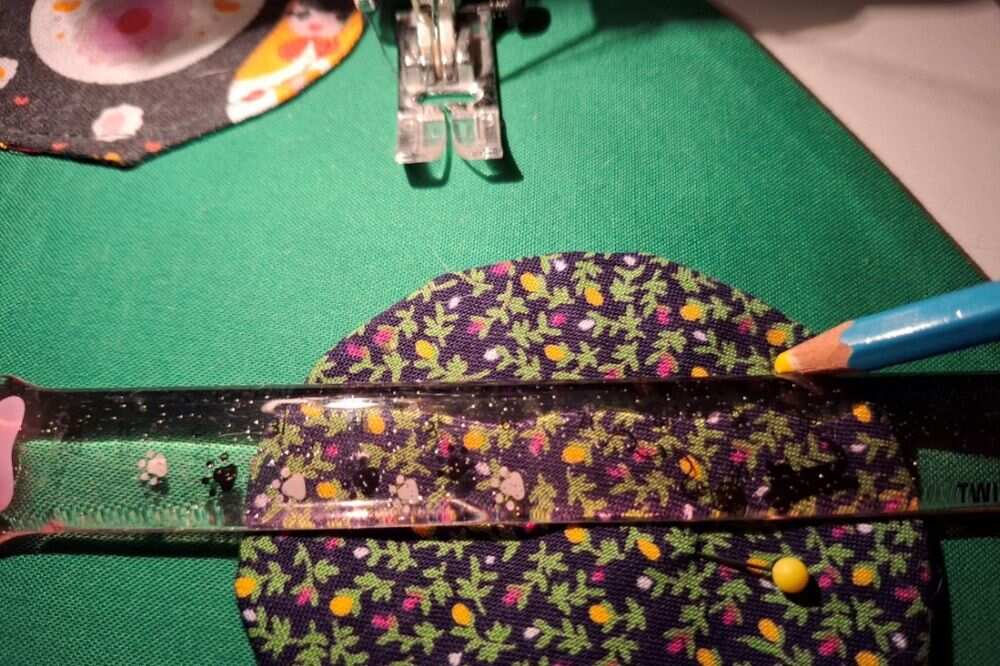
Then, if you like, you can mark two points a little way from the top which will be where you begin to sew each bauble down as a pocket. I think I only did this on three of these before I began to just eyeball these two points and didn’t bother with marking them.
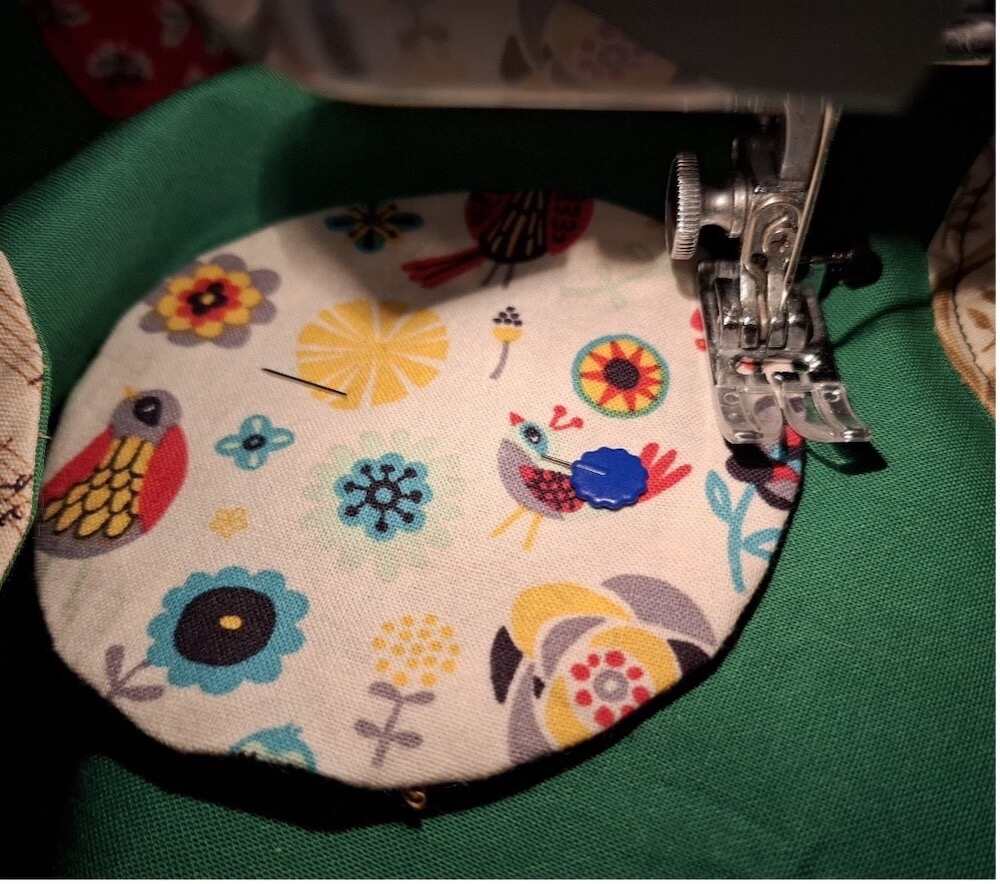
Now you’re going to sew around each bauble, (make sure you go back and forth at the beginning and end of your stitching to reinforce and prevent your stitches coming undone) leaving the top quarter or so open to form a nice secure pocket, and make sure you’re quite close to the edge. We’re talking .5cm or ¼ “away from the edge. I turned my machine’s speed down to slow for this step, and made my way slowly around each of the baubles after the first couple came out a little jagged when I was going too fast.
Step 7
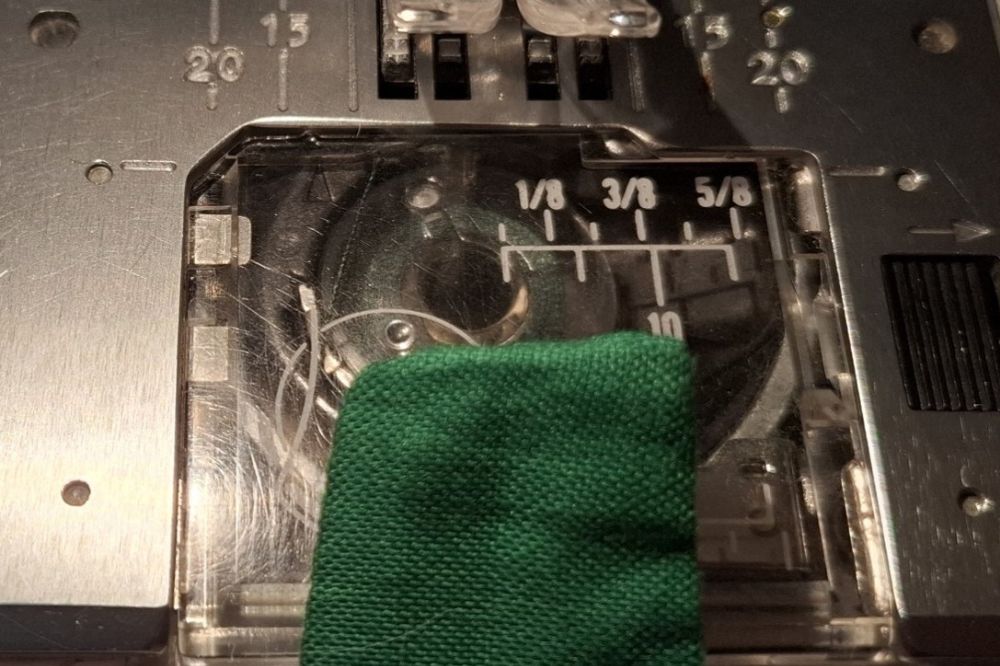
Now that all those baubles are sewn on, we’re going to tackle the tab at the top of the tree. I happened to have a metal ring that one of my cats pulled off one of our roller blinds, but any ring would work as a hanger, like curtain rings or those ubiquitous pale wooden rings that always seem to be in the craft section of the op shop! So, first thing we’re going to do is turn in the ends of the tab.
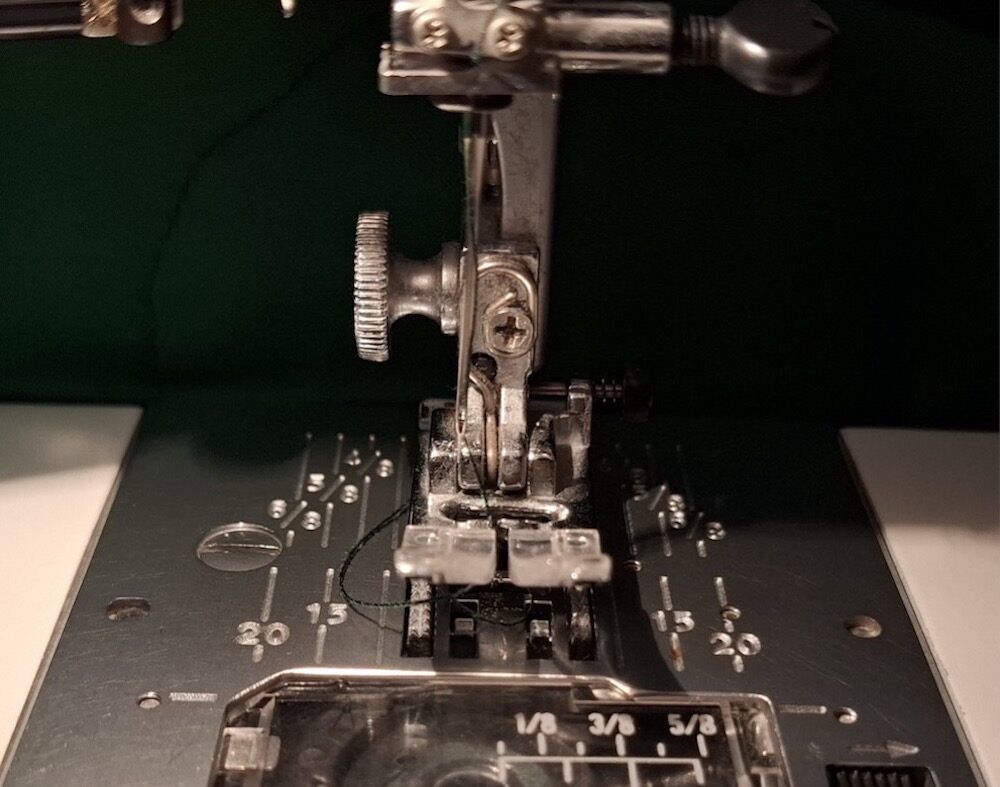
Then move the needle of your sewing machine as far over to the left as you can. Not all machines have this feature, and if yours doesn’t that’s okay, it just makes it easier to sew the tab down.
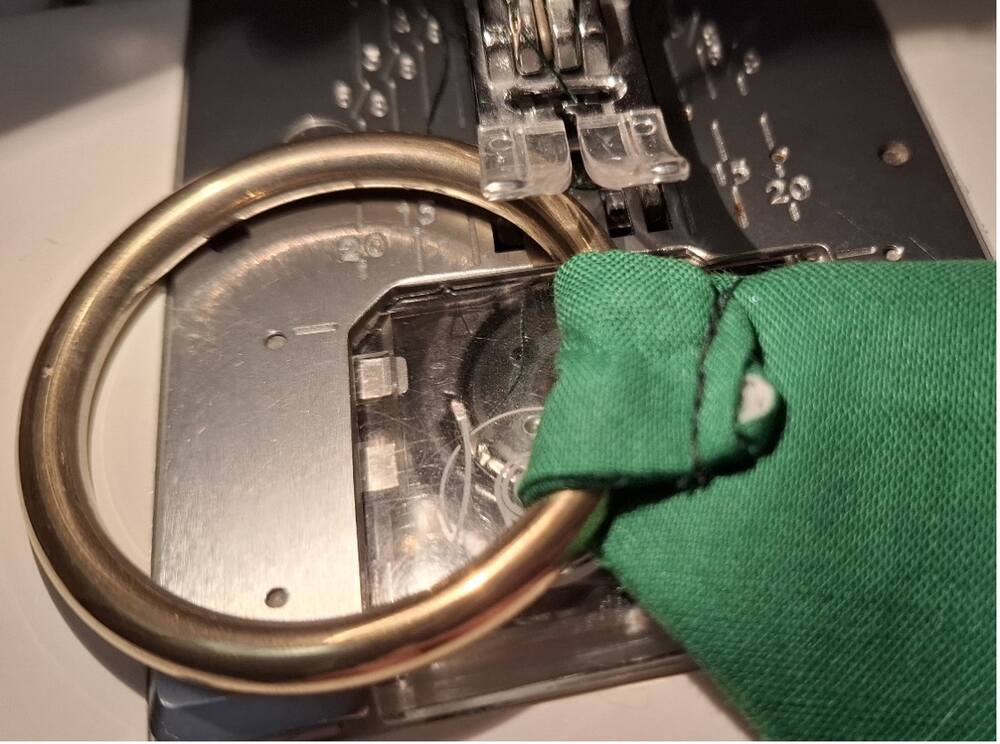
Then fold the tab around the ring, with the tab towards the back of the tree, and then sew back and forth across the tab a few times to secure it.
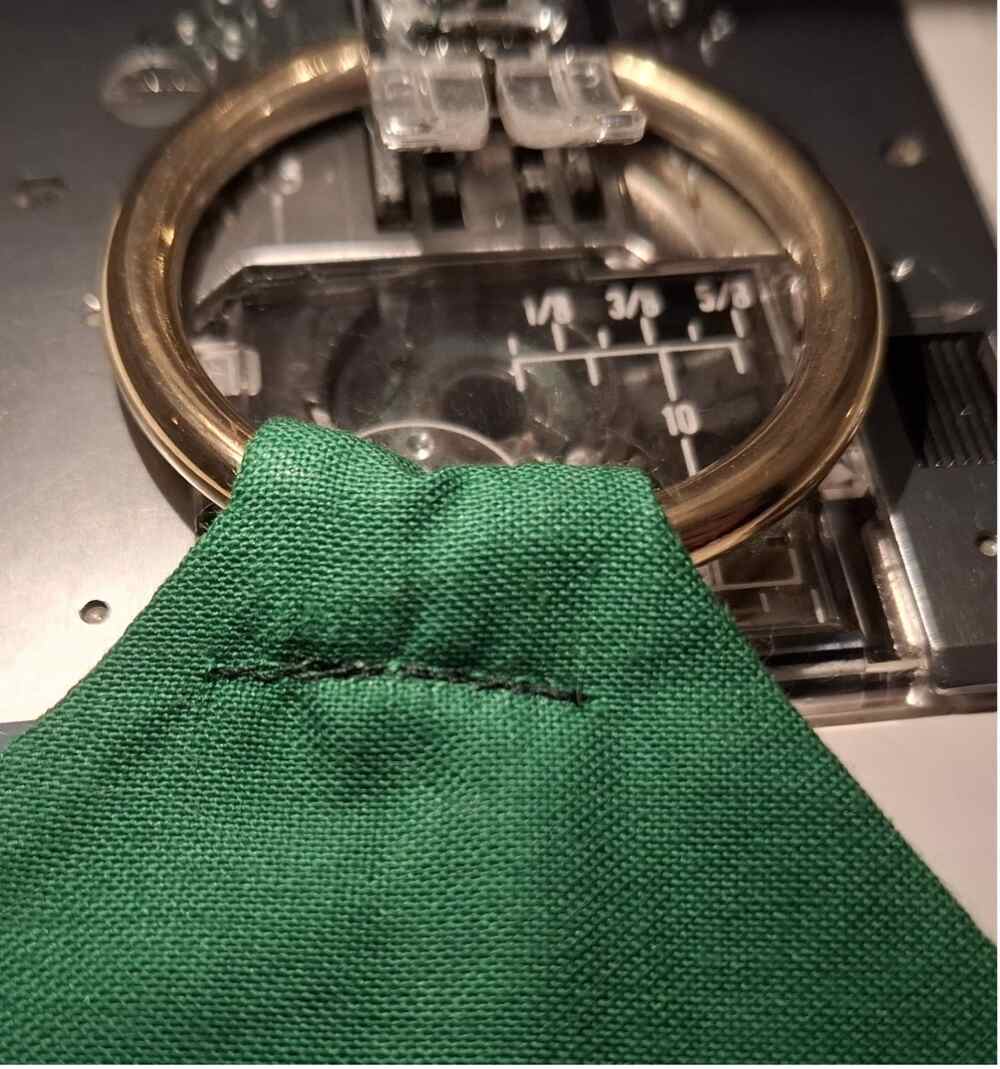
Flip it over and the top of your tree should look like this!
Step 8
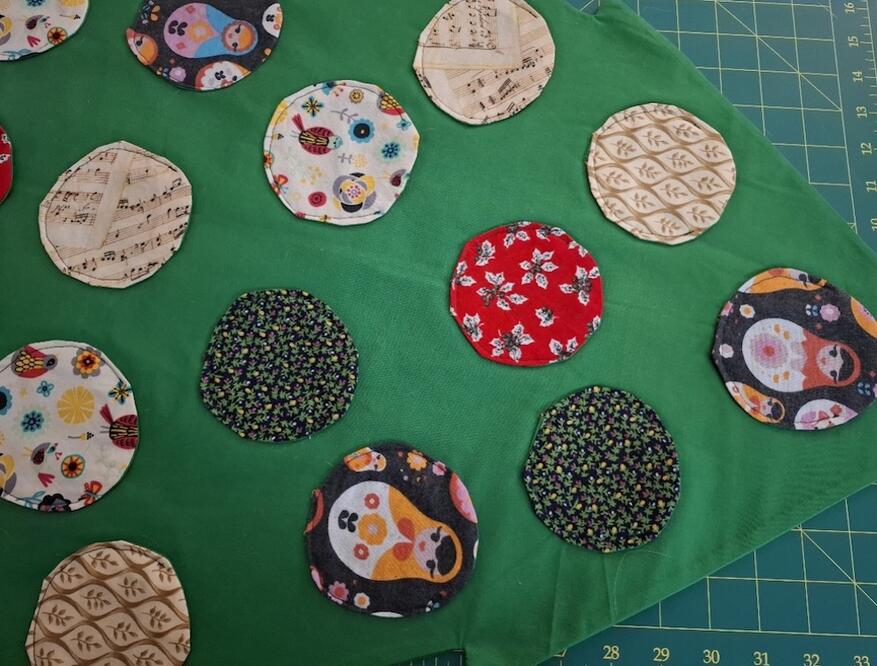
I’m sorry, but now that you’ve rumpled the heck out of your tree in order to sew on all the baubles… you have to iron it all again! Give it a good iron, because this is the last time!
Step 9
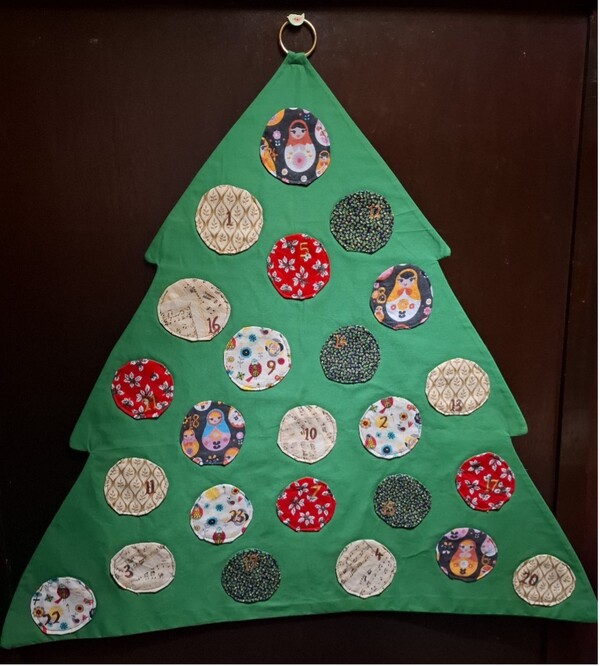
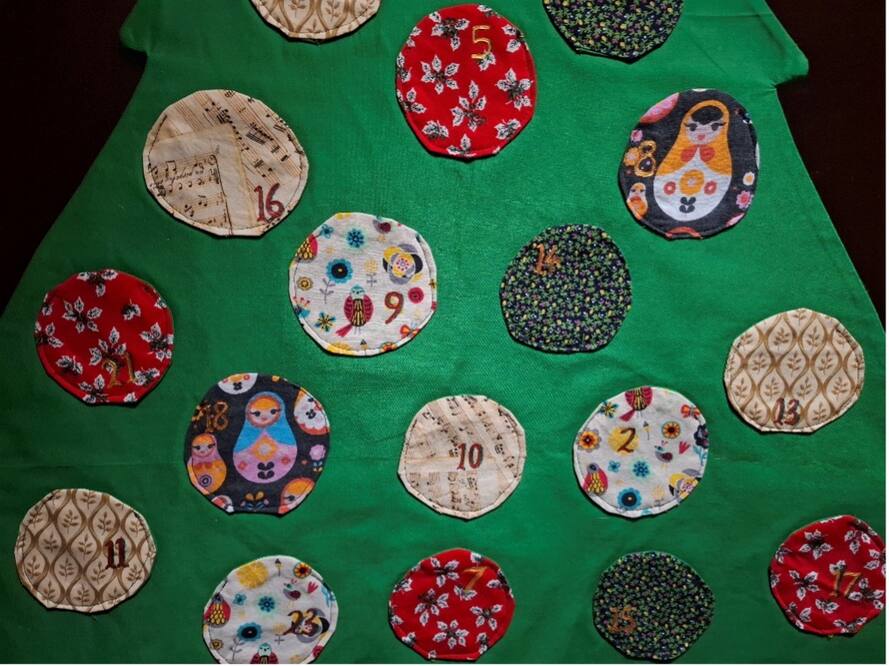
Now to assign your numbers and paint them onto your baubles. Of course, if you had a sewing machine that did embroidered numbers, you could certainly have embroidered on the numbers before you sewed them onto the tree, or you could hand embroider them on, but I chose not to because my hand embroidery isn’t that good and I was on a bit of a time crunch with this project. I actually love how the painted numbers came out! I used gold, red, and green metallic paints, and moved the placement of the numbers around for variety.
Step 10
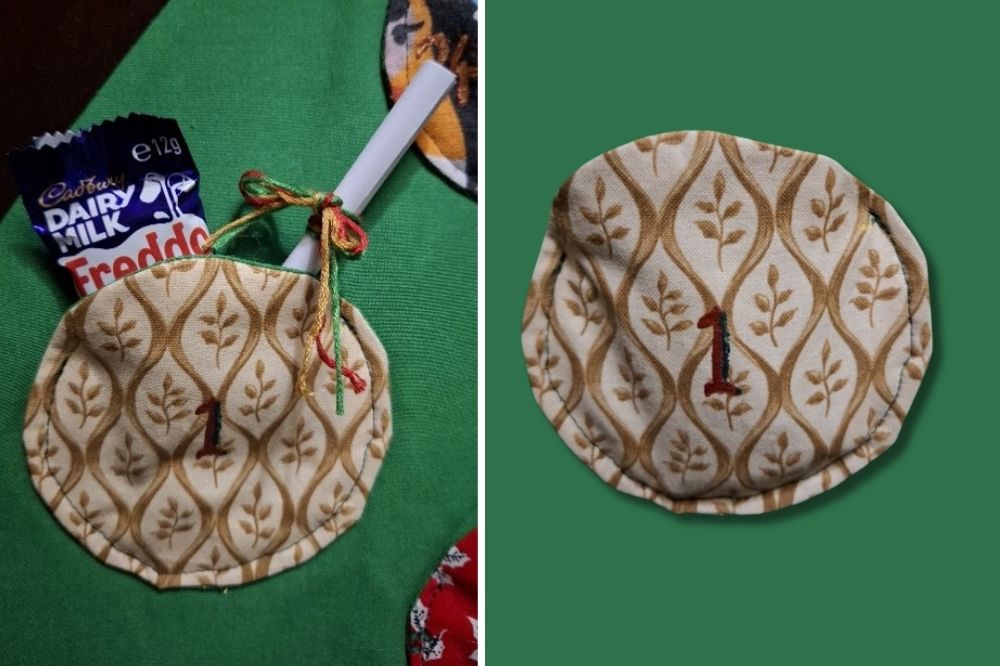
Now to fill the pockets! This year my husband and I decided to fill each pocket with different kinds of Freddo and Caramello chocolates, as well as a little scroll tied with embroidery floss that contains a very cheesy cat-related Christmas joke for our darling little cat-obsessed daughter.
Want to learn more Sewing Christmas Projects? I got you! Here’s our 25 Charming Christmas Sewing Projects for you to try this holiday season!
That’s A Wrap!
We have the advent calendar up in the hall and it’s lovely to walk past over and over all day. It’s so festive looking, and I’m really happy with how it turned out! I look forward to getting it out year after year and planning different things to go in the pockets. Honestly, I’m thinking of whipping up another couple so that my husband and I can also have advent calendars and our hall can be a little festive forest!
It may seem like a lot, but this project is actually pretty accessible, especially if you take your time. It’s also something that will last and last. I’d love to see yours if you give it a go, so tag me on Instagram if you do at fat_sparrow_sewing over there!

