
As September rolls around I feel excited, because the last week of August and the first week of September contains my husband’s birthday, my birthday, Father’s Day, ‘Back to Hogwarts Day’, and the beginning of ‘Spooky Season’, all packed into less than a fortnight! But I also feel a little melancholy. You see, here in Australia, Spring begins on the first day of September, which means the end of my beloved Winter and the lovely cold weather. I can, however, vicariously enjoy the Autumnal vibes those in the Northern Hemisphere are basking in, especially whilst using my super cute new pot holders! Over the last few years, my kitchen has steadily become increasingly Autumnal, with more and more pumpkin or mushroom shaped items, and I adore acorns, so I wanted to make pot holders in the shape of each of these respectively. These pot holders are entirely from my stash, and the sort of thing you can make with small left-over pieces of fabric in a single afternoon. I’ve included the templates I created for you to download, but because mine are made for my tiny hands, I’ve included an enlarged size as well if you don’t have tiny hands, just print at ‘Fit to page’ on A4 or Standard Letter size for Americans.
What You Need:
• Cotton or wool fabric for outer, inner, and bias binding of pumpkin
• Cotton or wool batting or fabric for the lining
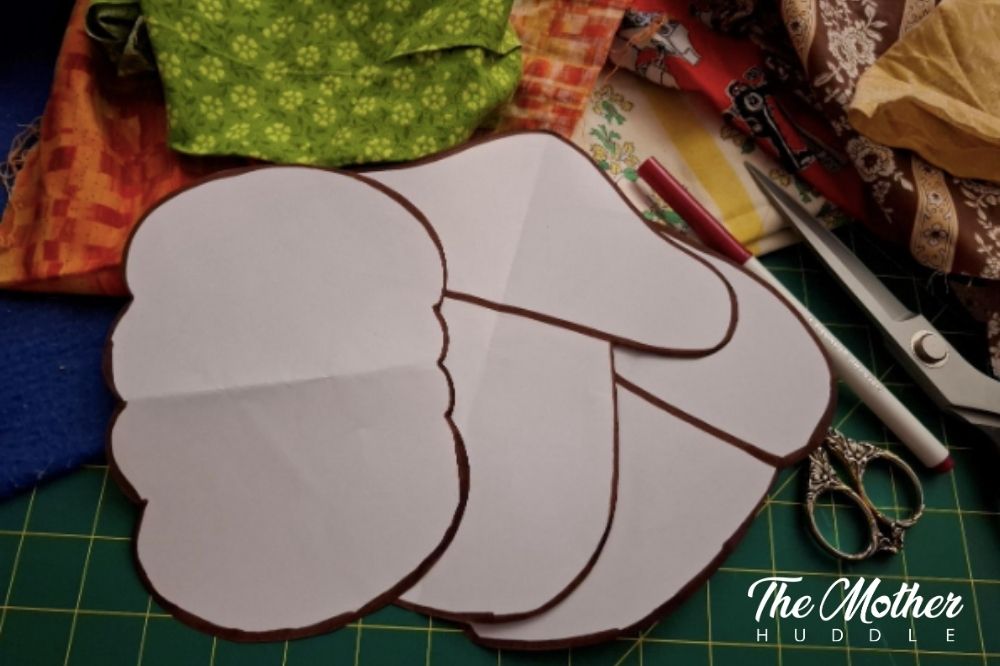
• Downloadable Template
• Scissors
• Washable marker or tailor’s chalk
• Thread
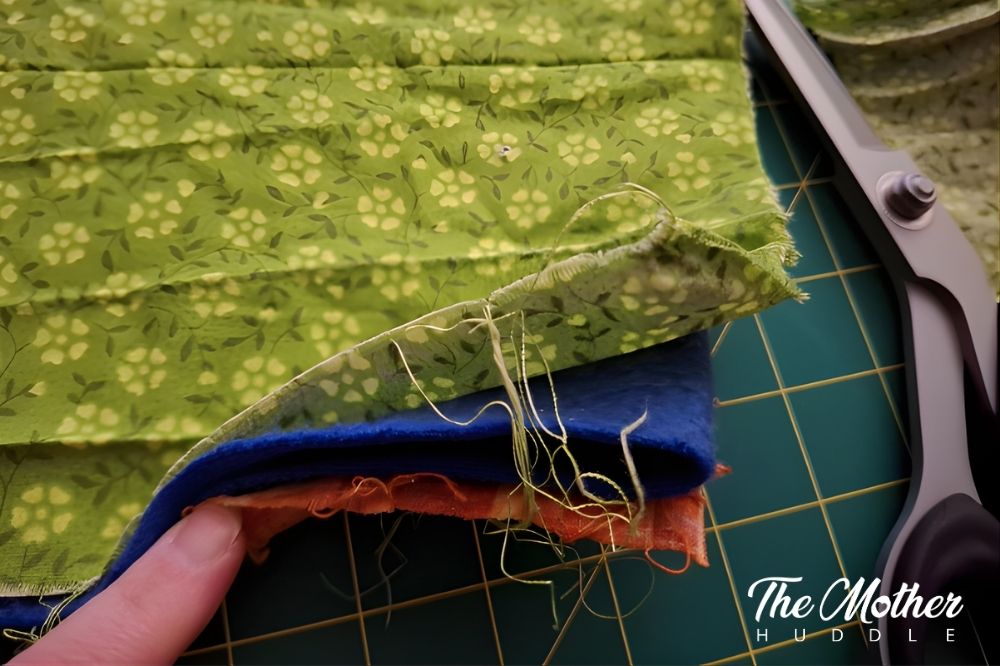
Notes on fabrics – You are going to be using these to hold potentially very hot items, so it’s very, very important that your fabrics can stand up to that heat, which is why you must use either cotton or wool. Your batting also needs to be cotton or wool, and it can be actual batting or multiple layers of cotton or wool fabric if that’s what you have to hand, just do more layers if you don’t have thick fabric or batting. It also doesn’t matter what it looks like because it’s going to be sandwiched in between your outer and inner fabrics. I had just finished cutting out a thick cotton fleece hoodie for my husband, so I used the scraps of that for my batting, two layers inside each pot holder. If you have a fabric that you’re not sure of the fibre composition, you can do a burn test. Stand at your sink with a small piece of your fabric and light it on fire. If the fabric continues to burn after being lit, and leaves ash residue once you blow the flame out, then you’ve got a natural fibre. It’ll also smell kind of like burnt hair. If the flame goes out and leaves small, hard, balls, or shrivels to a hard edge where it was burnt, and has a plastic-y scent, then it’s polyester and not safe to use for a pot holder.
Step 1
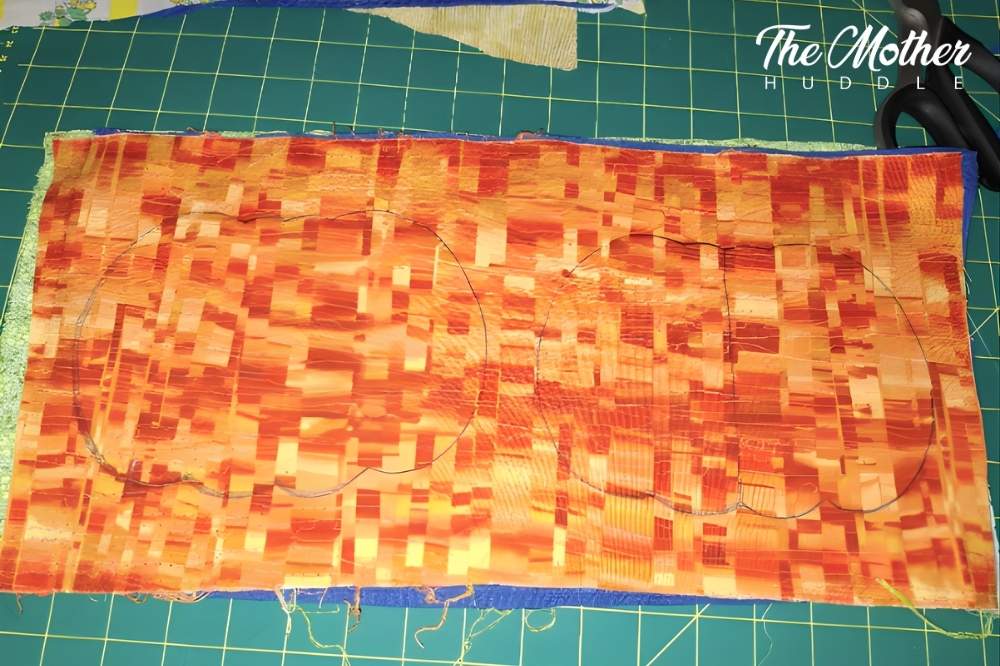
Pre-wash and iron your fabrics, then lay out your inner fabric, batting, outer fabric, sandwich, and mark the outlines of your pumpkins. You’re going to need two pumpkins made of the entire fabric sandwich. Draw a line down the centre of your second pumpkin; this will be the one we cut in half, but don’t cut anything out yet!
Step 2
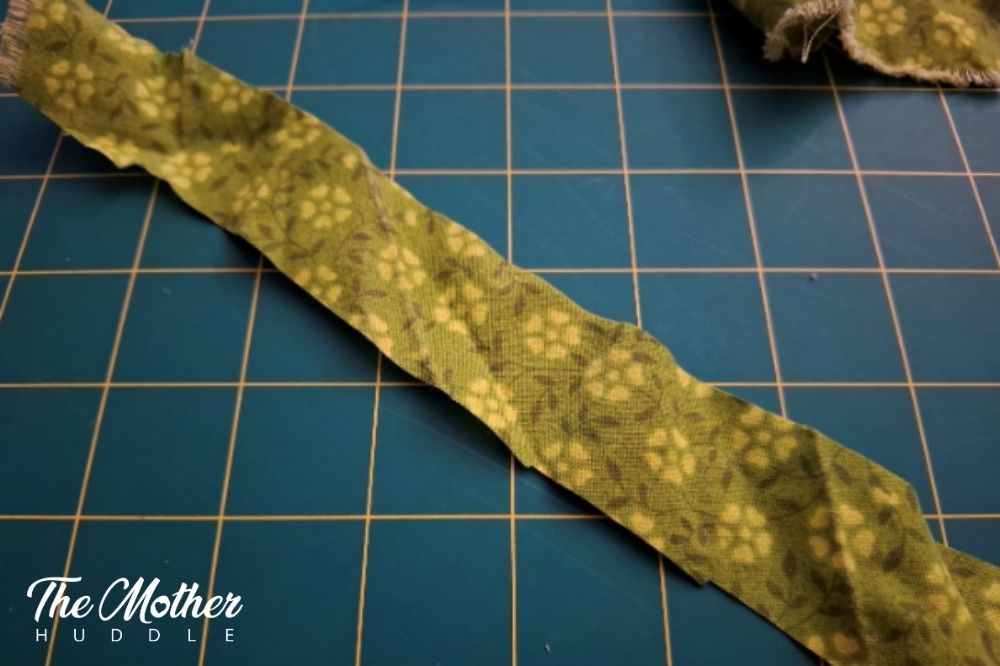
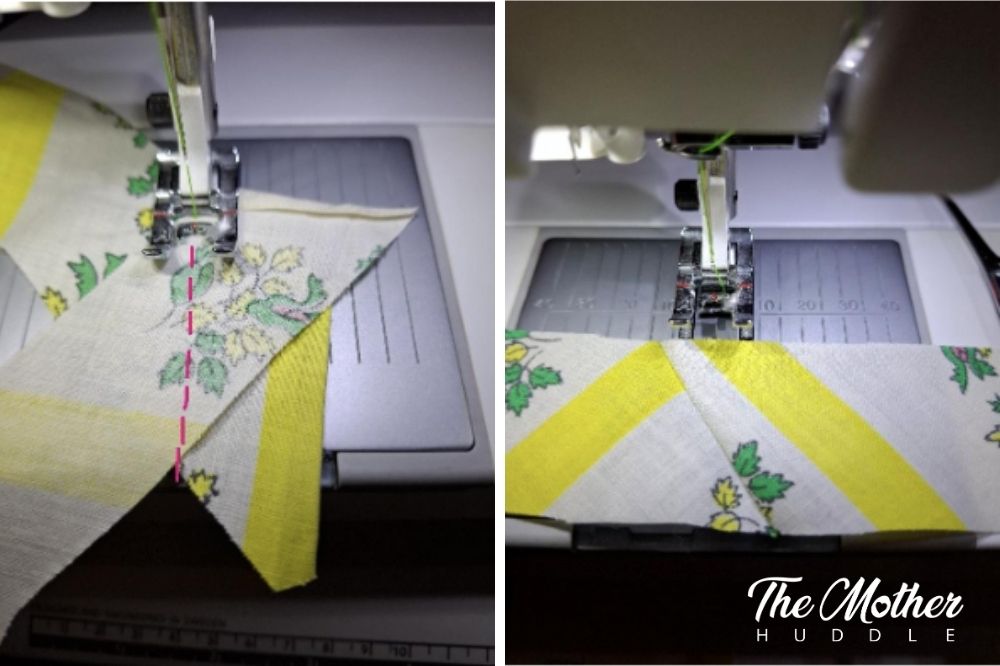
Cut yourself some bias binding strips, which are 2.5cm or 1’’ strips of fabric, cut on a 45-degree angle to the grain of the fabric, which gives them a little stretch, making them go round curves so much easier than fabric cut on the straight grain. Once you have a few strips cut, you’re going to overlap the ends at a right angle, as shown below, and sew diagonally across where the two strips meet. Trim off the excess and you’ll have a nice long strip of bias tape!
Step 3
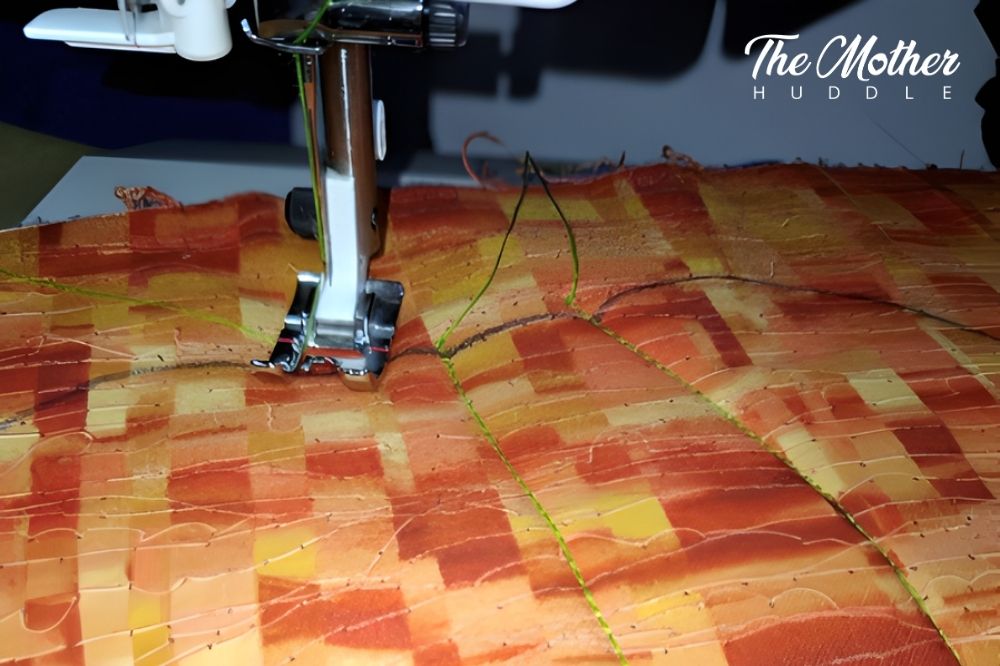
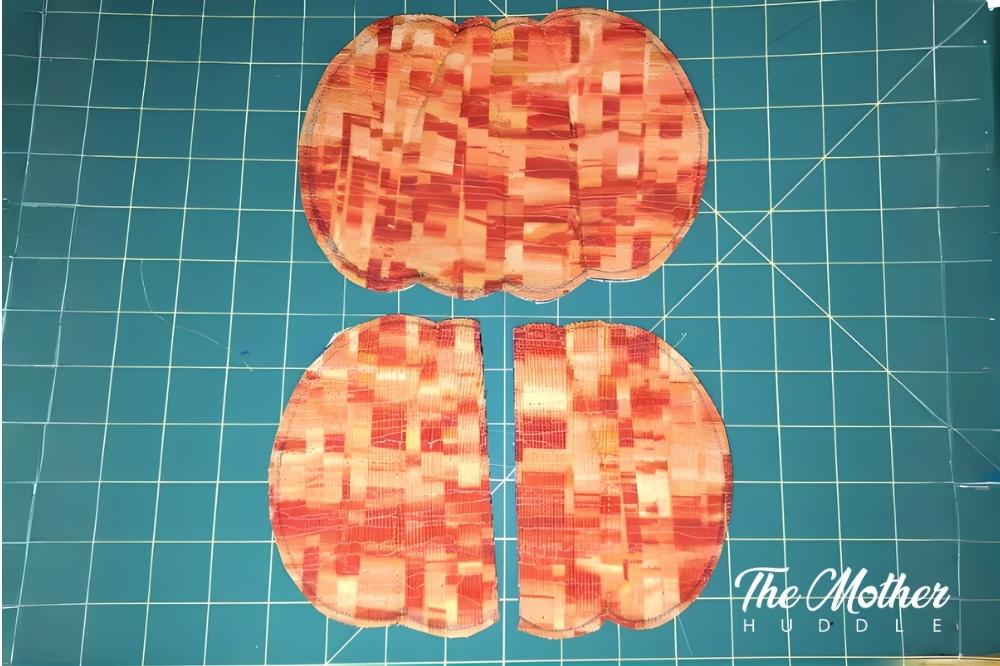
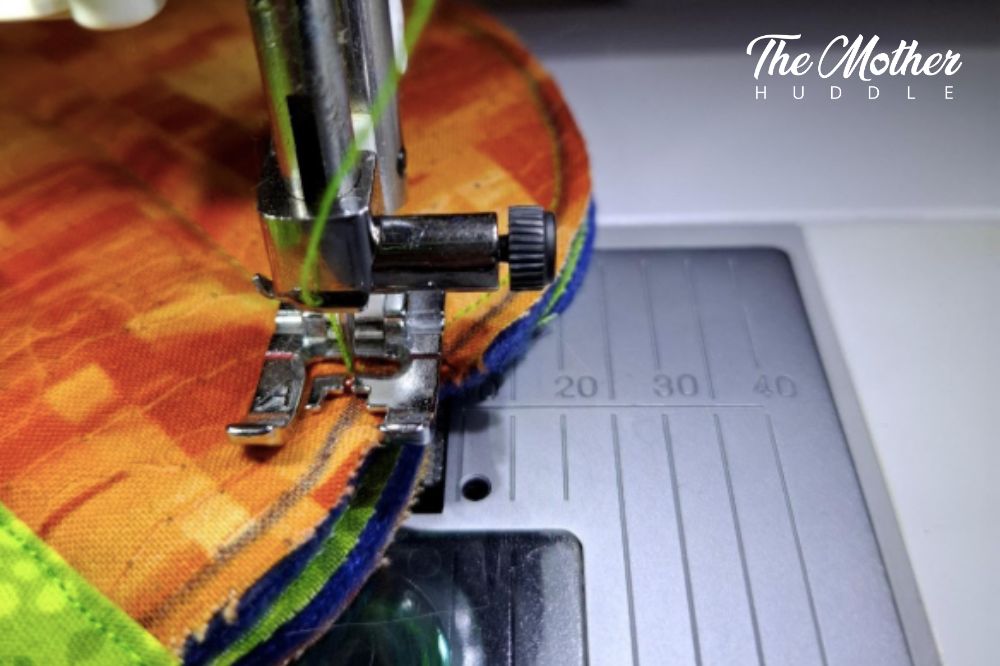
Sewing through all layers of your fabric, quilt in all three pumpkin lines on your first pumpkin, and just the outer pumpkin lines on your second pumpkin, not the centre line, because after you’ve quilted the lines, you’re going to cut out your pumpkins, and cut your second pumpkin in half right down the centre line we marked earlier.

Step 4
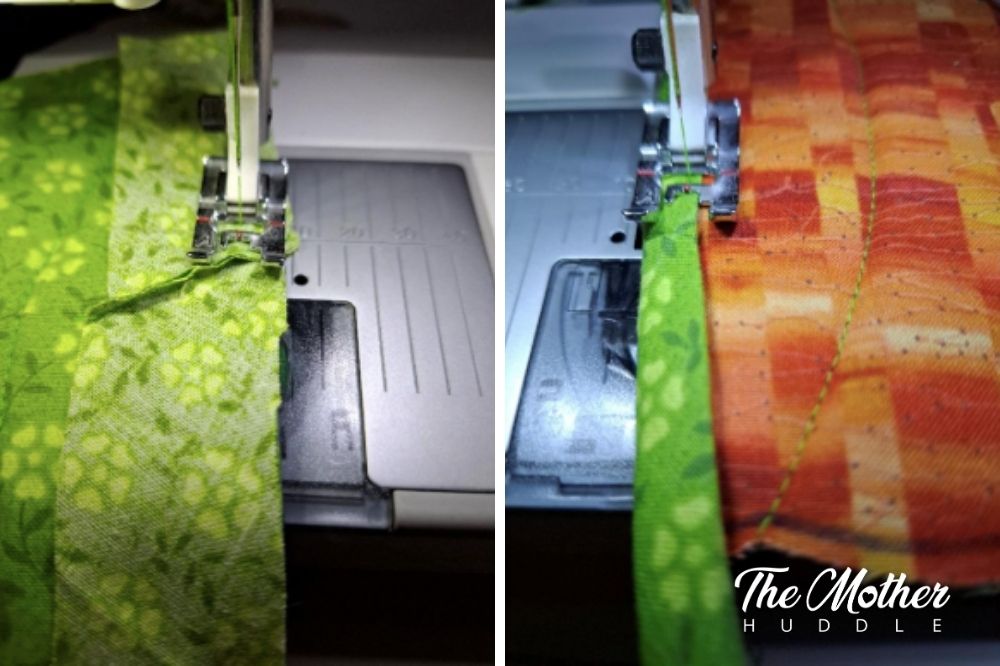
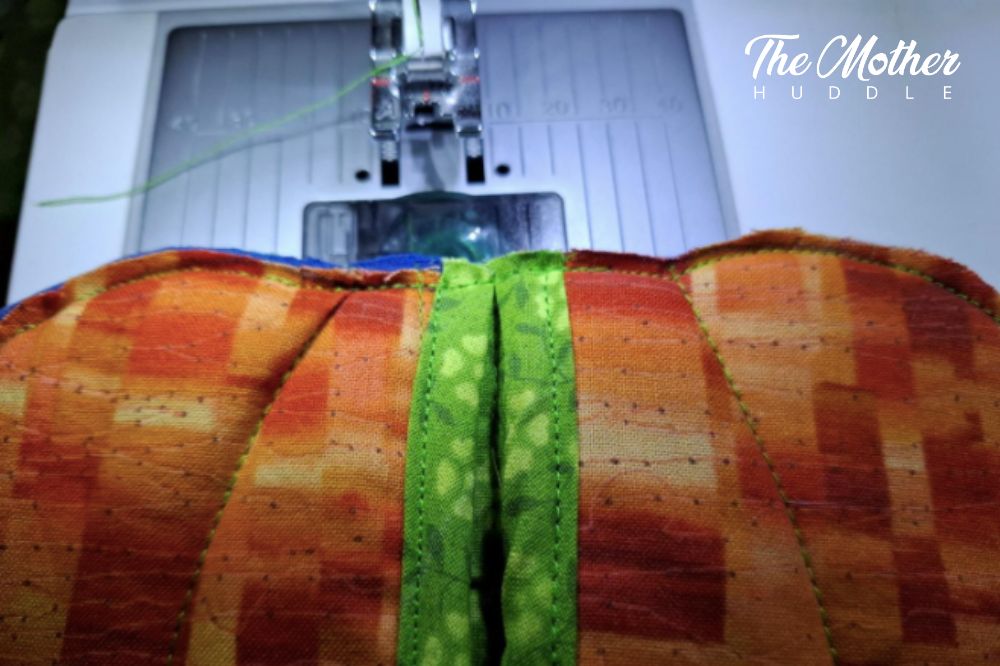
The first place to sew the bias binding is along the two straight edges of the pumpkin you cut in half. Lay the bias tape on the inner side of your piece of pumpkin, right sides together, and sew it down with a .5cm or ¼ ‘’ seam allowance. Then flip the piece over and fold the bias tape over the raw edge of your pumpkin, then fold in the raw edge of the bias tape and topstitch it down. Do this for both halves of your cut pumpkin.
Step 5
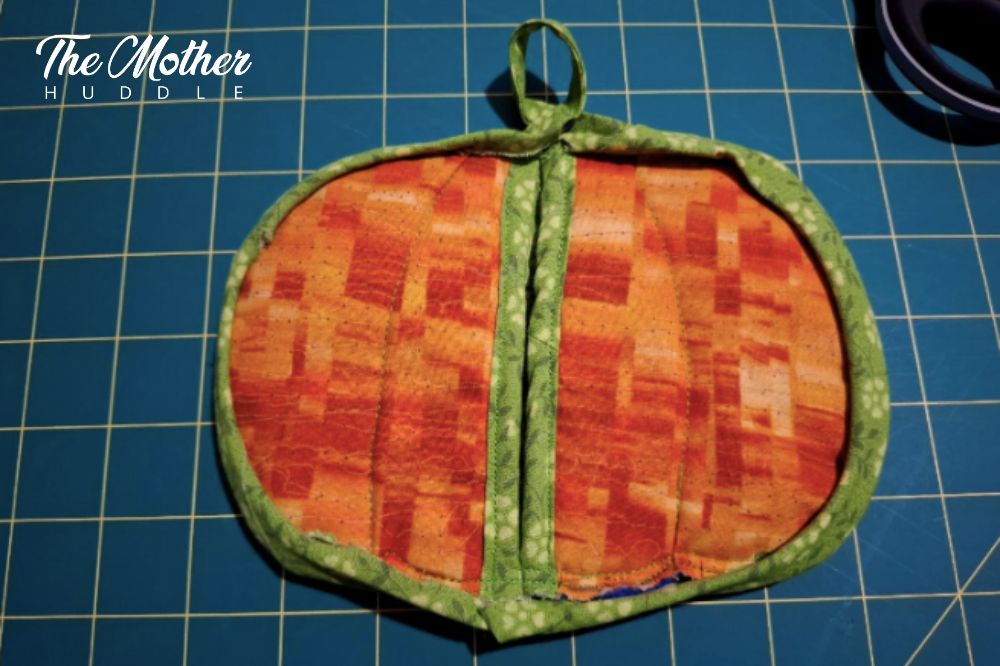
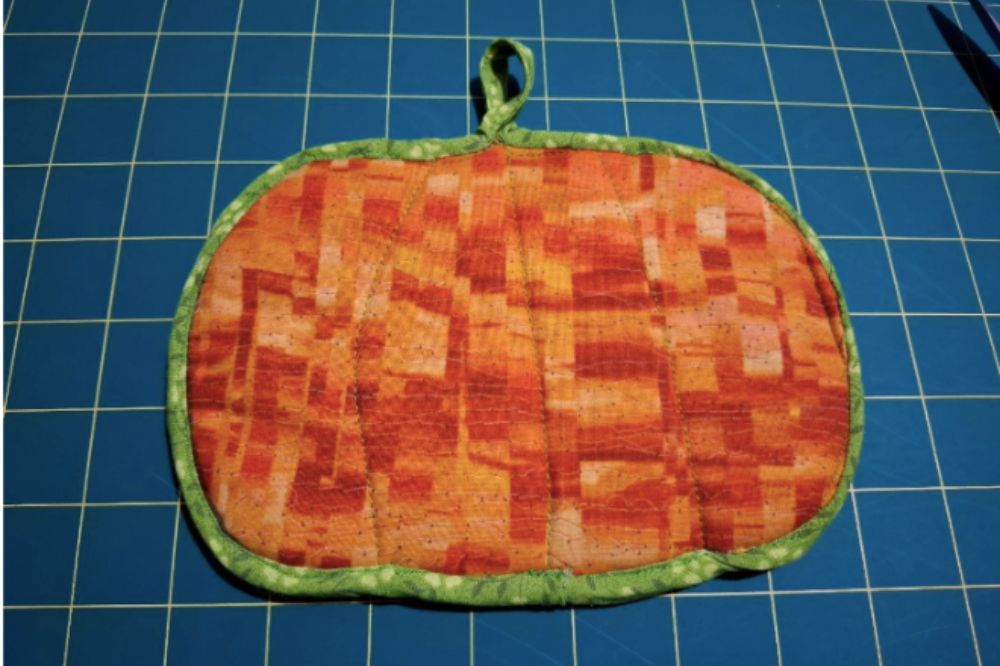
Next, you’re going to sew your quilted pumpkins together, right sides out. Go slow because you’re sewing through all your layers of fabric at the same time. Trim your seam allowances down if they’re more than 5mm or ¼ inch, and you’ll have a pumpkin that looks like this!
Step 6
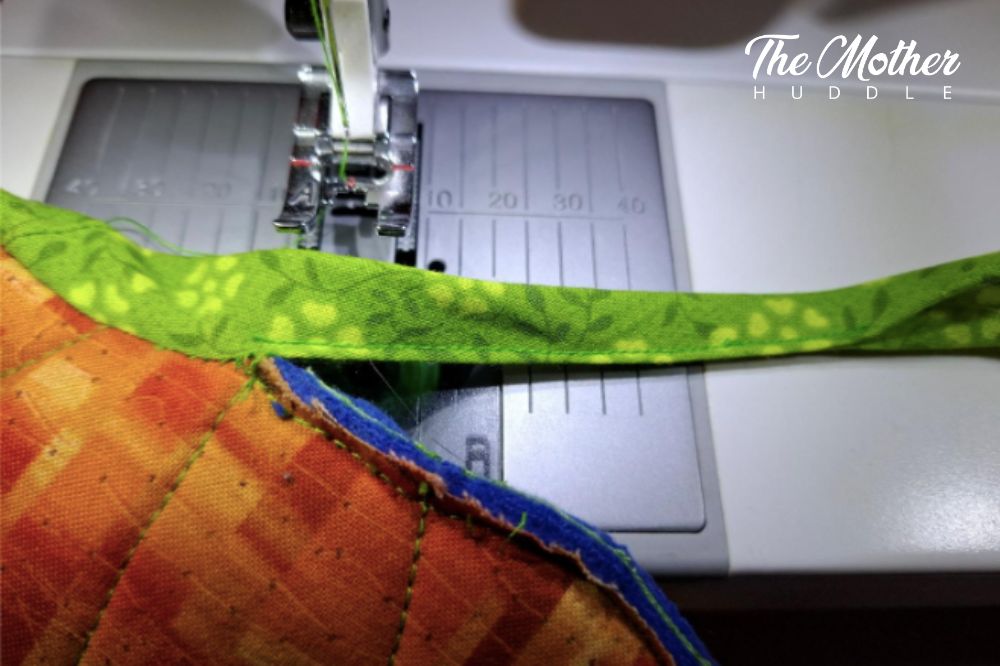
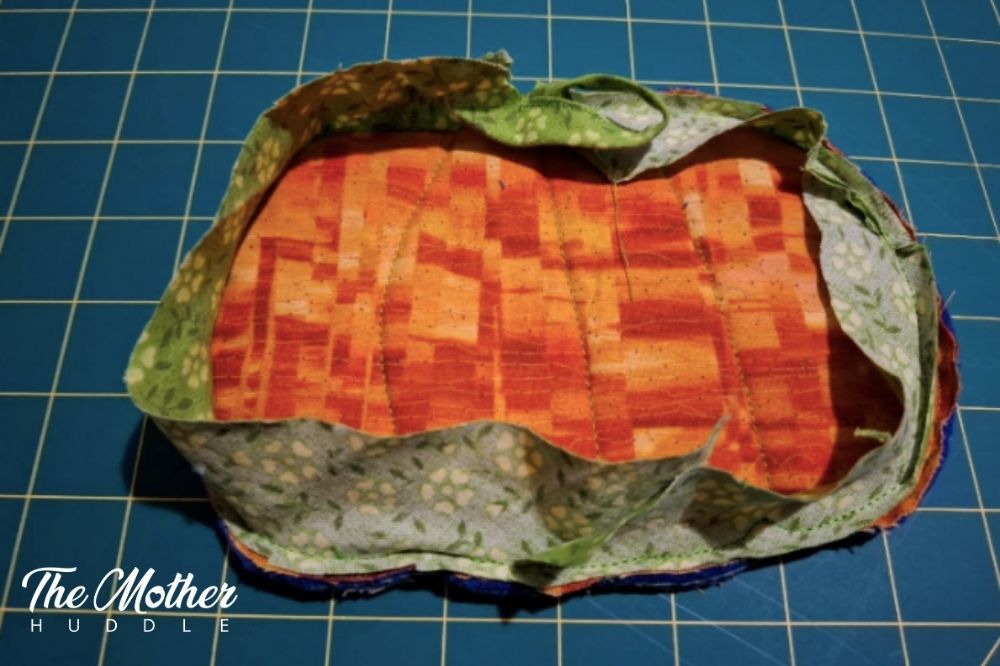
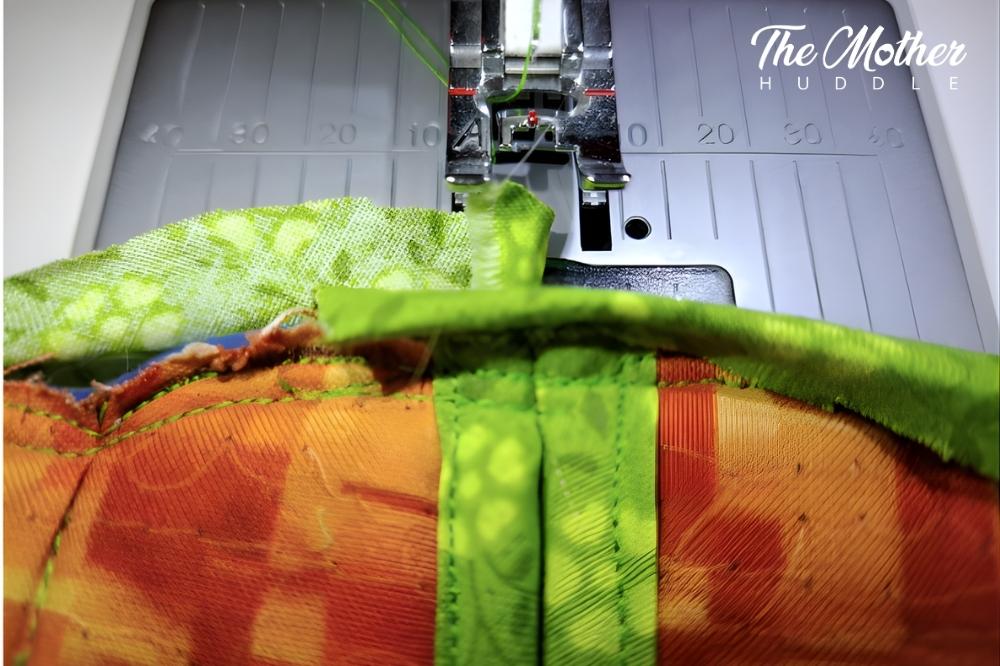
Now it’s time to bind the edge of your whole pumpkin! Flip your pumpkin over so you’re looking at the back, the side you didn’t cut in half, and lay your bias binding, right sides together, along the bottom edge of your pumpkin. Now keeping the edge of your bias binding flush with edge of your pumpkin, sew around the outside until you reach the centre of the top of your pumpkin, because we are going to do a neat (but fiddly) little bit of sewing so that the bias binding makes the hanging loop!
Step 7
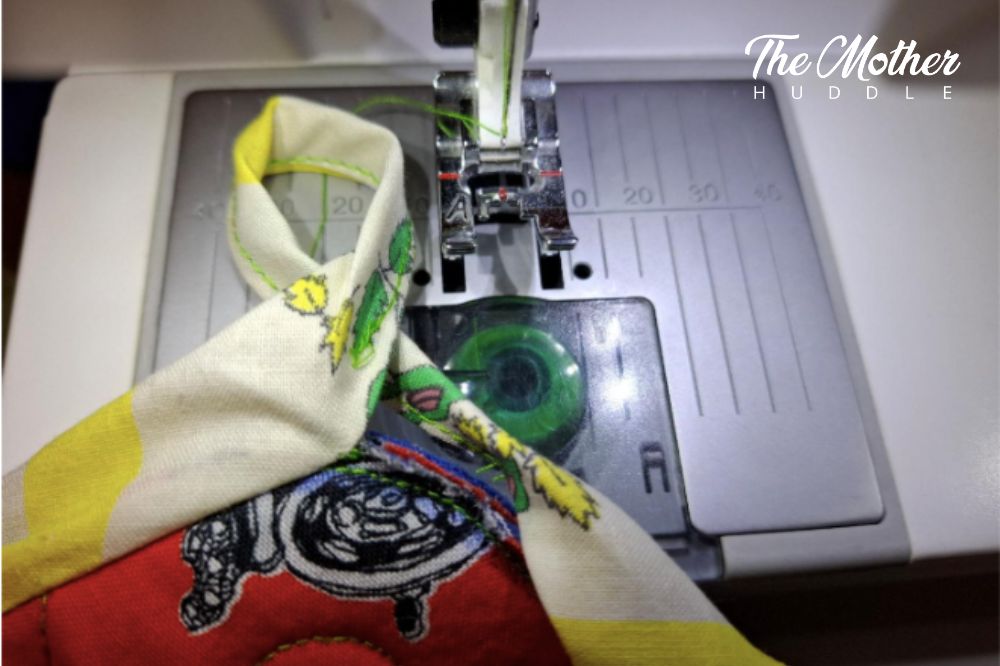
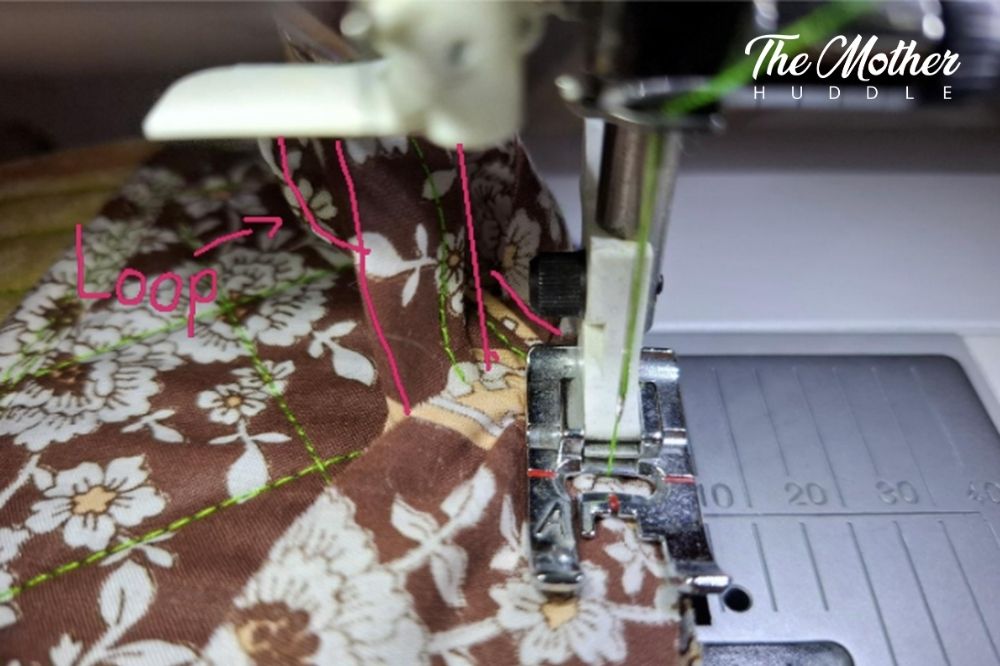
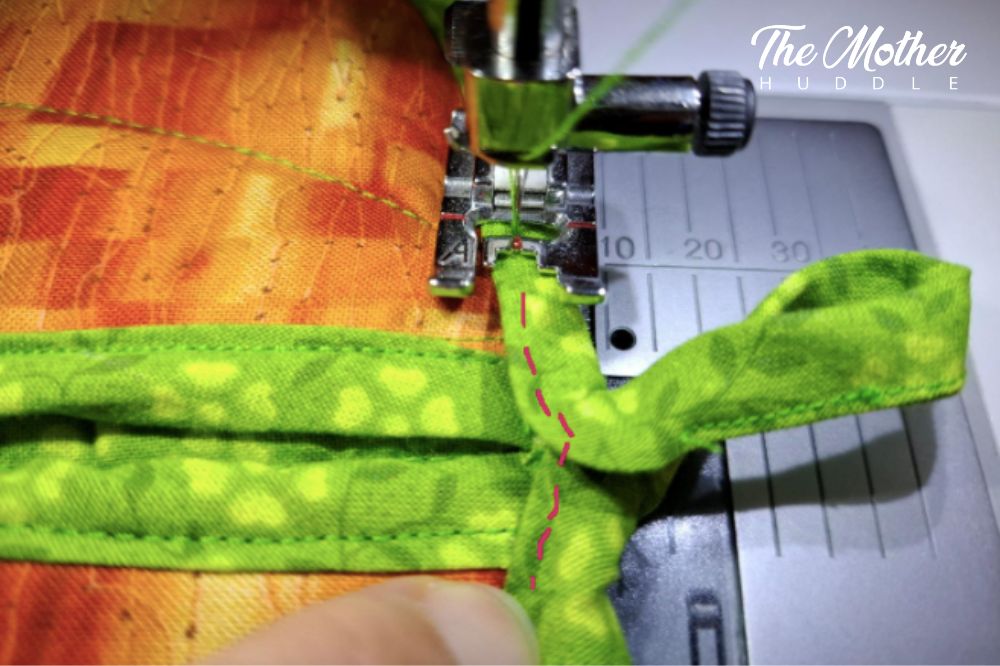
At the top centre of your pumpkin fold in the edges of your bias tape in towards the centre, then fold that in half, and top stitch it closed for 8cm or about 3 inches. To make the loop you simply fold the bias binding back on itself and open out the section after your stitching, and start sewing it down like before. I’ll include a picture of this step from one of the other pot holders because it shows it more clearly. Continue all the way around to where you began, overlapping your starting point by 1cm or ½ inch.
Step 8
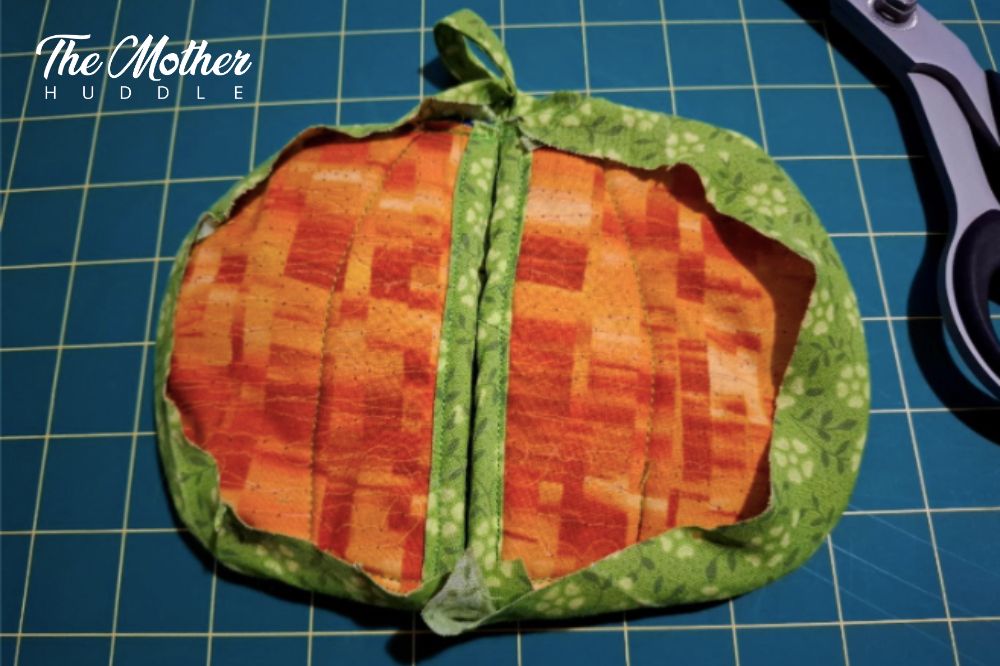
Now that your pumpkin looks like this, you’re going to pull the bias binding firmly around the edge, so that it looks like this from the back.
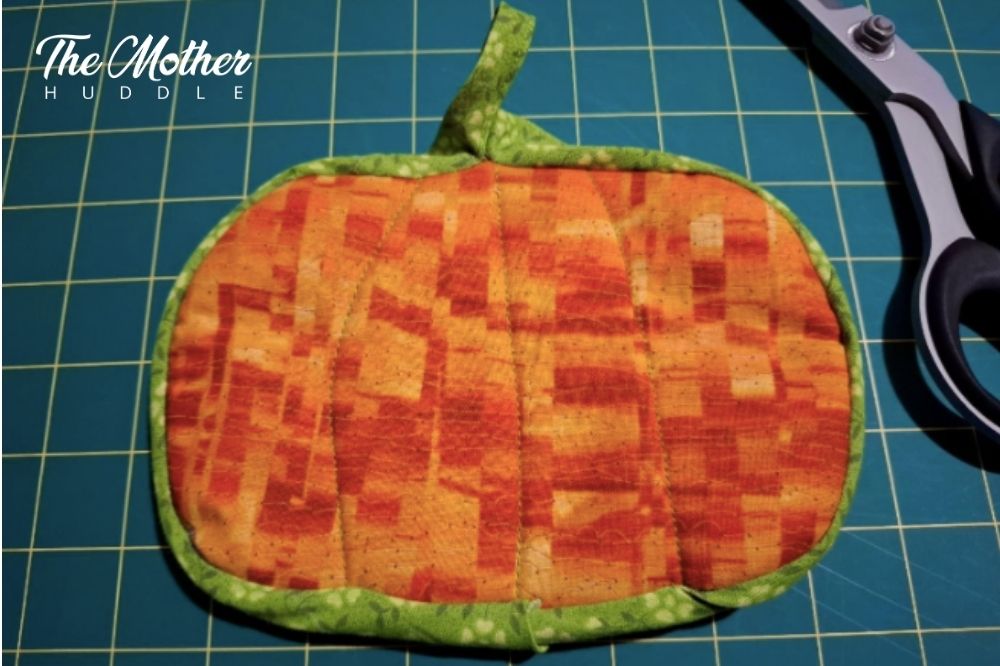
And like this from the front!
To prepare your bias binding to be top-stitched down, you now fold in all the edges, which looks like this.
Step 9
To begin sewing down the bias binding, start at your overlap point on the bottom of the pumpkin, and turn down the top-layer (which is actually where you first started sewing down the binding), so that you don’t have any raw edges of fabric showing. Continue top-stitching the binding down, keeping it folded in neatly as you go. If you wanted you could pin all this before you sew, but I personally prefer it this way.
When you get to your loop, you’ll have a slight peak; just stitch along the folded edge as pictured above.
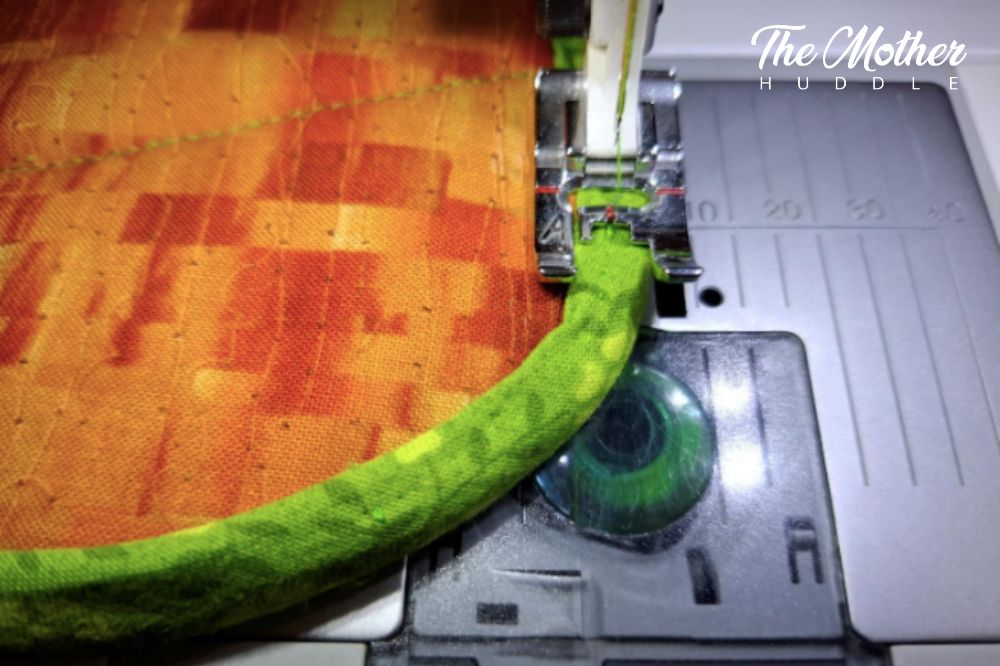
What makes the bias binding so effective is that slight stretch which allows it to go round the curves of the pumpkin more smoothly!
FREE DOWNLOADABLE PUMPKIN POTHOLDER TEMPLATE
More Sewing Craft To Try: Easy Mouse Sewing Project
Voila! DIY Pumpkin Potholder For Your Kitchen This Fall!
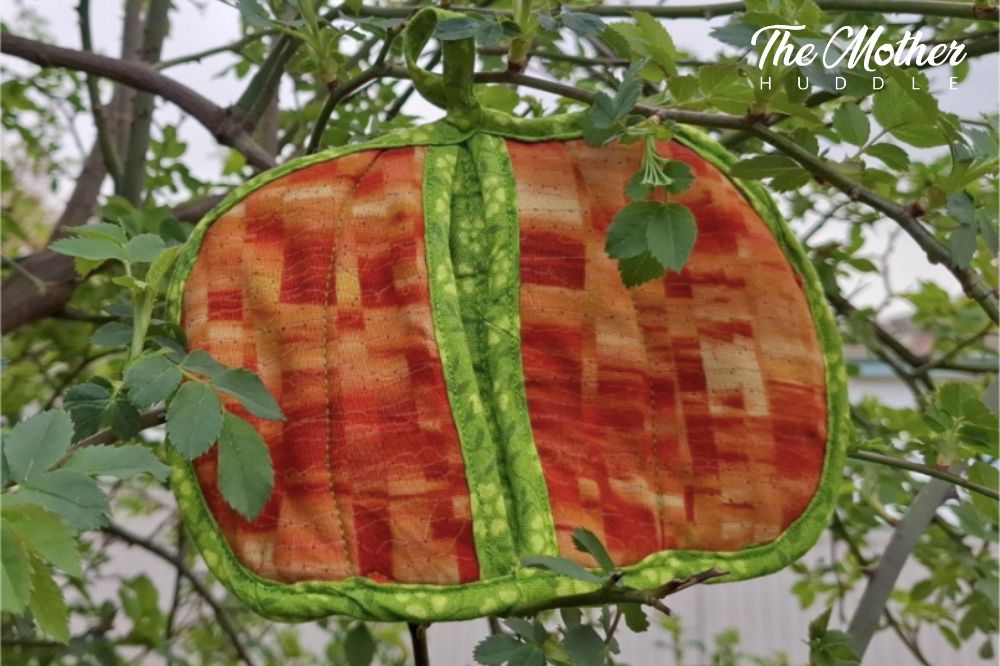
Once you’ve finished sewing down the bias binding, you have a brand new, adorable, Autumnal pot holder!!! I absolutely love mine and have used it daily since finishing it! I hang mine near my stove and find these so much more useful than regular gloves because I can grab it with one hand and also take it off with one hand. I really hope you have a go at making these yourself! Look out for my upcoming acorn and mushroom pot holders!