
There’s a ton of reasons why a headband is a fantastic thing to own, whether it’s part of your beauty routine, you wear them during exercise, or you just need your hair out of your face but you don’t want to put it up! But it can be difficult to find one that’s just right for you, but thankfully, with a small amount of stretch fabric and a little sewing, you can have a personalised one is next to no time!
What You’ll Need:
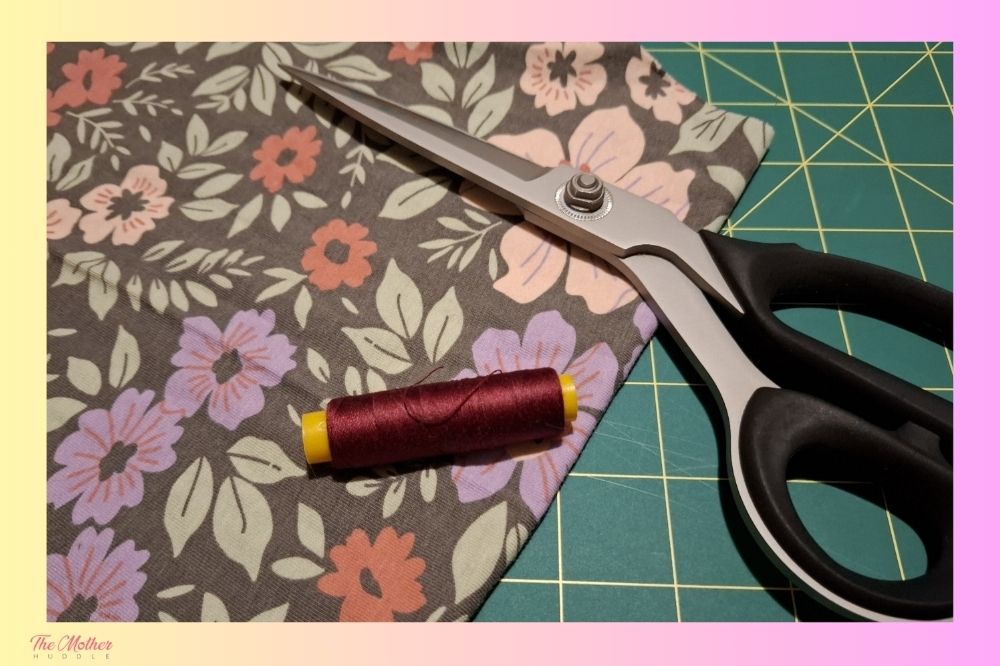
- Stretch fabric*
- Scissors
- Thread
- Sewing machine
*Note: Because a headband really doesn’t take much fabric, this is a perfect opportunity to upcycle! Have a cute T-shirt that has holes or stains so you can’t wear it any longer? You can turn it into a headband or two! The fabric that I’m using for my headbands here is actually from a pair of leggings that I bought for my daughter.
Notice you don’t even need a measuring tape? That’s correct! Because stretch fabric can vary in stretch wildly, I’m not going to give you specific measurements. Case in point, these leggings that I’m using for my fabric were my daughter’s size, but had very little stretch, so they didn’t fit. Such is the risk with buying online.
Step 1
Lay your folded fabric on your work surface, with the right-sides together, keeping in mind that you want to fold your fabric with the stretch, because this fold will go all the way around your head.
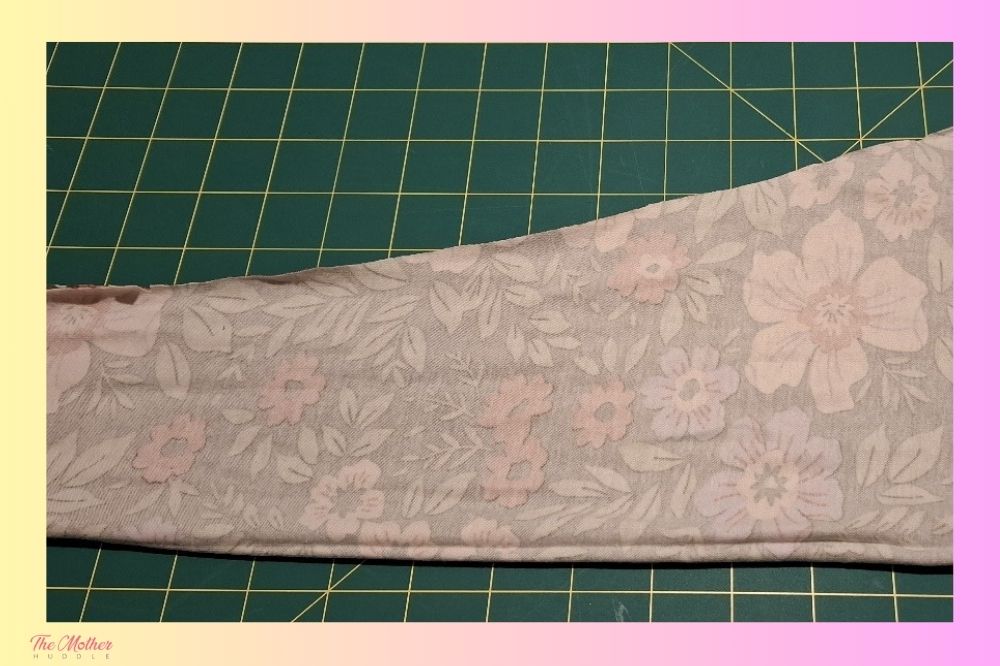
Step 2
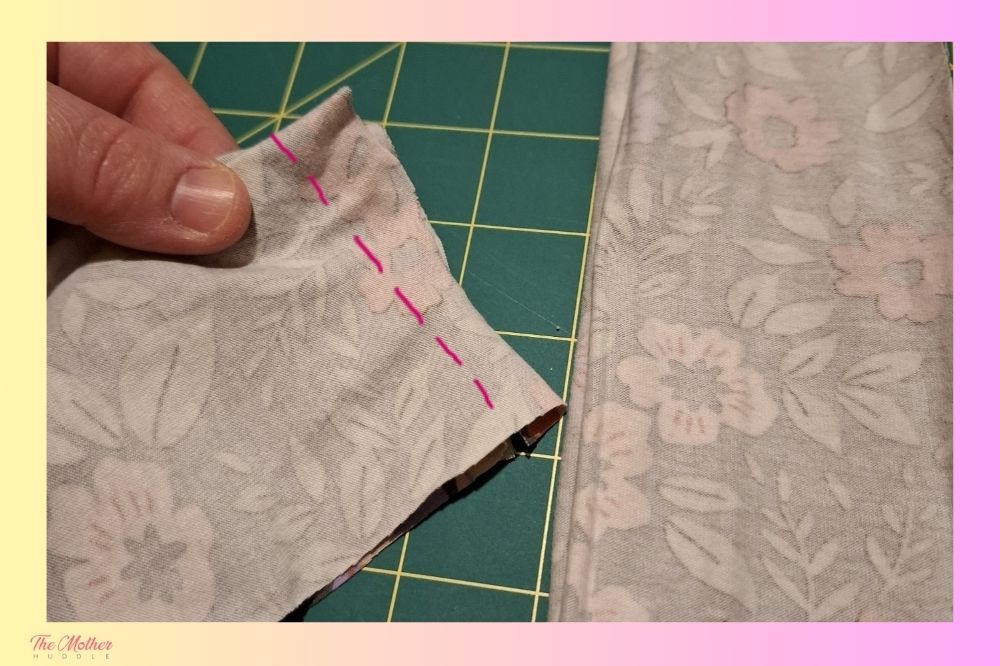
Decide how wide you’d like your headband. Because we’re not measuring anything, just look at yourself in the mirror or phone camera and use your fingers to measure how wide you’d like your headband. Keep your hand in that same position, and line it up with the fold of your fabric. Cut a little above the finger not on the fold line, like I’ve shown below, to make room for your seam allowance.
Step 3
After you’ve cut your fabric, fold it in half and just neaten it up in case you’ve not cut a straight line.
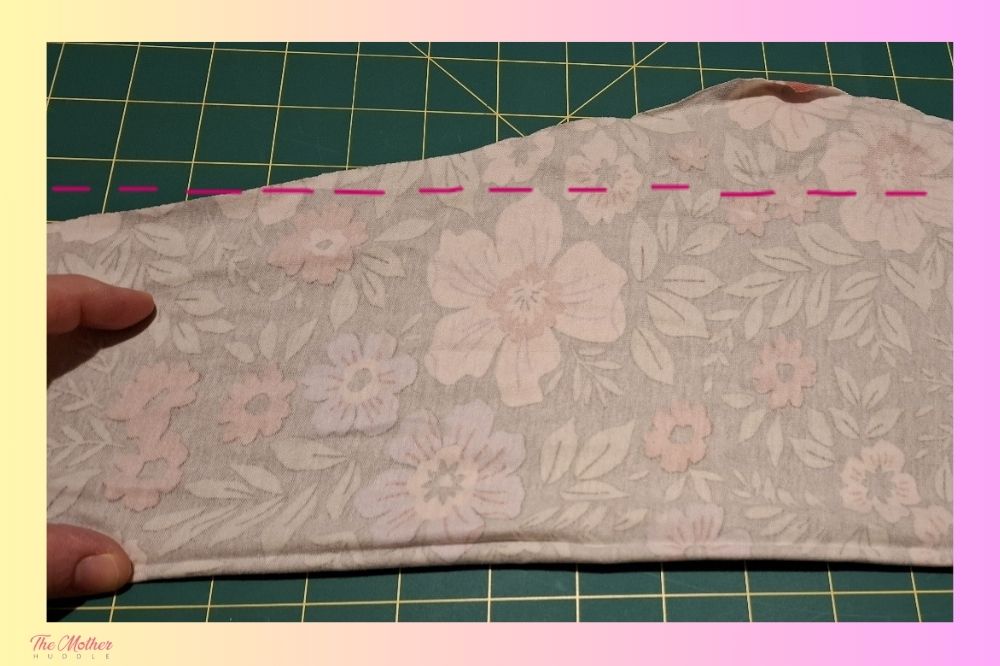
Step 4
Now you’re going to take your long pieces of fabric and hold it around your head where you’d wear your headband. Remember to pull the fabric quite tight because as you wear your headband it will stretch out over time. Pinch the two ends of the fabric together when you’ve got a snug but comfortable fit and slip it off your head. Then you’re going to leave a little seam allowance, as I’ve shown below, and the cut off the rest.
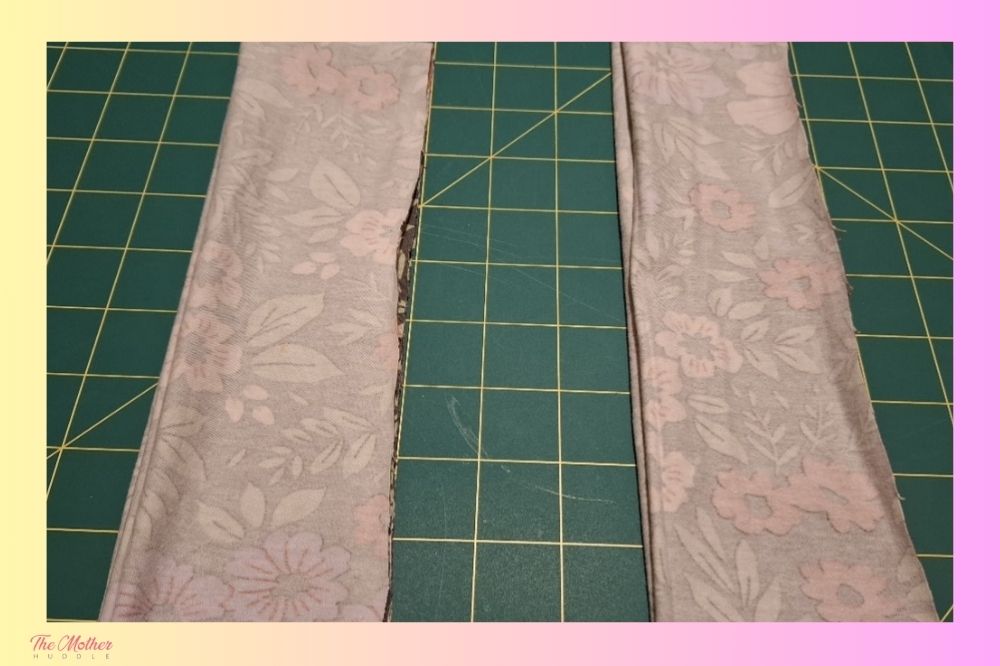
Step 5
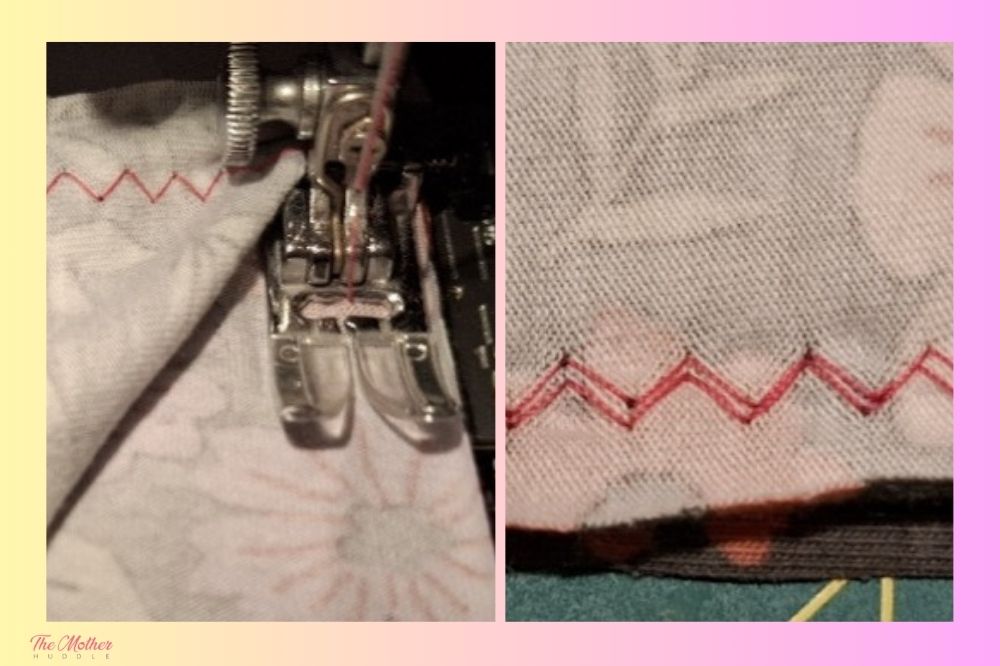
Now you’re going to take your long piece of fabric over to the sewing machine and set a nice wide and long zig-zag stitch. You’re going to sew all the way, the flip the piece at the end and sew over your seam again for extra strength. If you have an overlocker or serger you could seam it with that instead of the zig-zag.
Step 6
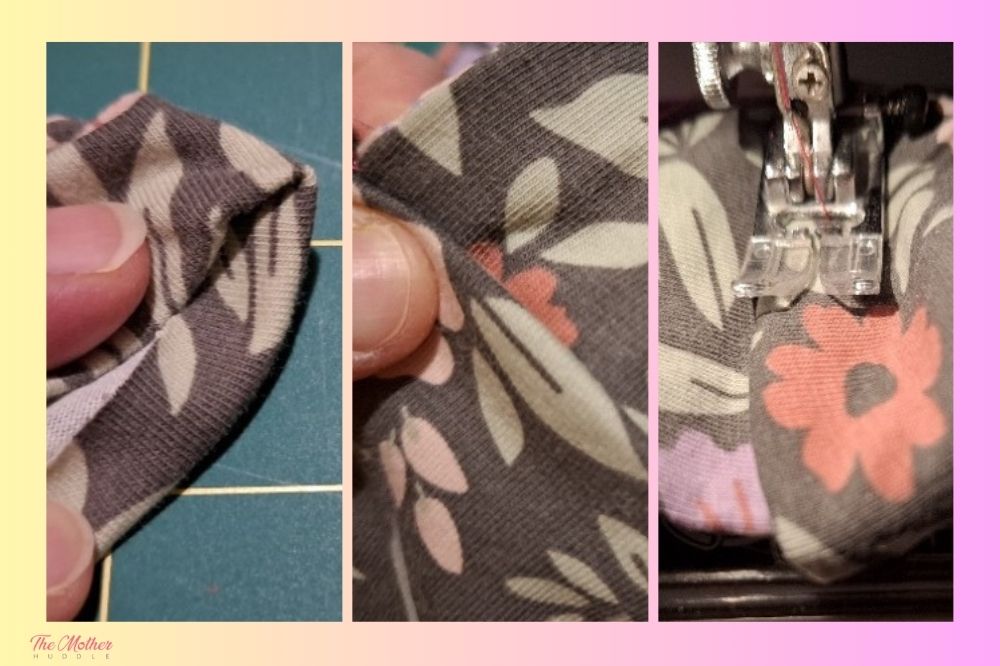
Now turn your newly sewn tube right-side out! Next, you’re going to turn one end in by around a centimetre or half an inch. Then you’re going to take the other end of your headband and slip it inside the turned down end, and pinch it in place and pop it under the sewing machine and sew over it twice for strength.
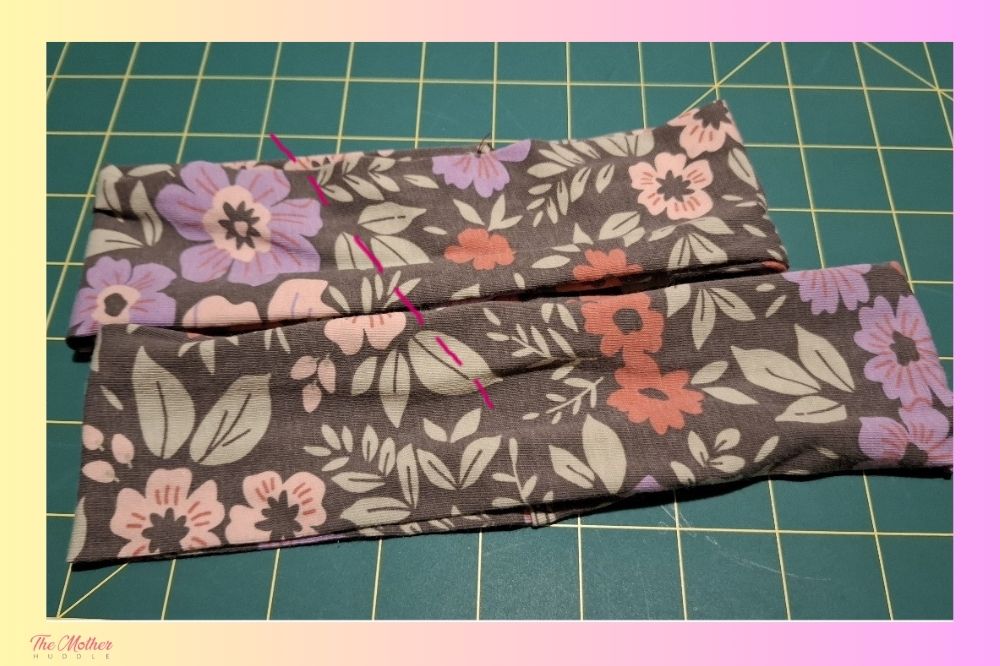
Now you know how quick and easy it is to make your own custom headbands! These leggings were too cute to not do something with the fabric, and I’m so glad because now my daughter and I have a new cute headband each! My cat recently destroyed a favourite stretchy top of mine and I think I might have to turn at least part of it into another new headband.
More Sewing Tips For You To Try
Basics for Beginners: Hand Sewing Tips & Techniques
Time For You to Make Your Own DIY Headband
Of course, you can also embellish or decorate your headband in any way you like, from adding a decorative button or ribbon, or adding a matching bow! Whatever you like, it’s a perfect canvas for making something completely unique!