
We all know the comfort Crocs can bring, whether it’s a quick run to the grocery store or a long day on your feet. But let’s admit it: its appearance can use a little bit of help. If you love wearing Crocs, you know how a cute set of Jibbitz can improve the appearance of your comfy footwear – but they usually come with a cost. Since you’re here, I’m assuming you’re planning on doing a DIY Jibbitz for your Crocs.
Let me share with you the easiest way to DIY your Crocs Jibbitz.
Let’s dive into three fun and simple steps so you can create your very own DIY Jibbitz for Crocs.
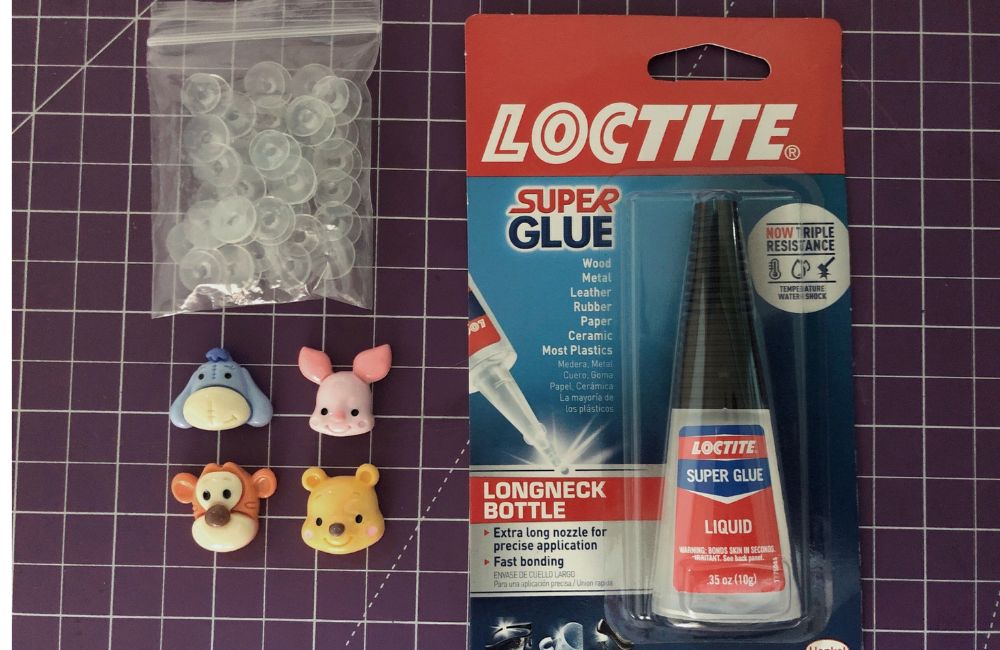
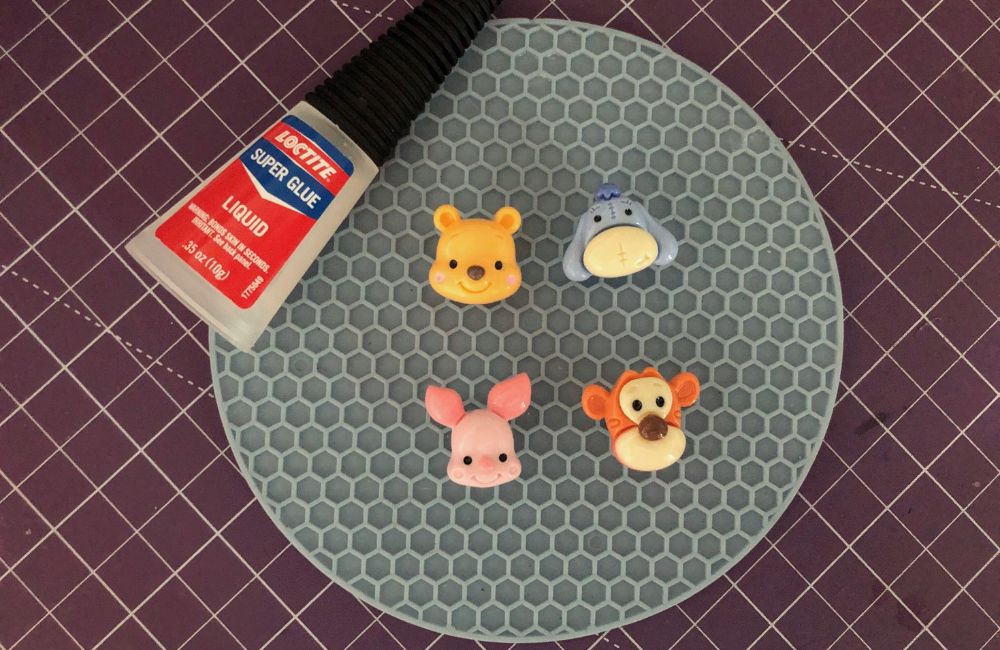
Here Are the Three Materials You Need to Make a DIY Jibbitz for Crocs:
Creating your own Crocs Jibbitz is surprisingly easy and won’t hurt you a buck! You will likely save more money by DIY-ing your Jibbitz than purchasing one. The best part? You only need three materials to do this:
- Charms of Your Choice
- Jibbitz Buttons
- Loctite Super Glue Liquid
Let’s Begin Making Easy DIY Jibbitz for Crocs!
This is the exciting part! It’s only three materials with three easy steps to create DIY Jibbitz for Crocs, so you won’t have a hard time getting them. Make sure to be careful with the superglue so as not to touch your skin because this can cause allergies. You can also use plastic gloves if it’s your first time using the super glue.
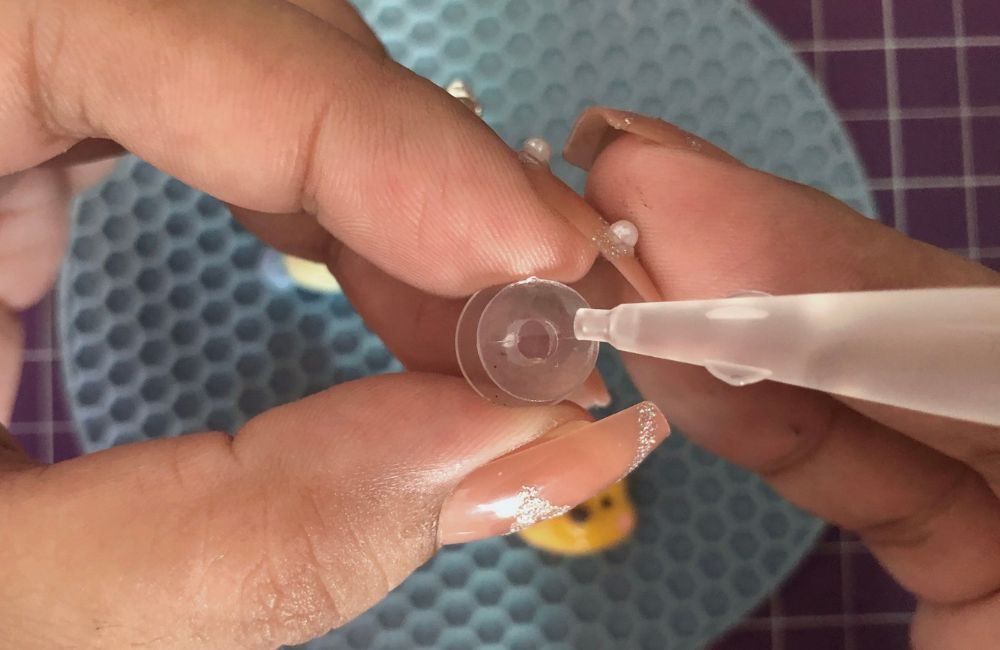
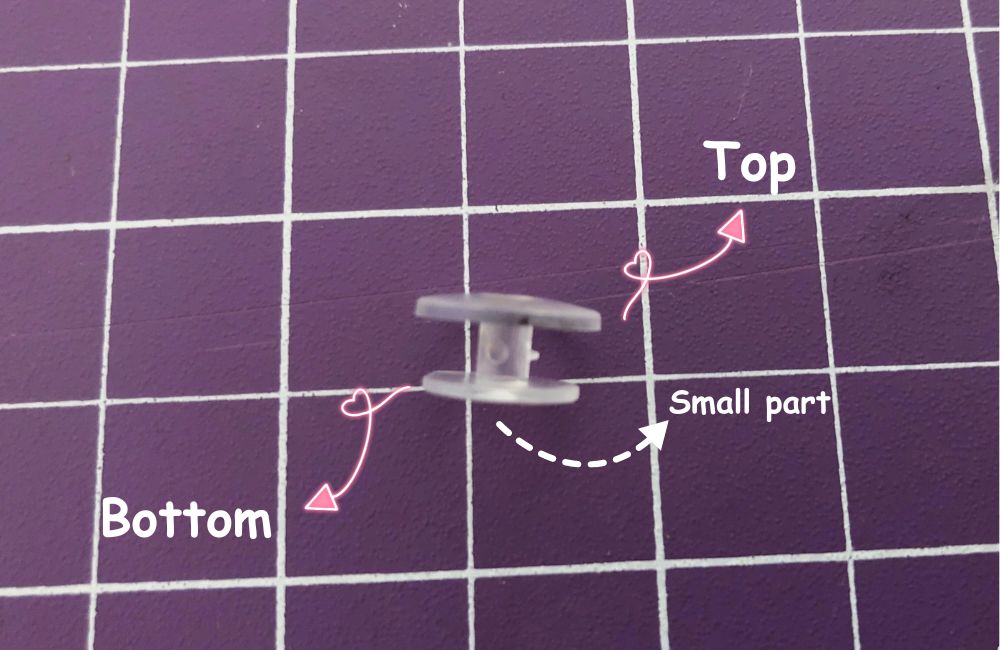
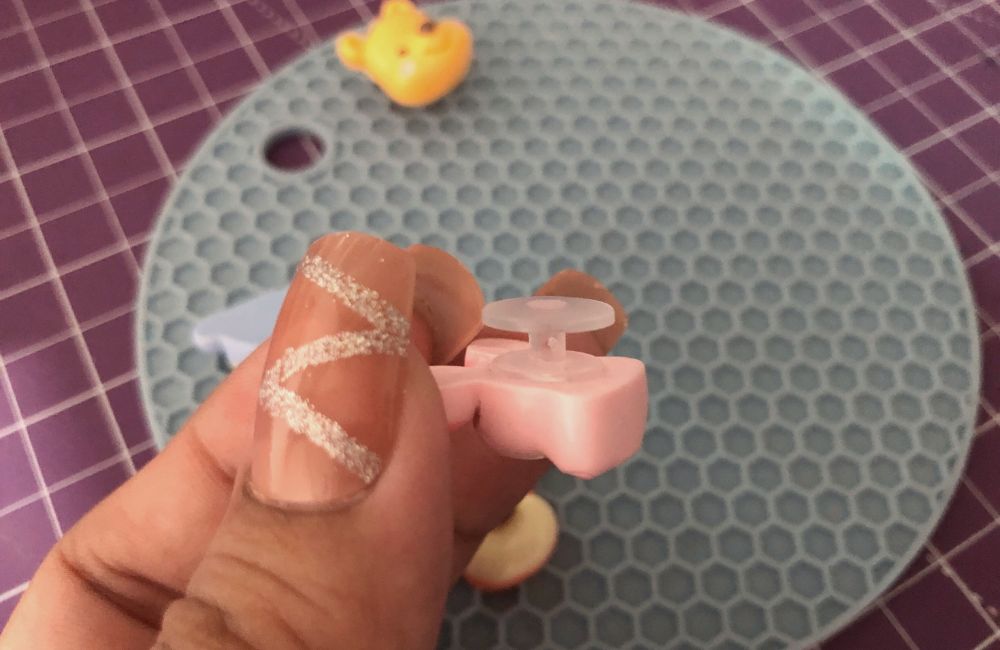
1. Applying Super Glue to the Jibbitz Button
Carefully drop a superglue in the Jibbitz button on the smaller side. The smaller part of the Jibbitz will be the side where you will glue it to the back side of the charms. Be careful not to use too much superglue because it takes a longer time to dry. It also sticks better when you use just a small amount of glue.
 FUN FACT:
If you plan to use the Jibbitz for kids’ Crocs, use the bigger side of the Jibbitz button for gluing instead of the smaller side, as the holes in the Crocs for kids are smaller than the adults.
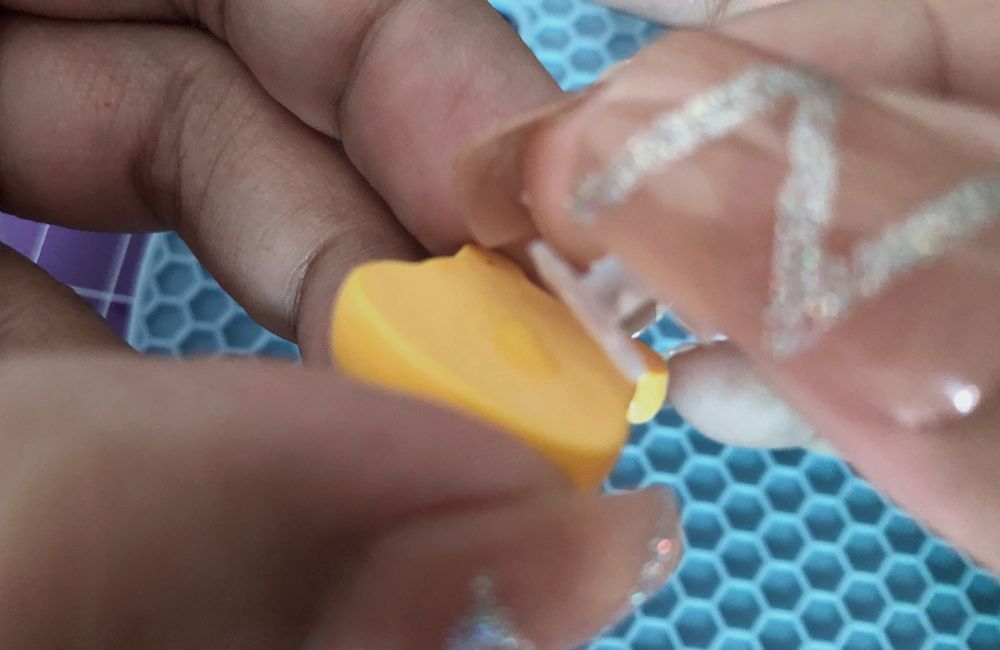
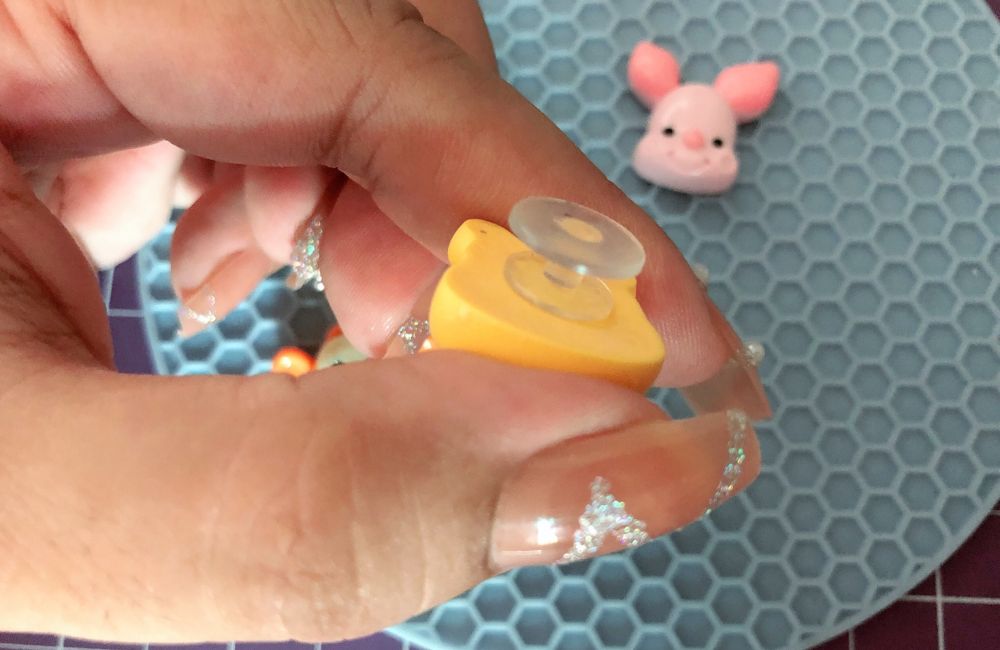
2. Attaching the Charm to the Jibbitz Button
Place the Jibbitz button in the middle of the back of the charm. You can still adjust the Jibbitz button while the superglue is still wet to make sure it’s centered on the charm.
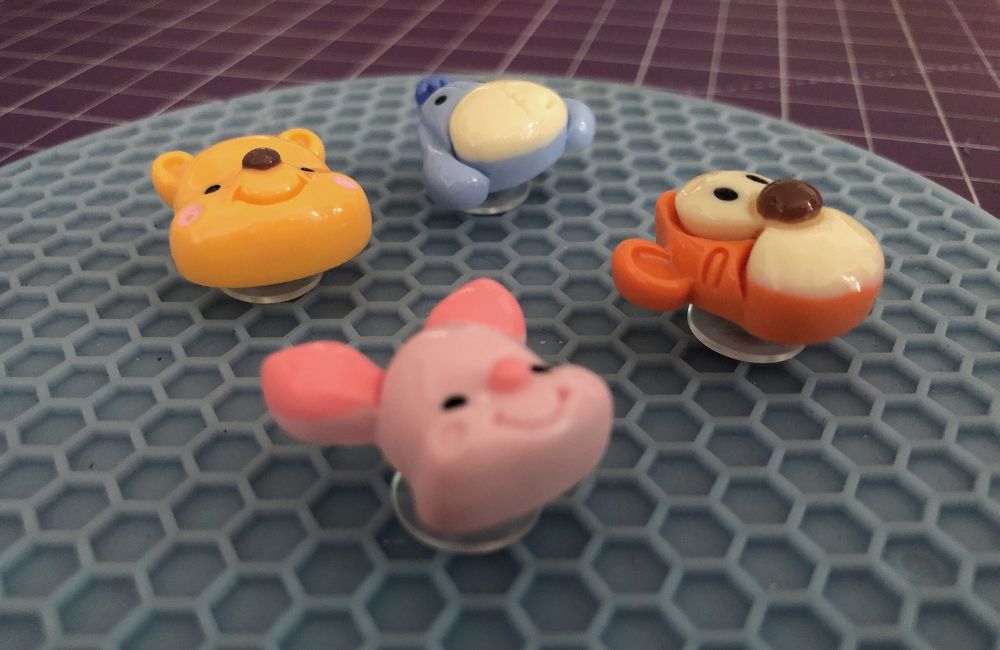
3. Letting the DIY Jibbitz Dry
Let it dry. Loctite Super Glue is a fast-drying glue. It only takes minutes to dry. In my case, I usually let it dry for at least 4-6 hours. Jibbitz can last a long time if you leave it for more hours. Based on my observation, allowing it to dry for that amount of time results in a more durable Jibbitz.
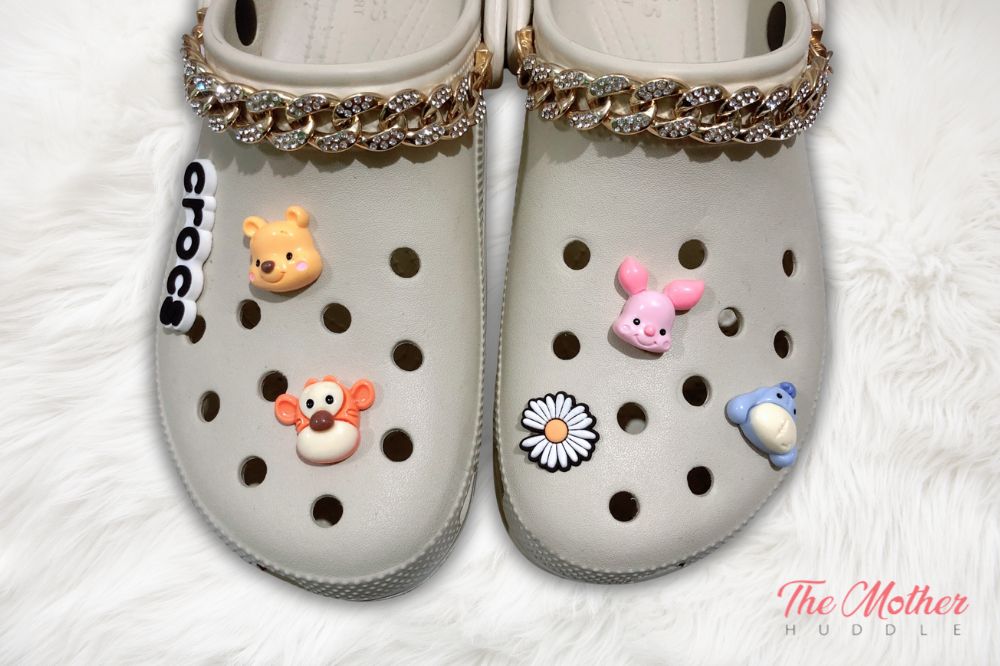
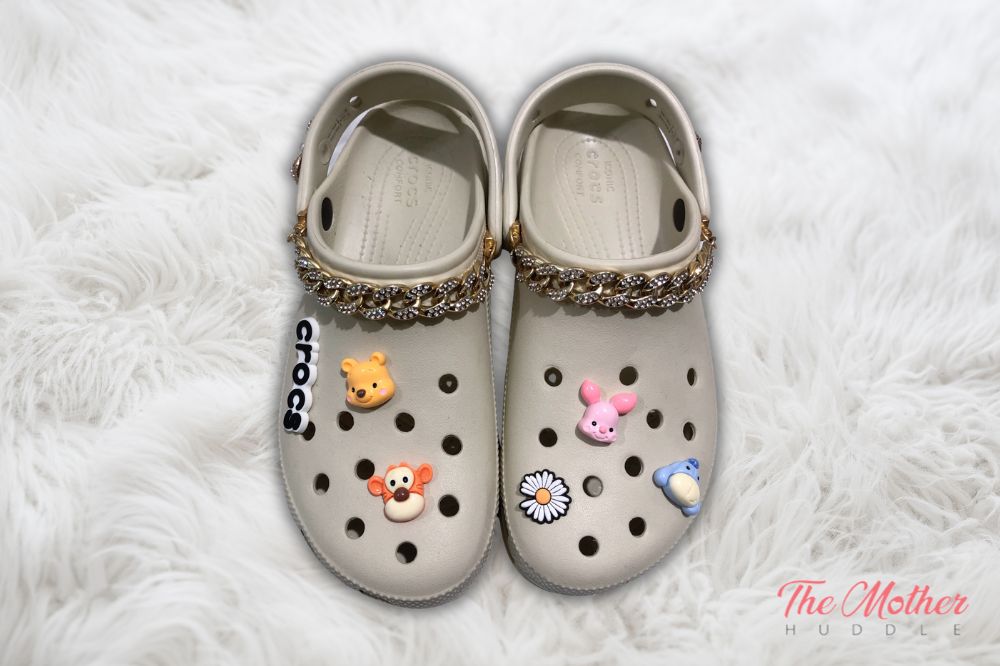
Decorating Your Crocs
Now’s the time to get more creative! The best part about doing it yourself is that your designs are endless. You can add chains, plushies, rhinestones, and other charms to decorate your Crocs that suit your personality or your desired style.
Here are some more decorations to add to your Crocs:
- Mini Pompoms
- Beads and Pebbles
- Tassels
- Laces
- Fleece Lining
- And many more!
Let your creativity shine! As long as you can attach it to your Crocs and it won’t interfere with how you walk, you can use it!
Want to learn other ways to DIY Jibbitz? Check my DIY Spongebob Jibbitz for Crocs.
Have Fun Making Your DIY Jibbitz for Crocs!
There you have it! Making your own Jibbitz is fun, easy, and interactive. It can even be a fun bonding between you and your kids. Plus, you can customize any design or charm you want and use it as a gift, or a giveaway, and maybe, start a business and sell it online or at local fairs and festivals in your area.
Ready to add a touch of style to your Crocs footwear? Don’t forget to share your DIY Jibbitz with us! Also, let us know in the comments below if this worked for you!