
I have very fond memories of going op shopping (thrift shopping) with my mum from early childhood all the way into my teens. We quite regularly used to visit op shops all over our city, and she was great at finding treasures. This enjoyable pastime also meant that I ended up with a very eclectic wardrobe for a child, which continues to this day, though now because I make my own clothes, but I digress. About 15 years ago I was remembering a really awesome pair of harem pants that I had that were probably from the 1970’s. They had narrow stripes of yellows and browns with gold thread and they were super groovy! I decided I needed harem pants in my wardrobe again, so went online to find a pattern. I found a blog post with a tutorial and away I went. What I made was for sure, the most comfortable pair of pants I’d ever owned! I made my husband a pair for around the house and he loved them, too. That blog post is gone now, but thankfully I remember how to make them so I can share that method here!
I don’t have a crafting area set-up that allows for taking good photos of the cutting process, so I’ll make some nifty diagrams. But really, these are the simplest pants to make, and with the right measurements, will feel fantastically comfortable.
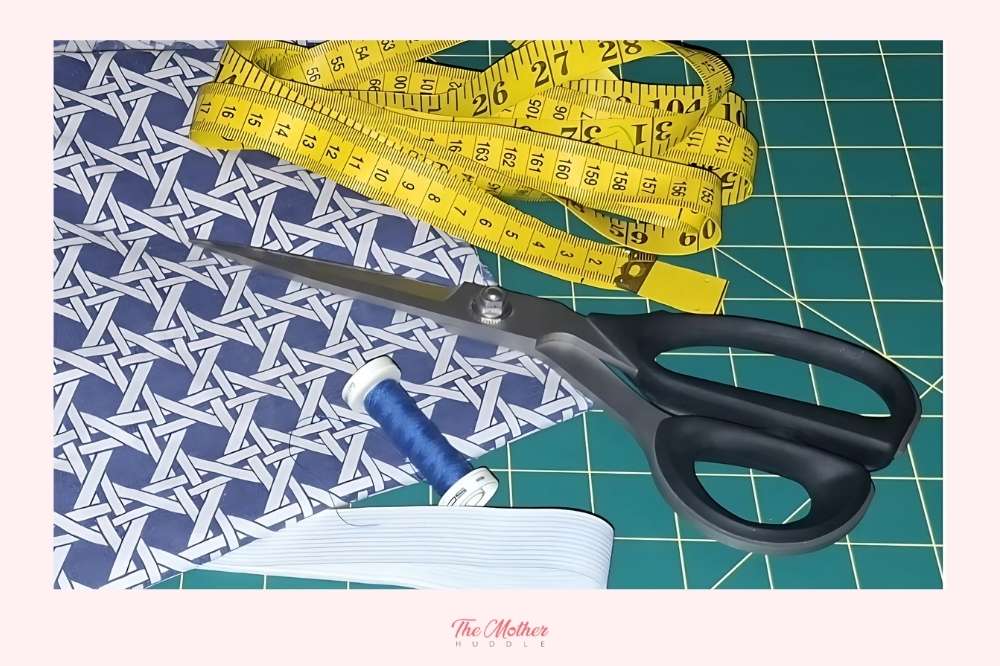
Harem Pants Materials Needed:
- Fabric – two to three meters (or yards)
- Scissors
- Measuring tape
- Elastic
- Thread
- Safety pin
- Sewing pins
- Marker or chalk
Measurements You’ll Need
- Waist or hip, whichever is larger
- Waist to ankle
- Thigh
- Front rise
- Back rise
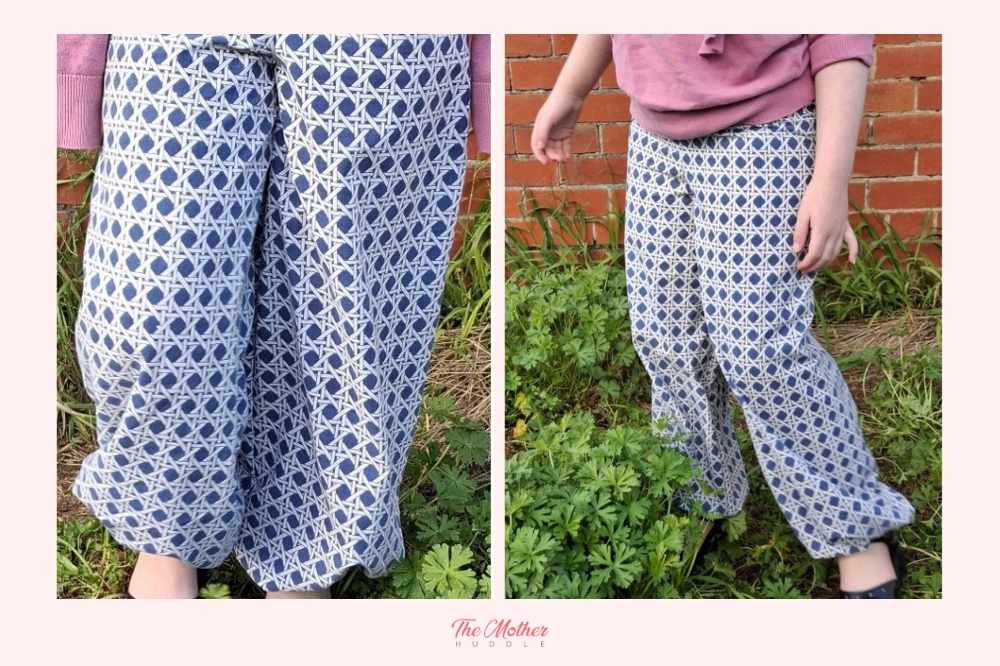
Firstly, what sort of fabric makes a good pair of harem pants? They’re a drapey sort of pant, so you’re going to want something on the light side, so cotton lawn or light to mid-weight linen, or even up to a quilting cotton. There’s a lot of cotton fabrics you can use, really, just nothing too heavy like denim, drill, or twill. You can also make this pattern in stretch fabrics, like a cotton jersey, but any light to medium weight knit is going to look good. The pair I have made here are in a lovely Japanese cotton that was gifted to me, and as soon as my daughter tried them on, she didn’t want to take them off!
Step 1
As much as you don’t want to, step one is always to pre-wash, dry, and iron (if applicable) your fabric.
While that’s happening, it’s time to take some measurements! Here’s a guide for the measurements you’ll need for this pattern.
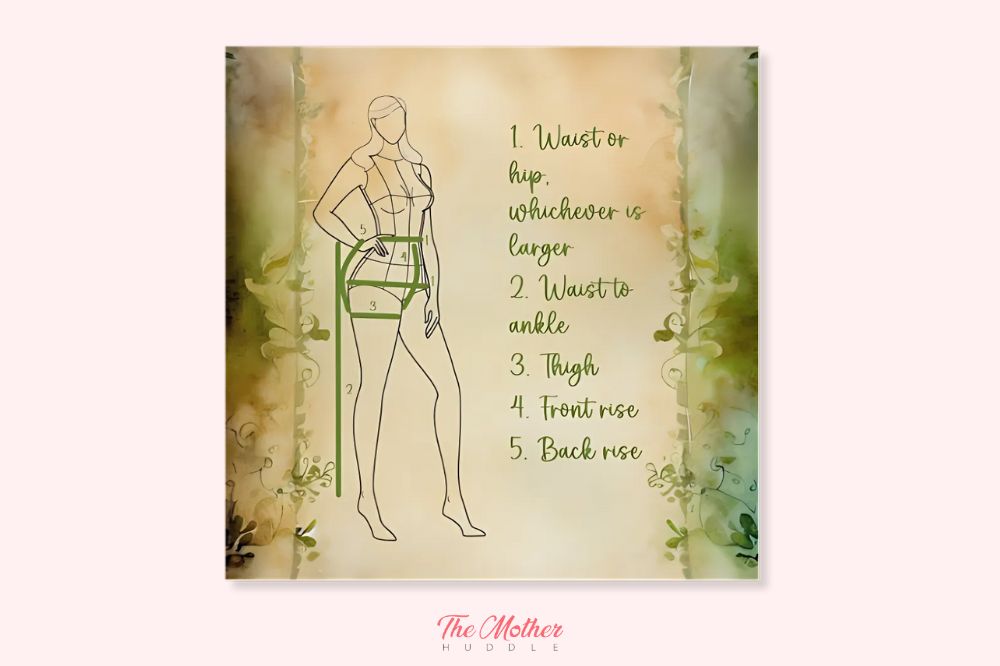
To explain why waist or hip, well that’s dependent on the person you’re making these for. For example, when my daughter was little, her waist measurement was the same or larger than her hips, but as she’s gotten older, her waist is now smaller than her hips. You want the larger of the two for these pants, especially if you’re making these out of a non-stretch fabric. This is the same for the thigh measurement, you want the largest part of your thigh.
Now rise; to explain that, basically the rise is the distance from your waist to between your thighs, front rise on the front of your body, back rise on the back of your body. Back rise is usually much larger than the front as it has to go over your bottom.
Because harem pants are loose and drapey, you need to add to those measurements, to create what’s called ‘positive ease’, which is the difference between your body measurements and your clothing measurements. Things like leggings, that stretch on your body, work with negative ease. At minimum you want to add 10cm or 4’’ of positive ease to the waist/hip and the thigh measurements. The more positive ease you add to your measurements, the fuller your harem pants will be. For the pair I’ve made for my daughter today, I added about 15cm of positive ease, though I would have added more if I’d had more of the fabric I wanted to use. You also need to add to the waist to ankle measurement, 4cm extra (or 2’’) at the top and half that at the bottom, this is to create the casings for the elastics.
Step 2
The patterning of these pants is so incredibly simple, it’s fantastic! This is how you go about it. Double over your fabric, right sides together, and lay it out flat. I don’t have a table large enough for this so I usually put my cutting mat on my bed or do it on the floor.
The overall width of your pants pattern is determined by the thigh measurement, plus the positive ease, plus another 2cm or 1’’ for seam allowance – I like to trim away anything beyond this width straight away, it’s just easier that way. Then I mark the waist to ankle, plus elastic casings, measurement, and trim off the excess, so now you have a big rectangle.
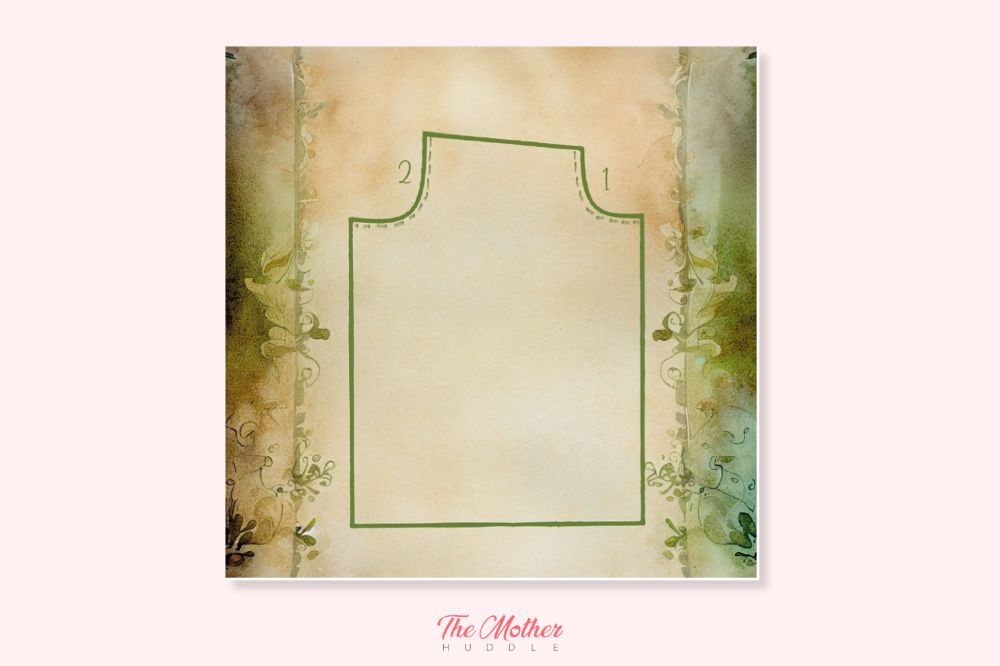
Now you’re going to measure out your back rise on one side of your fabric, in a curved line, as I have in the diagram above on the line marked ‘5’. I do this with my measuring tape and make a simple rounded curve that’s the length of the rise measurement.
The front rise is next, and it’s going to be shorter than the back rise, so it’s important to make sure you start your front rise along the same horizontal line as your back rise, as I have in the diagram with the line marked ‘4’, and mark where it finishes because it will not go all the way up to the waist band.
Because the front rise is shorter, now you draw a line from the top of the front rise line to the top of the back rise line, which will be on a slight angle. Measure this line and make sure that it is larger than your waist/hip measurement, plus at least 12cm (5’’) for positive ease and seam allowance, divided by 2. It will look like the following once you’ve made all those marks. The numbers indicate where the measurements from earlier are used.

Step 3
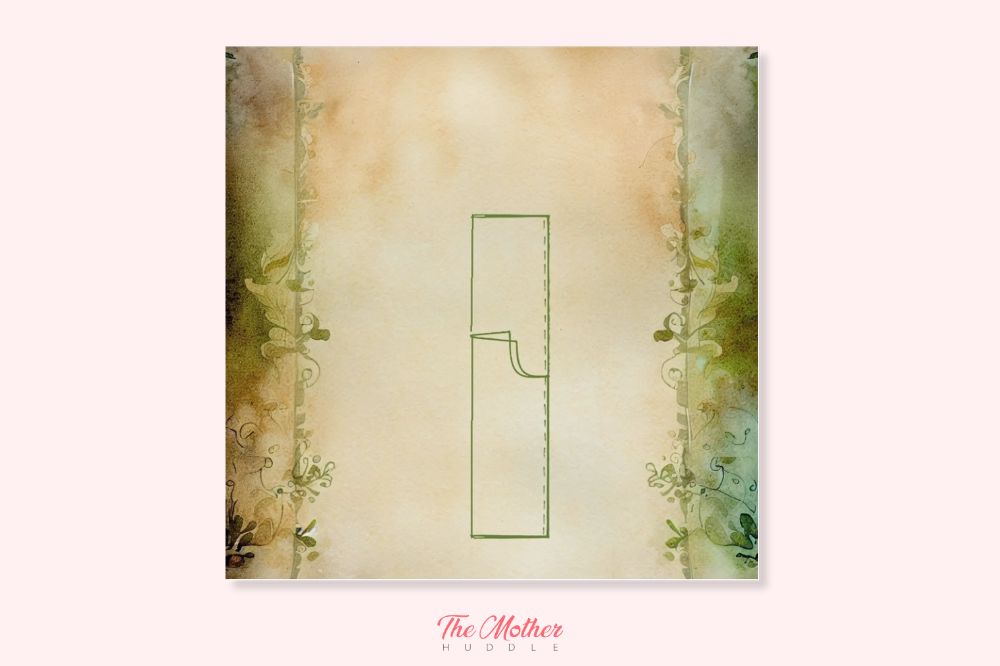
Now to sew it all up! These pants literally have three seams! Plus the hems… Firstly, keeping your pants just as you’ve cut them out, sew the front rise and the back rise. These are the seams that will see the most pressure, so you’ll want to make these nice and sturdy.
Then open the pants up and match up the front rise to the back rise. I sew this next seam in two stages, but you could do it in one if you like. I start at the meeting point of the front and back rise, and sew all the way down the pant leg (this will make the inseam of the pants). I then go back to the meeting point of the front and back rise and sew down the other leg.
Lastly, fold down the waistband by 1cm (.5’’), and iron it in place. Now fold down a further 4cm to create the casing and pin that in place. Because of the shape of the waistband, with it being slightly angled, you’ll have to ease the casing a little to get it to not be too rumply. Sew all the way around the casing, then open up enough of the back rise seam in the casing to allow you to thread your elastic in. Using the safety pin on the end of the elastic, work it through the casing you’ve just sewn. Fit the elastic to your wearer, then sew the elastic into a loop and pull it into the casing again, and hand stitch up the hole you made to put the elastic in.
Now do that two more times but with hems of the pants, though I always use a smaller elastic here, so I make smaller elastic casings, but the process is the same but even easier because the bottom of the pant legs are cut straight.

It takes a bit to explain the process, but trust me, it’s actually a very simple process that once you’ve done a couple of times will forever be in your head so you can whip up the cutest, comfiest, harem pants whenever you feel like it! My last pair I wore until they fell apart, so it’s time for a new pair for me. I’m considering playing around with them and seeing if I can make a pair of harem pant overalls!
WANT TO MAKE A DIY SKIRT? Here’s an easy DIY Simple Skirt Tutorial for you to try!
I do hope you give these a go, I cannot overstate how fantastically comfortable these pants are, and how cute, too! You’ll be humming the theme tune to ‘I dream of Jeannie’ in no time!