
If you’re anything like me, you love a good upcycle project! So often when I’m in the op shop, I’ll spot a super cute sheet and think, that’d be great to use as fabric! I’ll also grab plain sheets to use as mock-up fabric, but one of the great things about this project is that you don’t need to do any mock-ups; it’s incredibly straight forward and a great project for anyone interested in beginning to sew or beginning to upcycle, or a more experienced sewist looking for an instant gratification project.
What You’ll Need
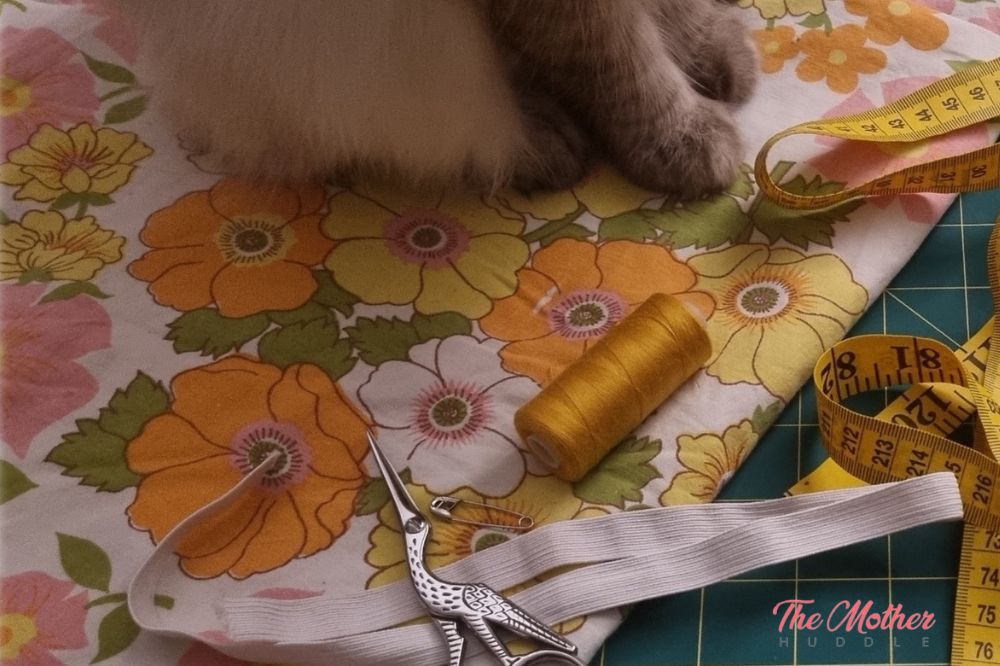
- A sheet of your choice, I prefer printed cotton ones
- Thread
- Elastic
- Scissors
- Safety Pin
- Sewing Pin
- Sewing machine or hand-sewing needle
- Measuring Tape
- Iron
- Optional: Fluffy sewing buddy of your choice to oversee your work. The one pictured here is Betty Mewrion White.
One of the best things about this tutorial is that it will fit anyone! We’re going to use the entire length of the sheet for our skirt, so whether you’re making it for an adult or child, it will have plenty of room. One of the things that makes this such a beginner friendly project, is that because we’re using a sheet, there are no cut edges that need to be finished. We’re using the pre-existing hem along one of the long edges of the sheet for the bottom hem of our skirt, and the two short ends will be sewn together to form the back seam. Because these are already hemmed, you won’t need to worry about finishing them, which is what a sewist must do to ensure that the fabric in the seams doesn’t fray and fall apart.
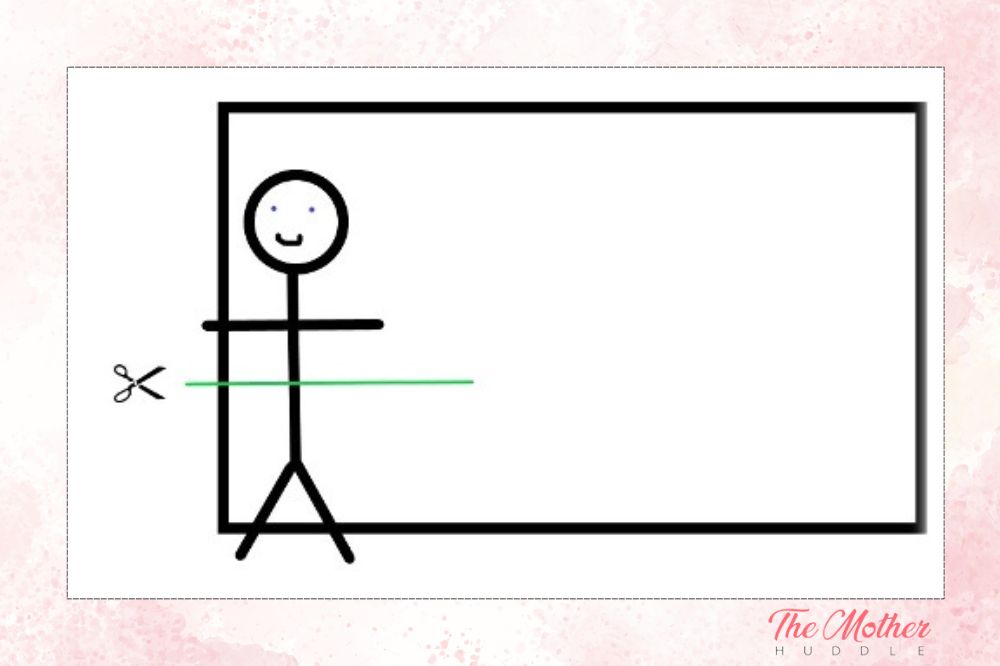
The first step you’re going to do is decide how long you want your skirt. Holding up the sheet against yourself, or who you’re making it for, find the desired length (my daughter wanted a full length). I forgot to take a photo of this, so enjoy my MS paint ‘masterpiece’ illustrating what I mean.
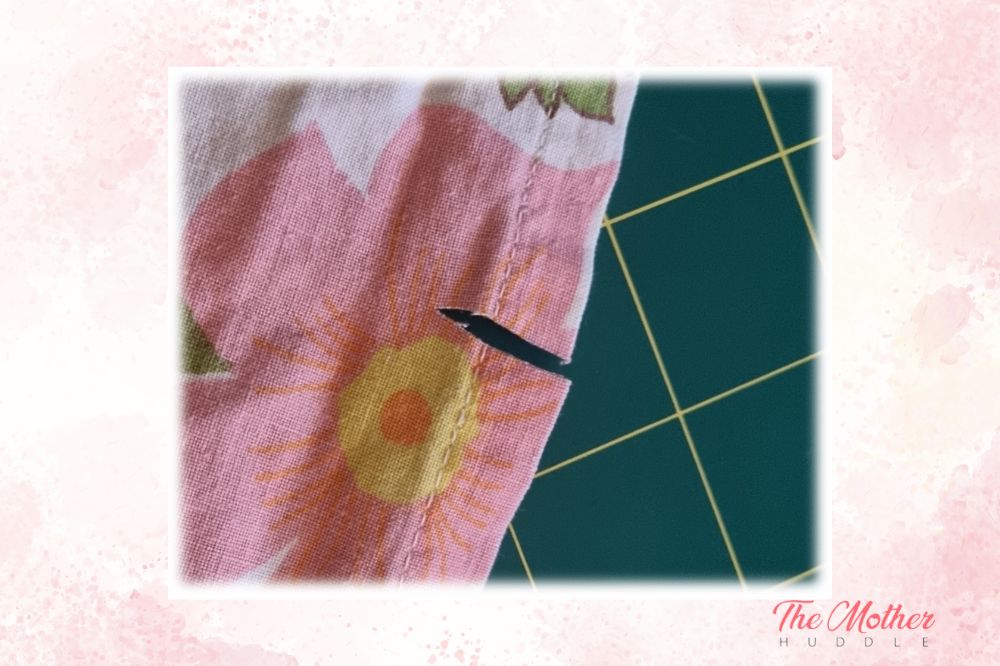
Now that you know the length you want your skirt, add about 5cm or 2in for the waist band, and make a small snip. Because we’re using a woven fabric, you can just tear this little snipped section and you’ll get a perfect straight line!
Plus, it’s fun to tear! *Riiiip*
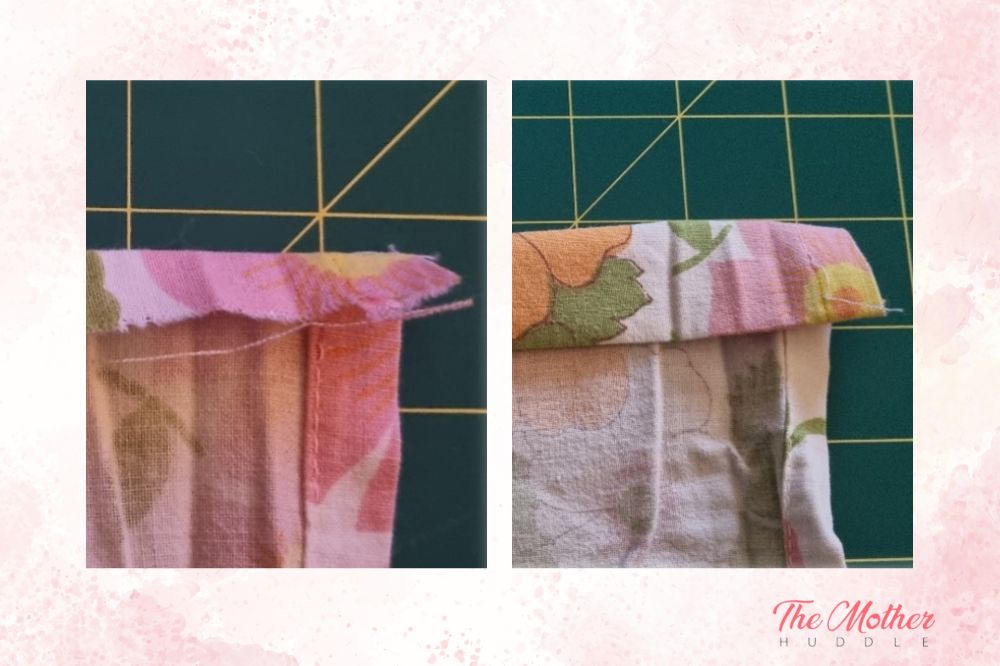
Now you’re going to take that edge that you’ve just torn, or cut if you wanted to, and fold it over by 1cm or .5in, and iron it down. After you’ve gone the length of the sheet, you’re going to fold it down by a further 2.5cm or 1in and iron again. If, like me, you take ‘iron it down’ as a serving suggestion that you often ignore, you can just firmly press by hand until it holds.
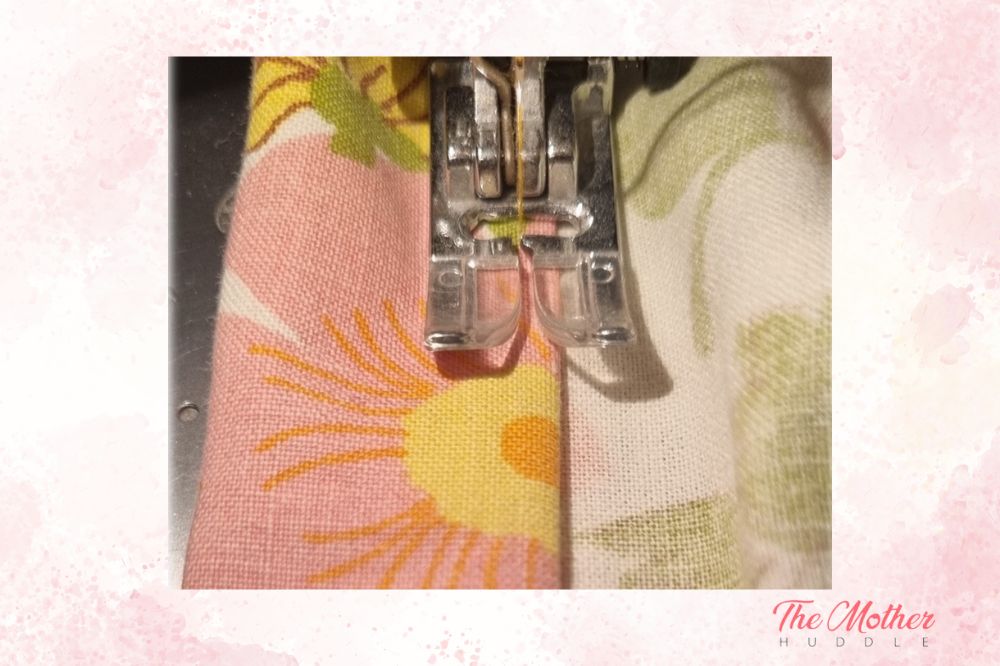
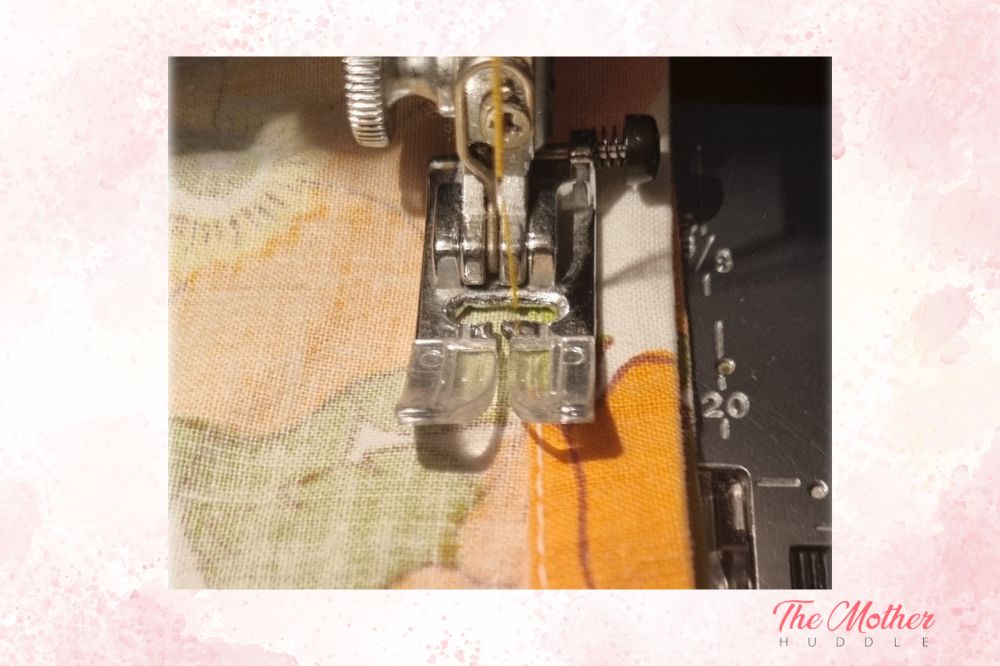
Next, you’re going to sew along the bottom edge of the waistband you’ve folded. Try to hug that lower edge so your elastic will have enough room in the casing.
The next step is to bring the two short ends of the sheet together, with right-sides facing each other (so you’re looking at the inside of the skirt) and matching the bottom edges, sew up to the casing that you’ve made, but leave the casing open. Make sure that you’re sewing your seam wide enough that the hems of the sheet won’t be visible up the back of your skirt.
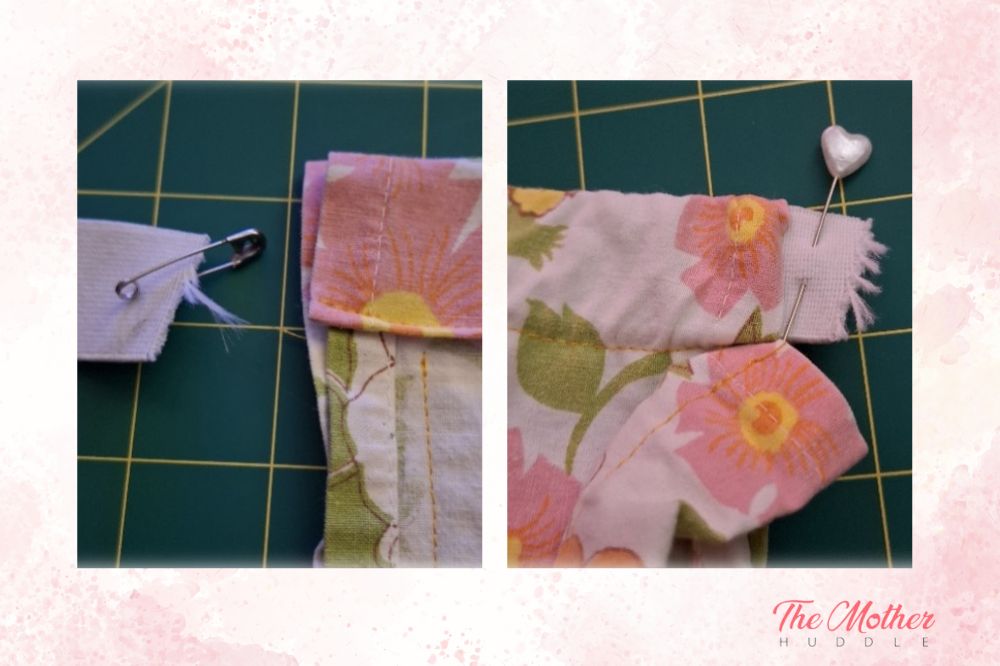
Now take your elastic, and put a safety pin on one end, which you’ll use to feed the elastic through the casing you’ve made. Place a pin at the other end of your elastic so it cannot go inside the casing. I actually ended up using a smaller elastic that the one pictured here because it was unnecessarily thick for this light-weight skirt
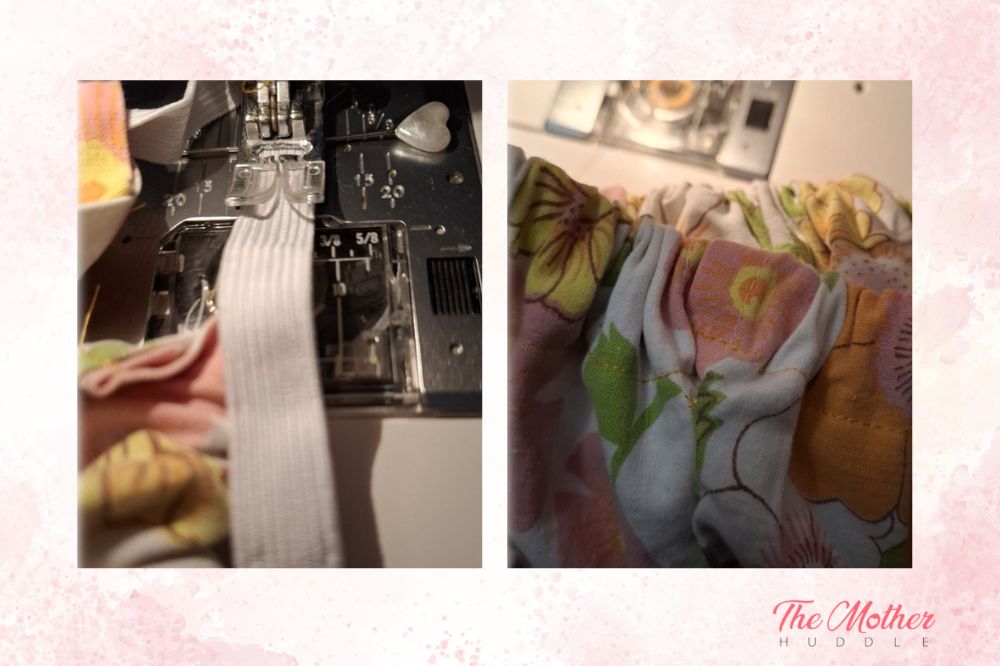
Once your elastic is all the way through, pin the ends together with the safety pin and do a fitting. You want the elastic to stretch enough that it’ll hold up the skirt, but not enough that it’s uncomfortably tight. Once you’ve got that, pin the elastic with the sewing pin, and do a few lines of stitching though the elastic to secure, then trim off the excess. Now stretch the elastic out and allow the gathered fabric to evenly distribute, which will bring the casing ends together and hide the elastic!
Now you have the recipe for the ultimate upcycled skirt! My daughter loves hers and we have plans for more!
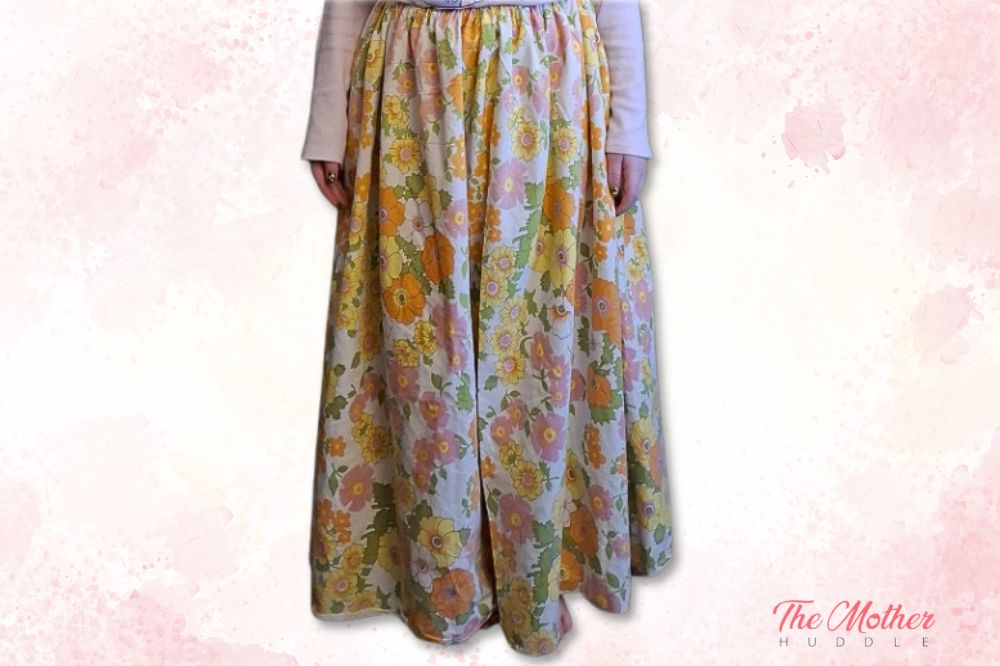
Hope that this DIY guide help you turn your old clothes into a fashionable new pieces with our upcycled skirt tutorial! Perfect for beginners and eco-conscious fashionistas.
Hey, do you want to learn new sewing project and take your sewing skills to the next level and create unique and cute projects for you and for your child? I got you! Read my article unique sewing projects.
More Sewing Tutorials to Try:
DIY Simple Skirt Tutorial
Cute Circle Skirt Tutorial
Easy Harem Pants Tutorial
Fat Quarter Pillow Case Dress Tutorial
If you follow my step-by-step guide, please show me some love, send me pictures! I love to see yours!