
Ruffles are pure fun. They’re completely unnecessary and yet so necessary! They can serve a purpose, don’t get me wrong, they can help in weighing down the bottom of a skirt or dress, or adding length if said item is too short, which is a favourite trick of mine for getting extra wear time out of my daughter’s skirts and dresses. Her clothes become too short far before they don’t fit anywhere else, so a ruffle added to the hem can make a huge difference. They can be a tiny bit… tedious to sew, though, but I’ve got a few tricks here to make your ruffles perfect every time! If that’s not enough to sway you over to the ruffle side, then consider this is how you make nice tired dresses and skirts, too!
How much fabric do I need to make a good ruffle?
First step to a good ruffle is how much fabric will you need to make it? The ideal ratio is between 2.5:1 to 3:1. So that’s two and a half times to three times the length of the fabric you’re going to be attaching your ruffle to.
Do I want my ruffle in the seam or on top?
There are two main methods of attaching a ruffle and that’s in a seam with what you’re attaching it to, or sewing it on top of what you’re attaching it to. I’m going to show you both of these!
In-seam Ruffles

Measure the length of the fabric you’re planning to attach your ruffle to. Decide how ruffly you want your ruffle, and then do the math, baby! Times the length you’ve measured by 2.5 or 3 and then decide how deep you want your ruffle to be. A cute little baby ruffle, or a deep ruffle like you’ve seen on those pretty Selkie dresses. Once the math is done, with pre-washed and ironed fabric, cut out your ruffle.
Hem your ruffle first! I know, it seems odd to do what’s usually the last step of garment creation first, but trust me, this makes it SO MUCH EASIER! My personal favourite is a rolled hem with a rolled hem foot.
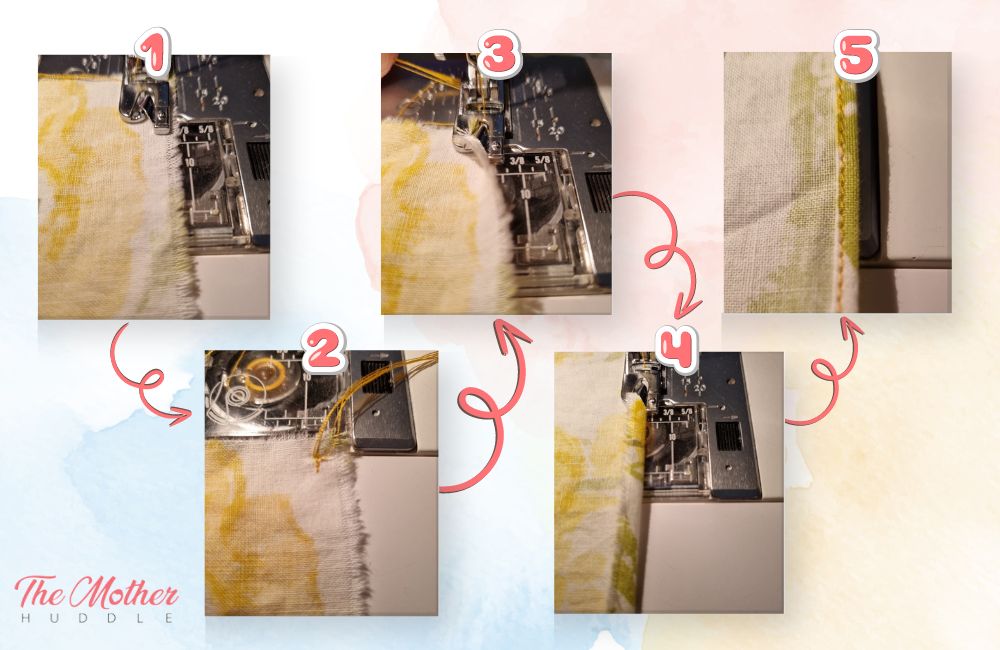
It can be tricky to start a rolled hem, so if you sew a little back and forth right at the beginning edge of where you’re going to ruffle, and then cut the tails on that, you can use the tails to help pull the fabric through the rolled hem foot right at the beginning.
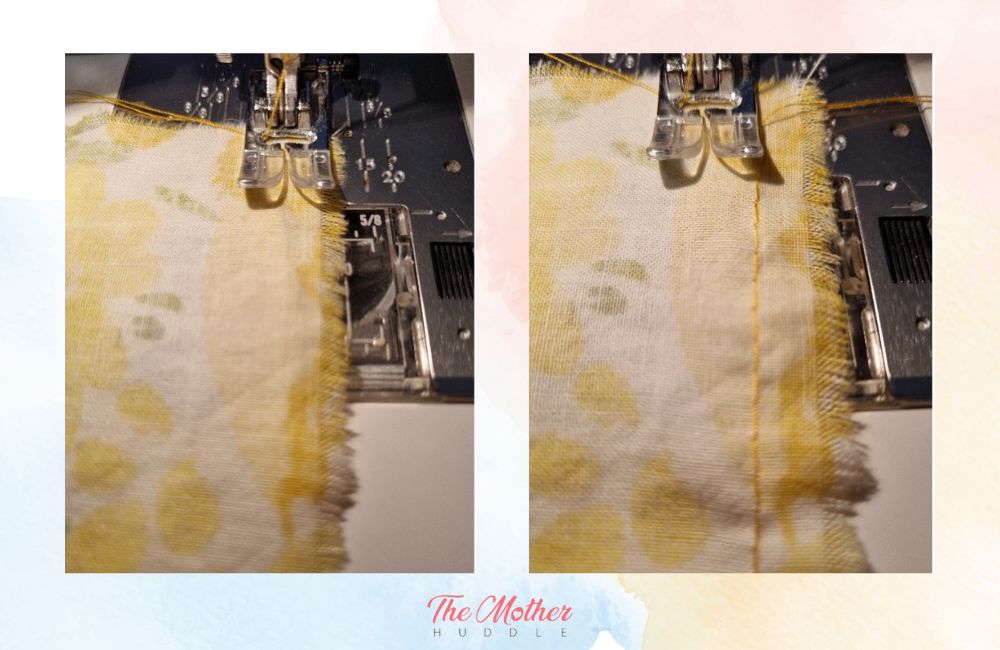
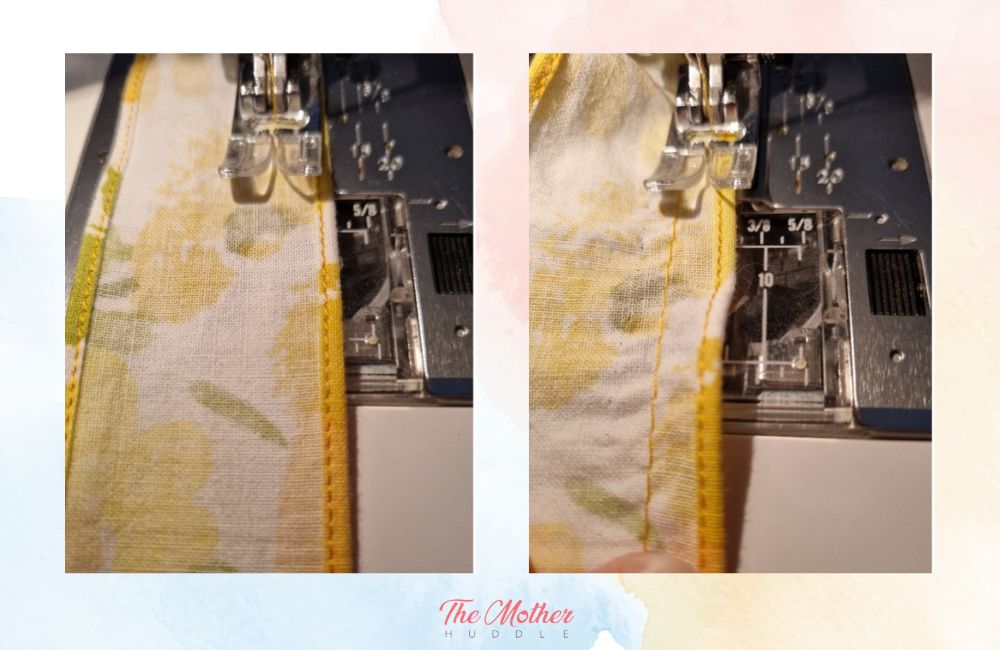
On the other side of your ruffle from the hem, you’re going to sew a line of straight stitching on the longest stitch length you machine can manage.
Then, you’re going to do that again, about 5mm or ¼ of an inch away from your first line of stitching.
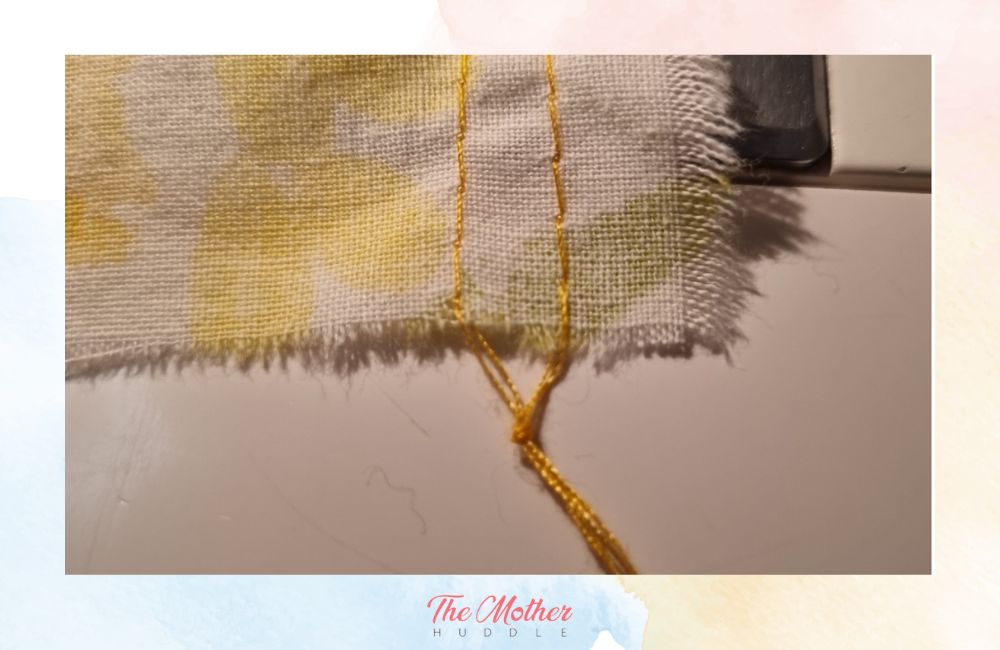
Once you’re at the end of those two rows of stitches, gather all four tails and tie a knot.
Now at the other end, grab the two tails from the bobbin side of the threads, flipping the top threads out of the way.
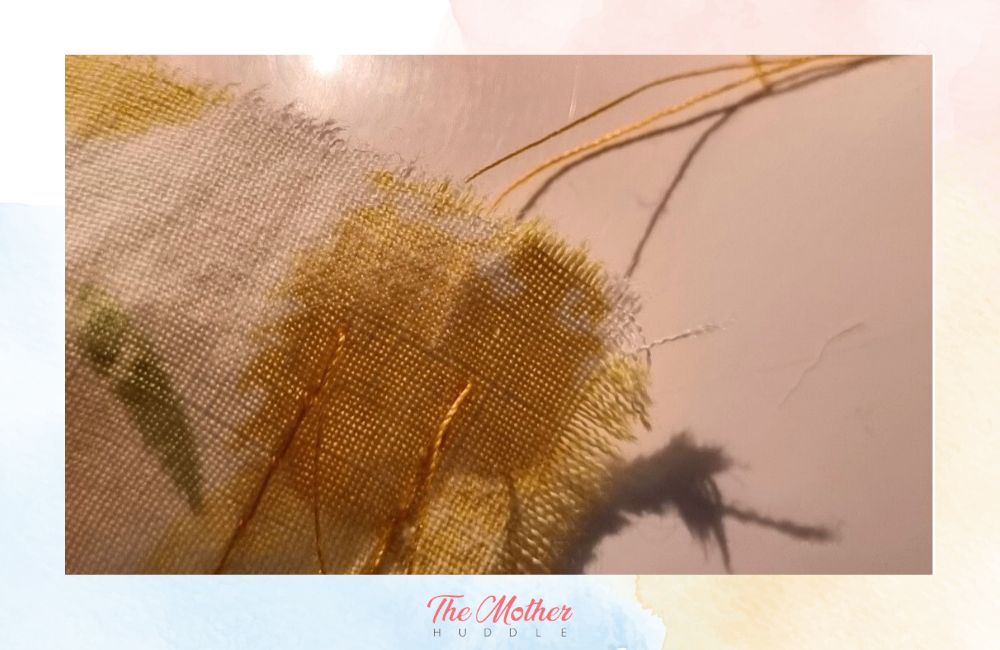
Holding onto those bobbin threads, gently gather the fabric, pulling it along a little at a time. Don’t pull too hard, though, you don’t want to break that thread.
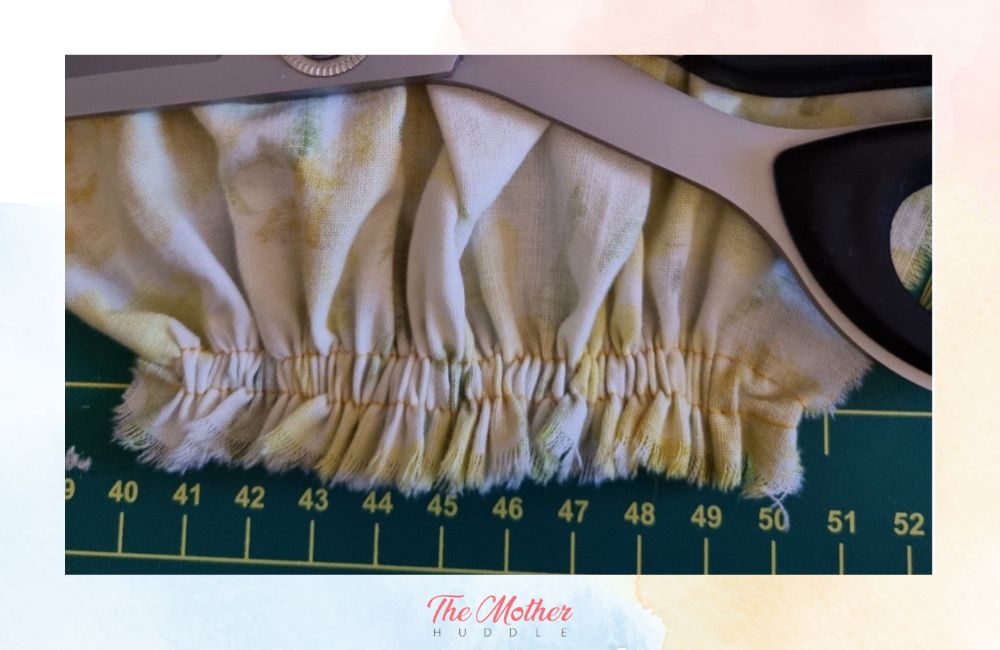
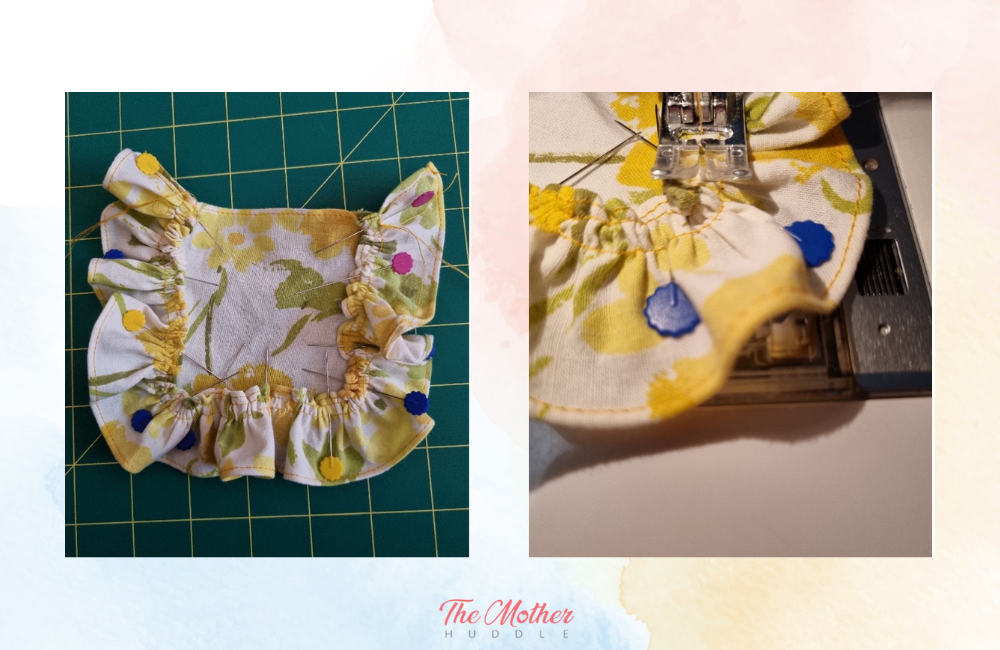
Once you’ve gathered down to the length of the fabric you’re attaching your ruffle to, tie off the other set of tails so your gathers don’t come loose. Now evenly distribute the gathers.
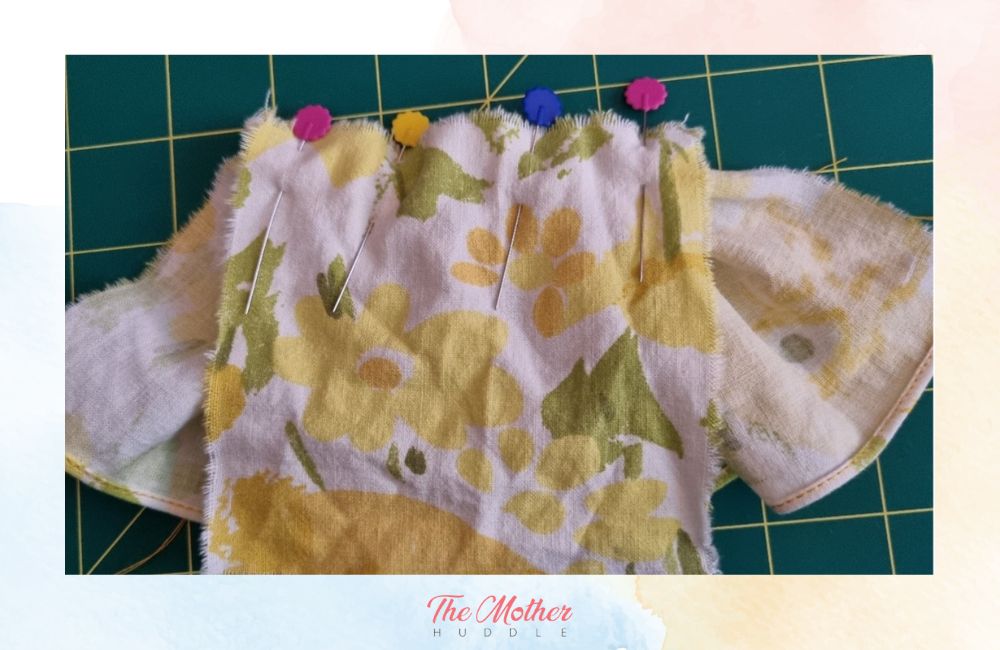
Now pin your gathered ruffle, wrong sides together, with the fabric you’re attaching it to.
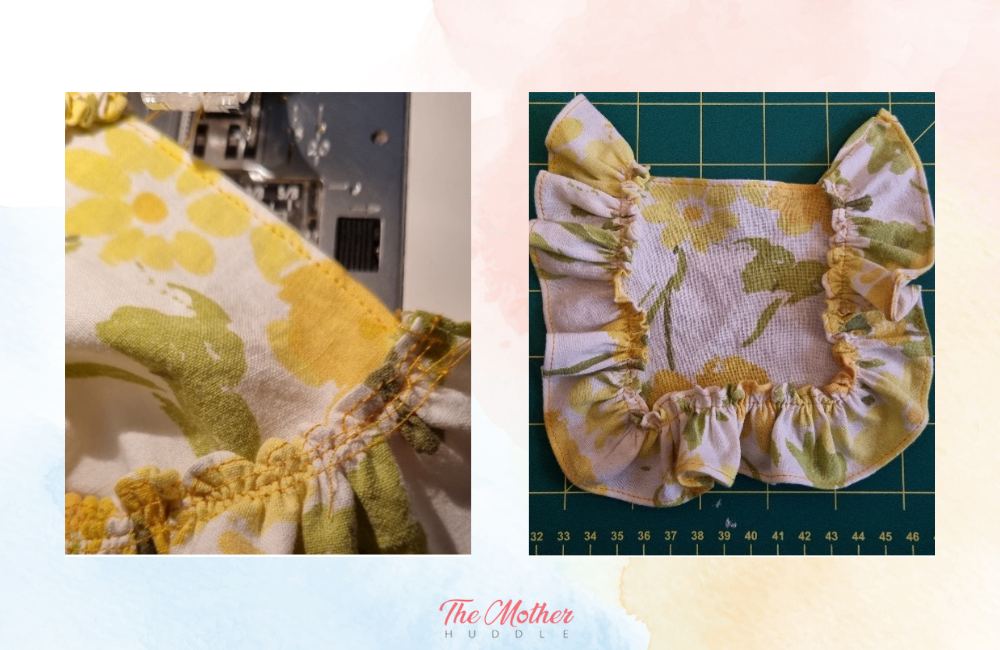
Then sew in between the two lines of stitching you made for the gathers. Next, trim down to a 5mm or ¼ inch seam allowance, and flip your ruffles and fabric right sides together, pin so the seam is nice and flat, and then sew along just past the gathering stitch line visible on top of your ruffle. This is a French seam and it will keep your ruffle edge from fraying. Flip it over and you’ve now got an in-seam ruffle! Pretty!
On top of ruffles
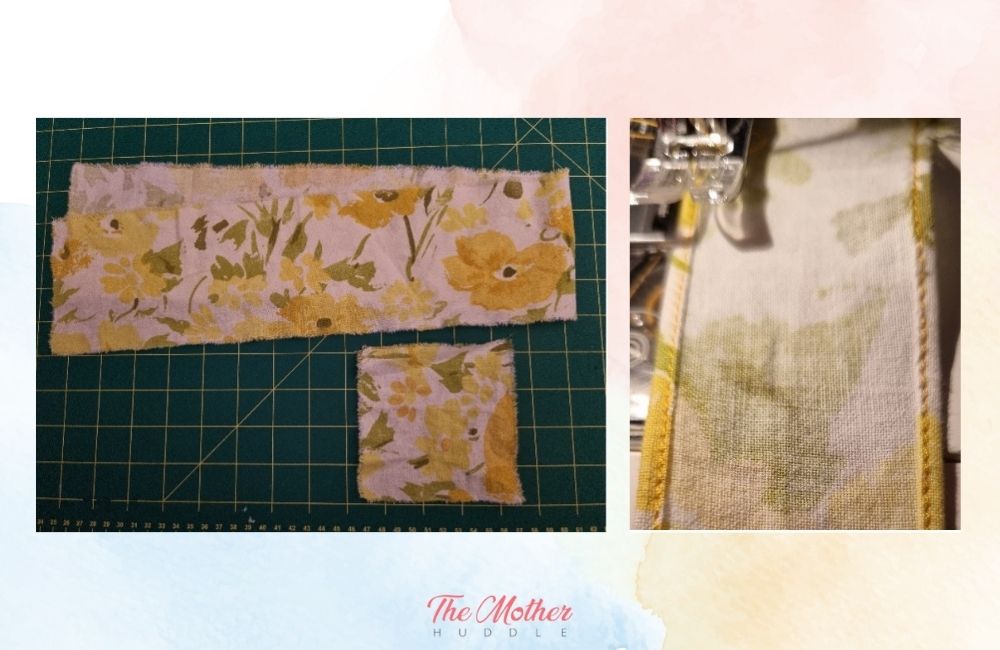
This method differs slightly as you’re going to be sewing the ruffle on top of your fabric, so you’re going to need to hem both sides of the ruffle from the outset. Alternitavely, you could pink both edges with pinking shears, it’s up to you.
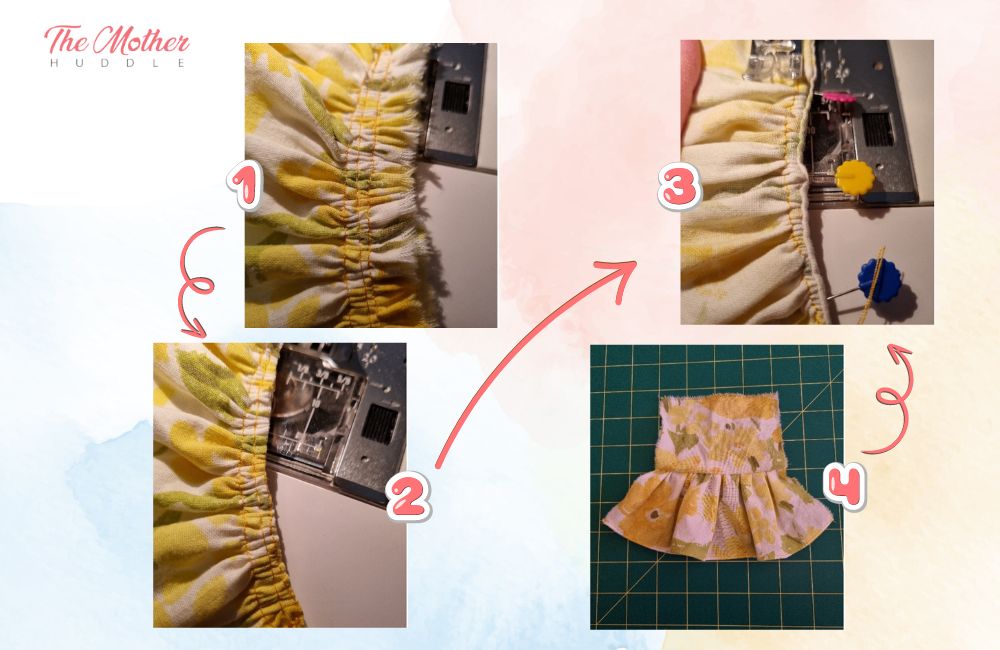
Next, you’re going to sew your two lines of gathering stitches, remember those are the ones on the longest stitch length your machine has.

Keeping kitty feet clear of your sewing, you’re next going to tie that knot at the end and then using the bobbin threads back at the beginning, gather your ruffle down to the required length.
Then pin your ruffle on top of the fabric you’re attaching it to, and sew in between the two lines of gathering stitches.
Next, unpick both lines of gathering stitches. I’m sorry, but it has to be done! I like to use the tip of my awl for this, actually, but a quick-unpick/seam ripper is fine as well. Then admire the cute little bit of ruffled goodness you’ve just made! I made this into a blanket for my daughter’s Sylvanian Families!