
A circle skirt is one of those things that makes a girl happy. Whether she’s little or grown, the swoosh of a full circle skirt just cannot be beat! I remember one afternoon when I was 6 years old, right before my best-friend’s birthday party, my mum on a whim whipped up a black full circle skirt for me with a decorative wide elastic waistband. I loved that skirt! The twirling was unbeatable! With only a tiny bit of math, and a little sewing, you can have your own circle skirt!
What you’ll need:
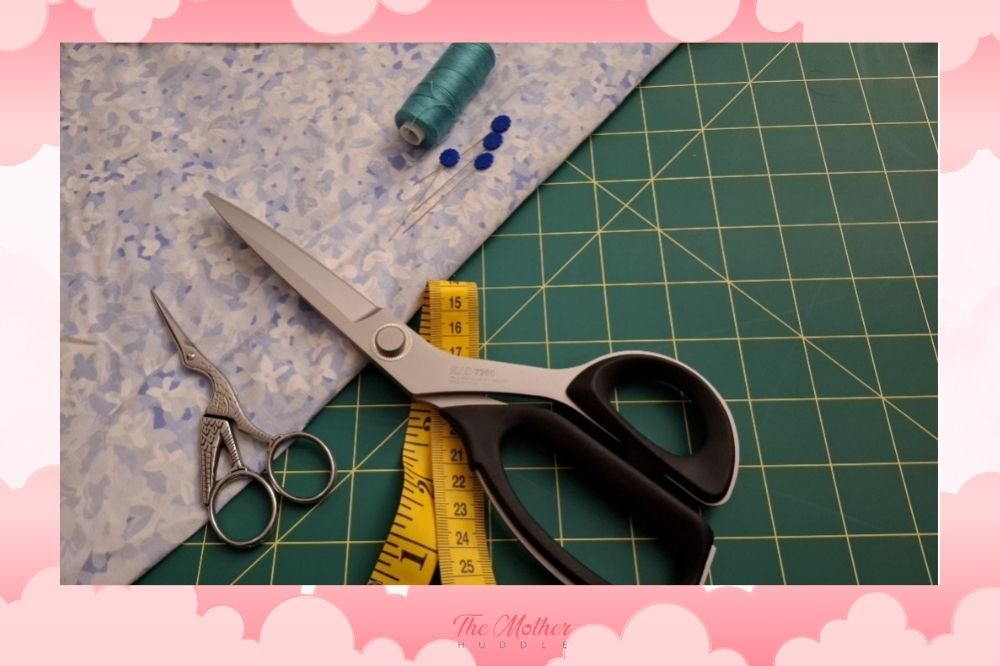
- Fabric
- Scissors
- Elastic
- Tape measure
- Thread
- Sewing pin
- Safety pin
- Iron
- Calculator
First things first, this is an elasticated circle skirt, so no need for zip insertion! It also provides growing room so if you’re creating this skirt for your little girl, or give you more room on bloated days. You only need one measurement, and that’s the wearer’s hips. I took my daughter’s hip measurement very loosely over the dress she was already wearing, so I knew it’d be easy for her to get on and off. The math is really simple, just take that loose hip measurement, and divide it by 6.28!
Assuming you have a nice wide fabric (sheets and quilt covers from the op shop are fantastic for this, just remember to pre-wash them), you can get a full circle skirt with no side seams required! You need to fold the fabric in a specific way to ensure you get your circle skirt, so I’ve made a mini version to show the whole picture of the folding layout.
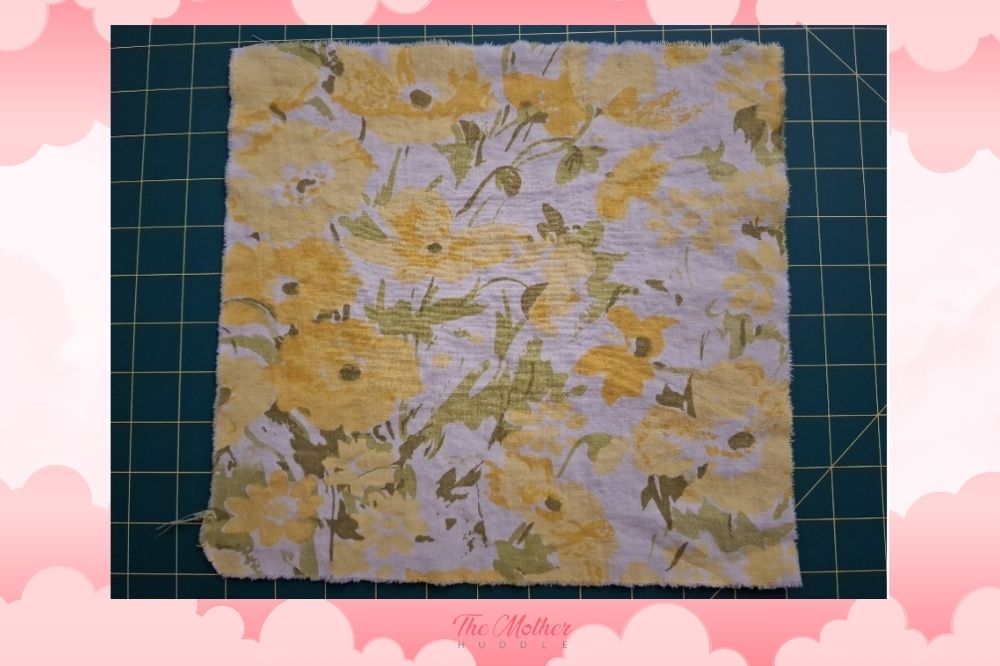
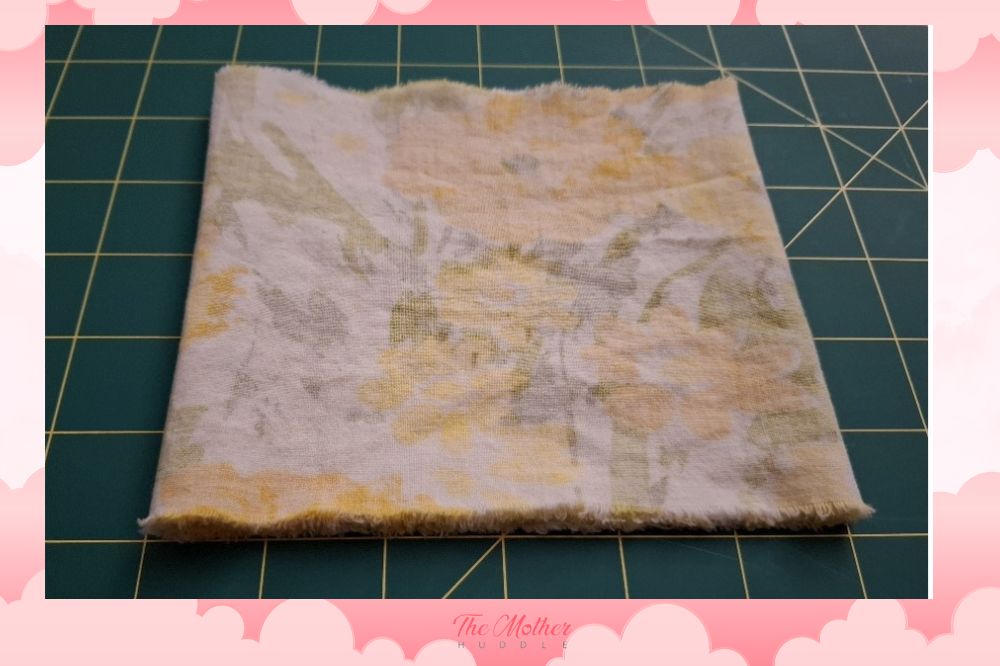
Start with your fabric right-side up
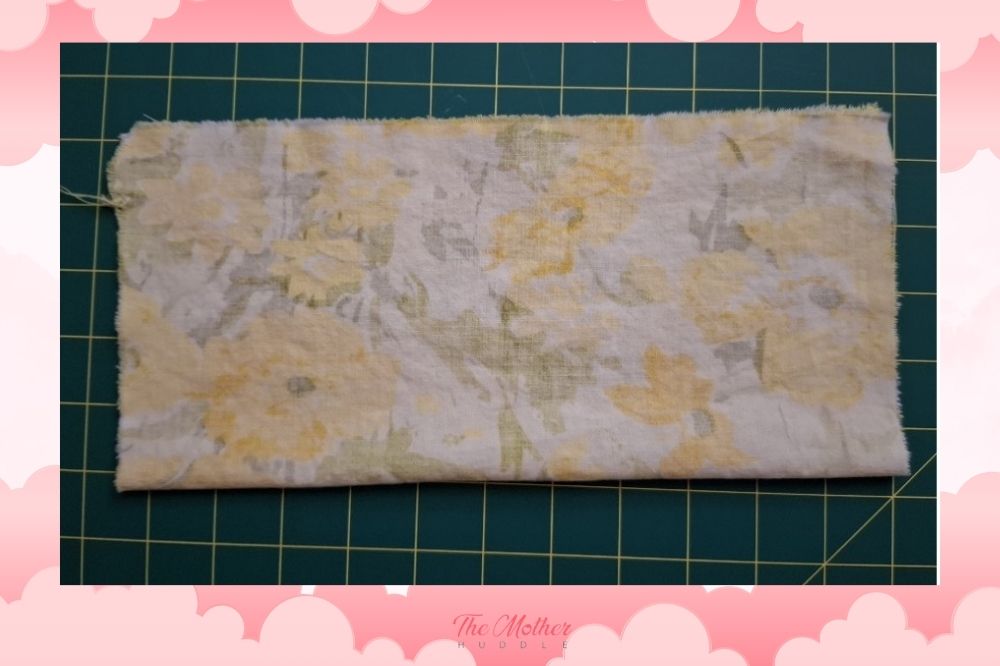
Fold it in half, bringing the bottom edge up to the top edge
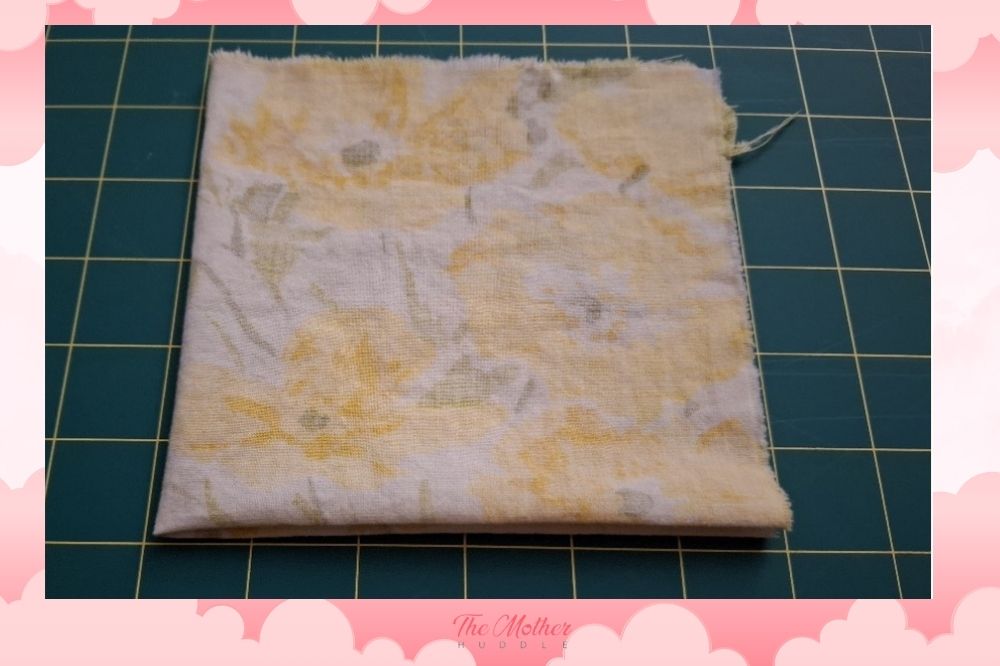
Fold it in half again, bringing the left edge over to the right edge.
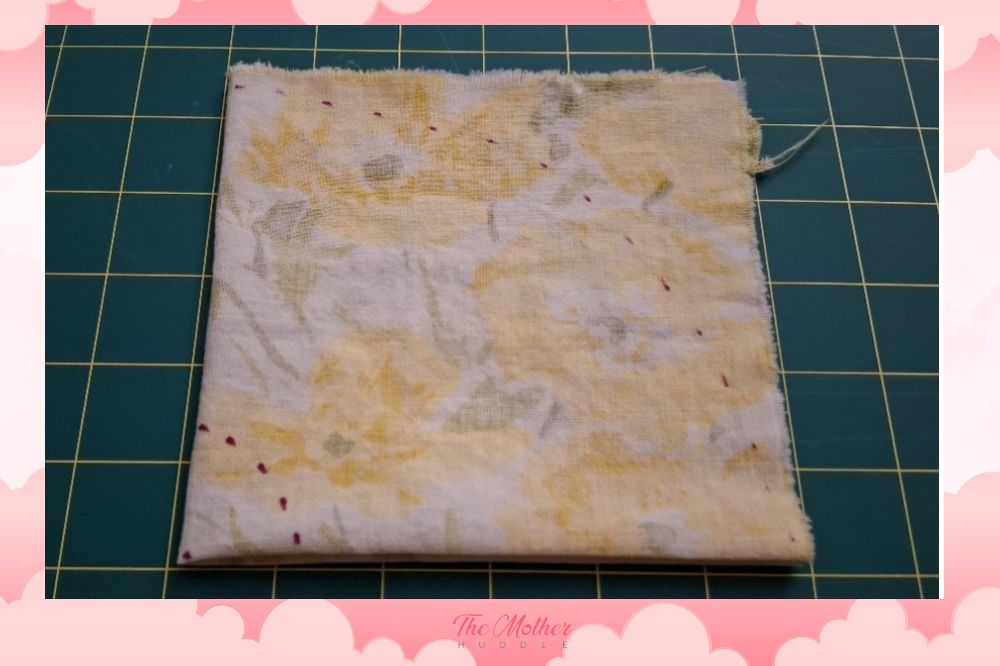
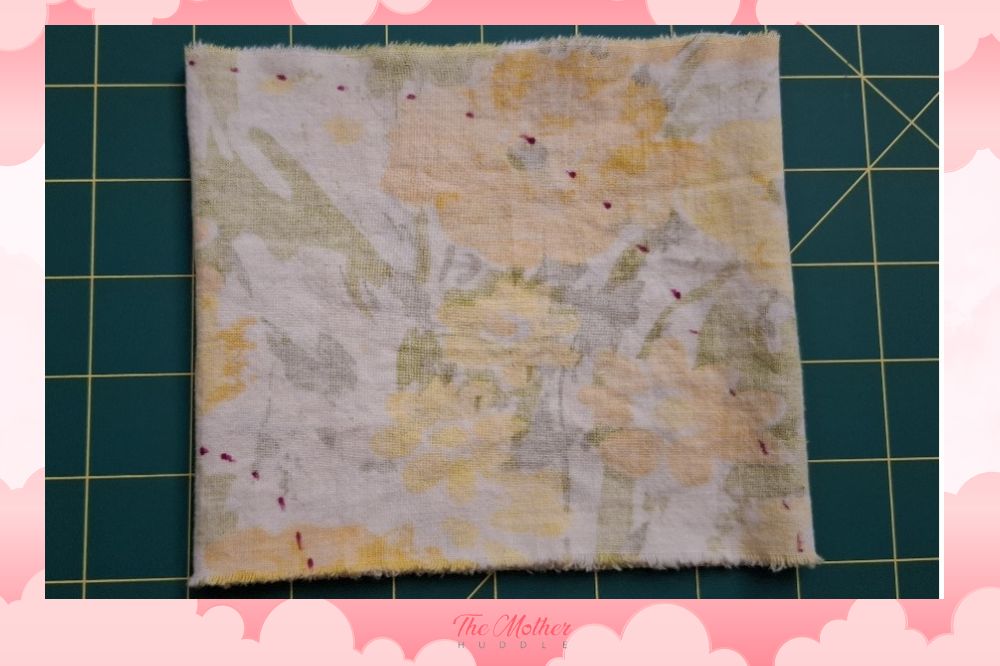
Now mark your waist line measurement from the lower left corner, and the full-length measurement at the far edge. I’ll show you how to do this properly later on, this is just a quick example so you can see it in its entirety.
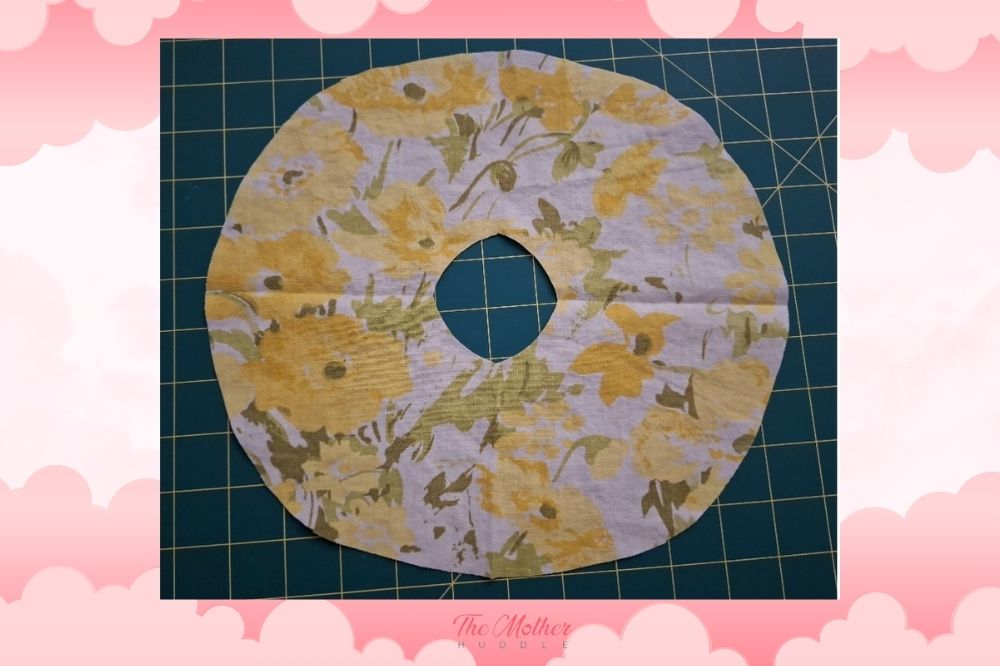
Once you cut along those lines and unfold your piece of fabric, you have the basis of your circle skirt!
But what if you don’t have a large enough piece of fabric for a whole circle skirt? What if you’ve got a long length that’s not very wide? Well, the same principle applies, but you’re going to have to do some side seams. The folding guide in this case is as follows.
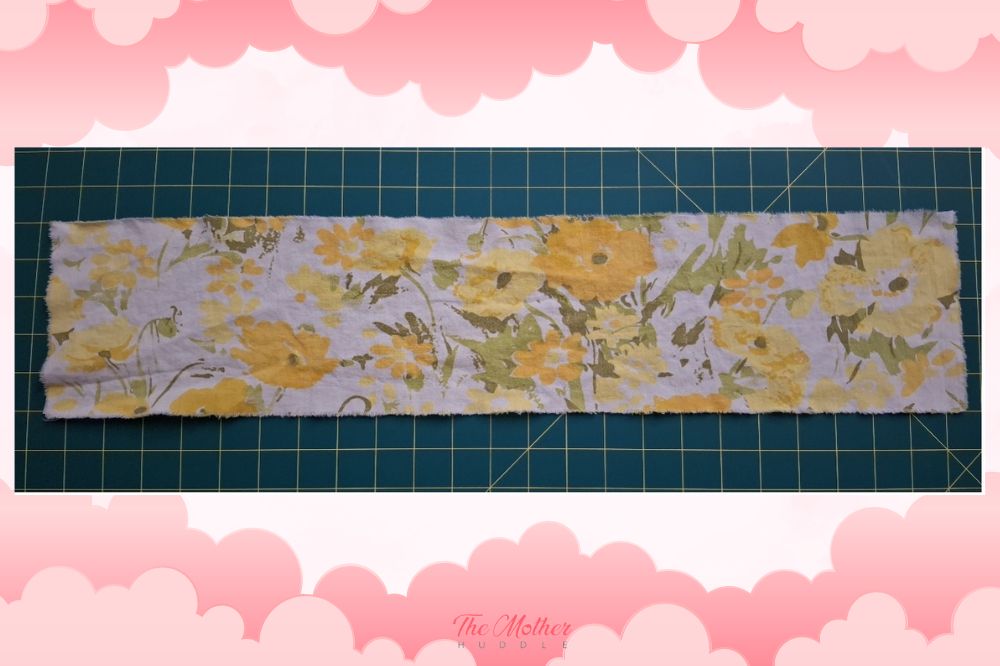
Take your long fabric and lay it out right side up.
Now fold it by bringing the left edge to the right edge, halving the length.
Fold it again bringing left side to right side, so you now have quarter of the original length in front of you.
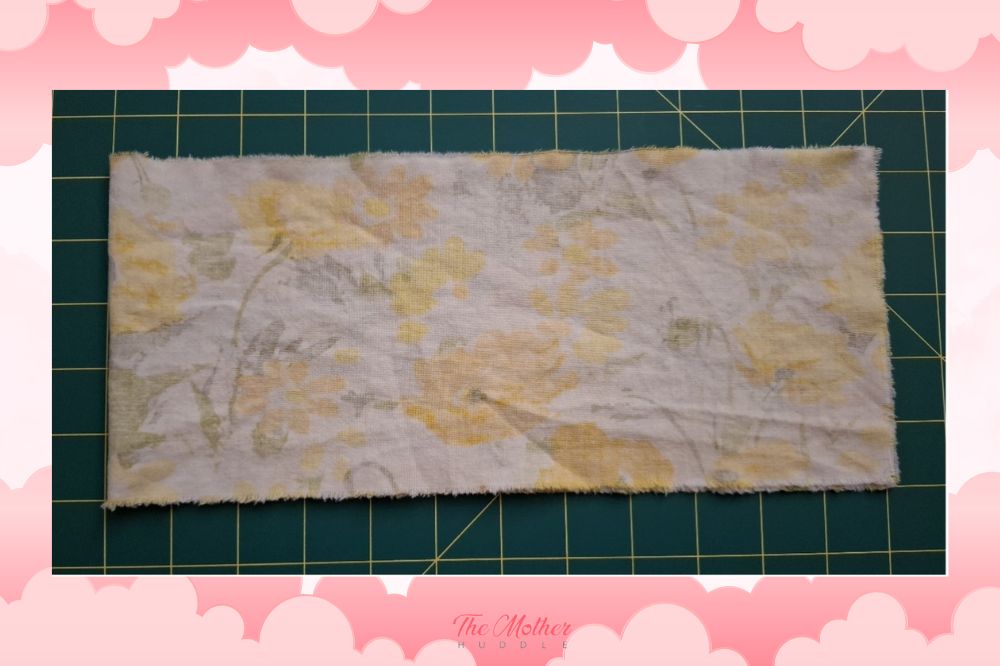
Mark your measurement lines from the bottom left, and cut away the excess.
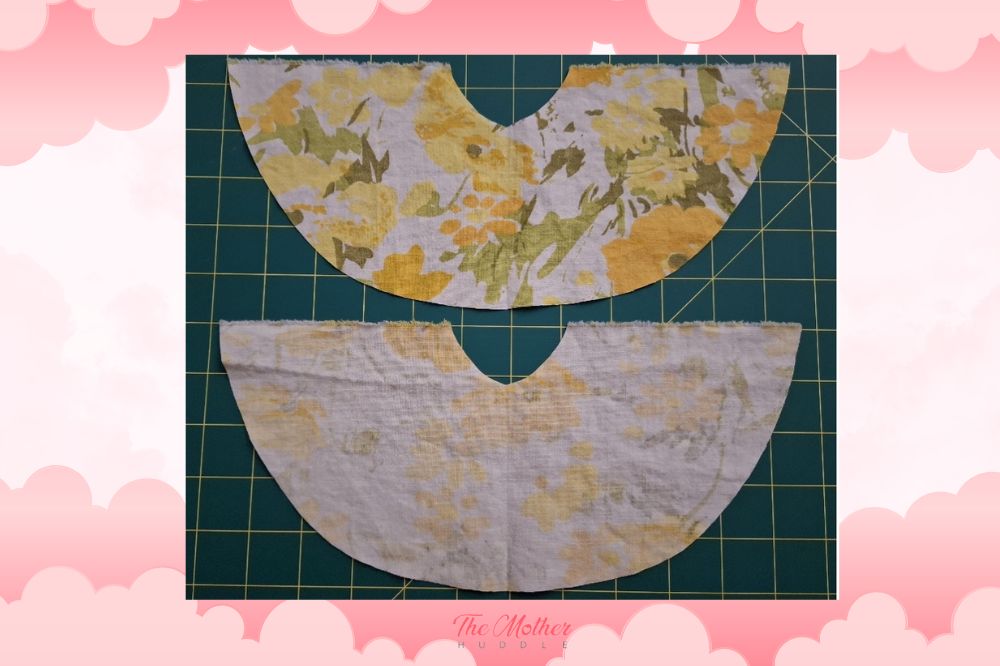
Unfold your fabric and you will have two mirrored half circles. Join these together (meaning this skirt will have side seams), and the rest of this tutorial works the same way! Now, back to the skirt I made for my daughter!

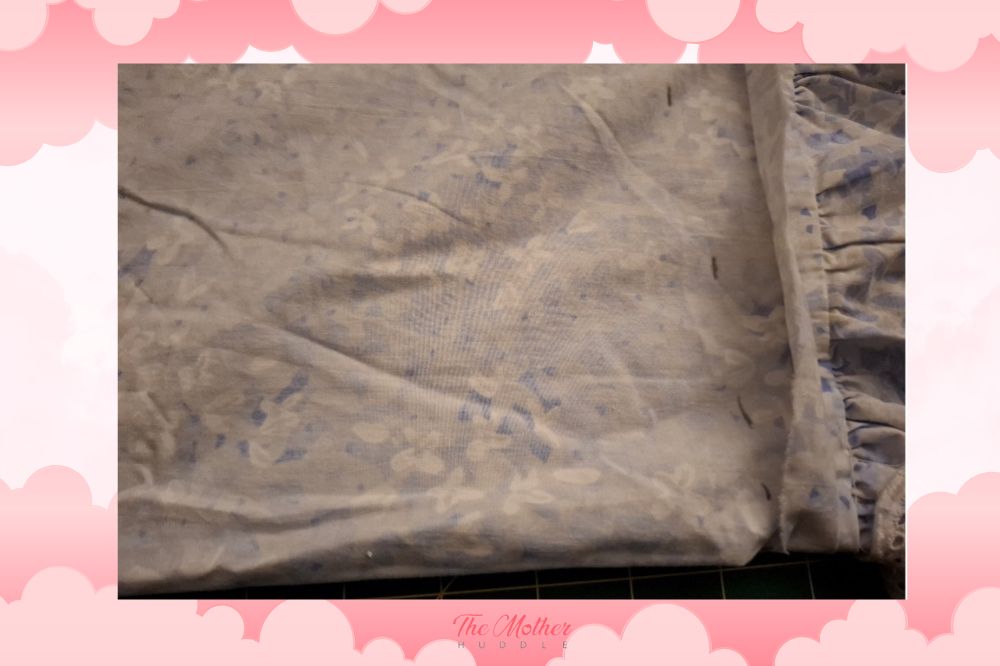
I was using a piece of a pretty cotton quilt cover that was given to me, already cut into so I didn’t have heaps to work with, but it was enough for a circle skirt for my daughter. I folded it in the same way I described above, and then took that loose hip measurement and divided it by 6.28, which in this case gave me 14.5cm. Then, I placed my tape measure in the bottom left corner, and marked 14.5cm along the bottom edge of the fabric.
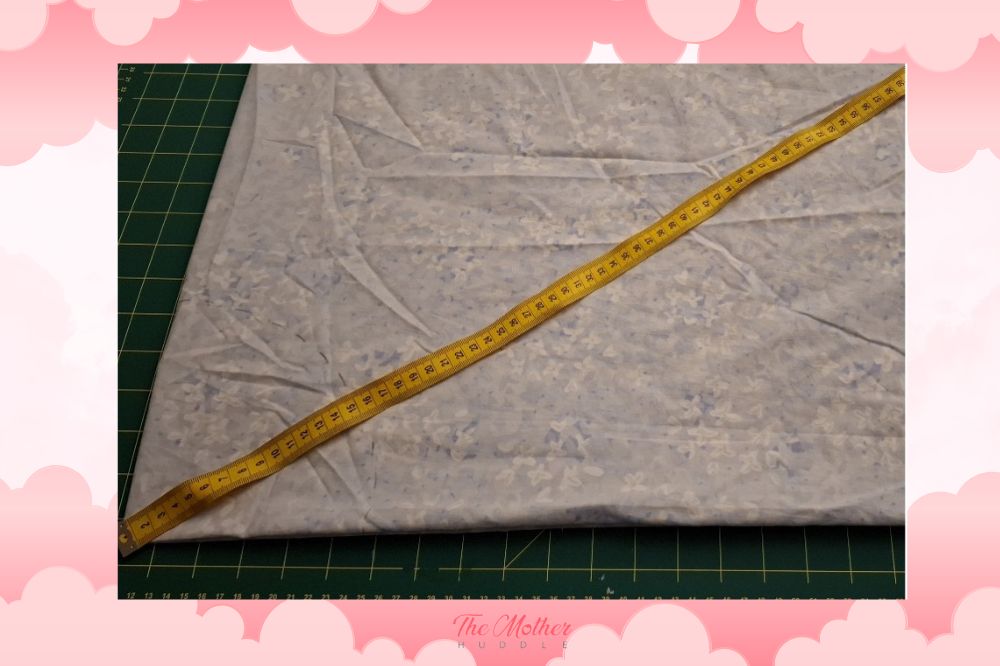
Now, it’s a tiny bit awkward, but you have to keep that tape measure at the bottom left corner, and continue to sweep the end of the tape measure out and mark the same 14.5cm measurement at different places, forming an arc across your fabric. If you can pin into your work surface it’s great to pin the tape measure in place in the bottom left corner as you do this.
Sewing Tip: There are all sorts of things you can use to mark your fabric, and you have to use different things depending on the type of fabric, but my absolute favourites are Derwent watercolour pencils – they wash out when you wash the garment, I use grey for light coloured fabrics and white for dark, they can be very precise, and don’t rub off too easily like chalk will. My other favourite is Crayola markers, the same ones your kids probably have right now. They’re completely washable and provide really clear marks. The only issue is that you can’t use them on dark fabrics, which is where my white Derwent really shines. You also can’t use these if your fabrics aren’t washable, so I wouldn’t use them on silk, for instance.
Now you’re going to do the same thing with your tape measure, but measure the full-length. Because I didn’t have a ton of fabric, I just made this skirt as long as I could. If you wanted a specific skirt length, however, you’d add your desired length, plus 1cm for the seam allowance of the waistband and 1cm for the rolled hem, plus the waist measurement you’ve already marked. The total of those would be how far down you measure the arc for your skirt length, doing it just the same way you did the waist measurement.
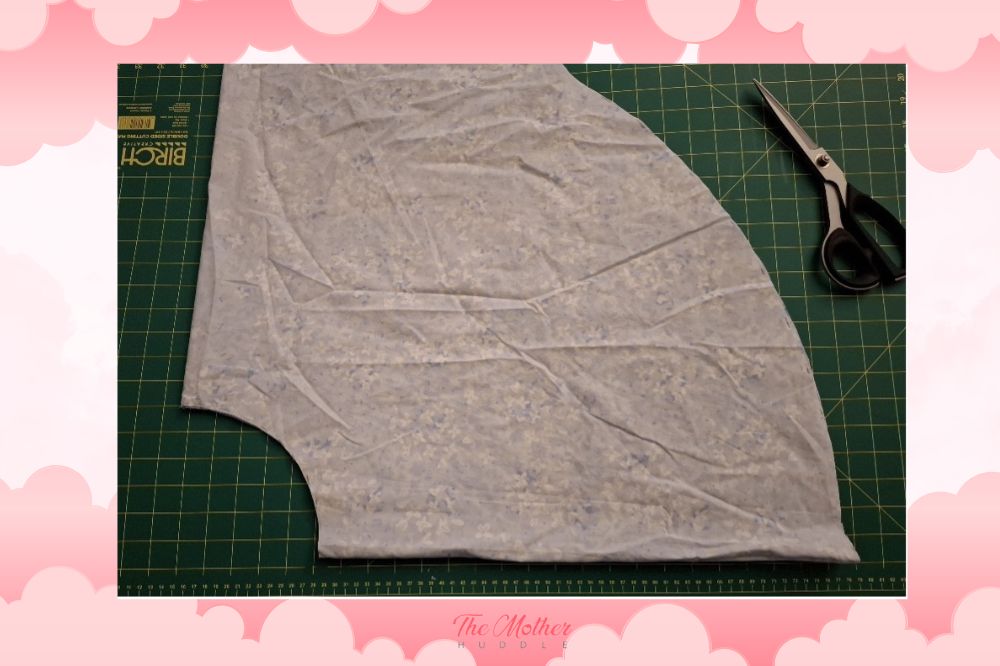
Cut along those lines you’ve marked on your fabric, giving you this shape.
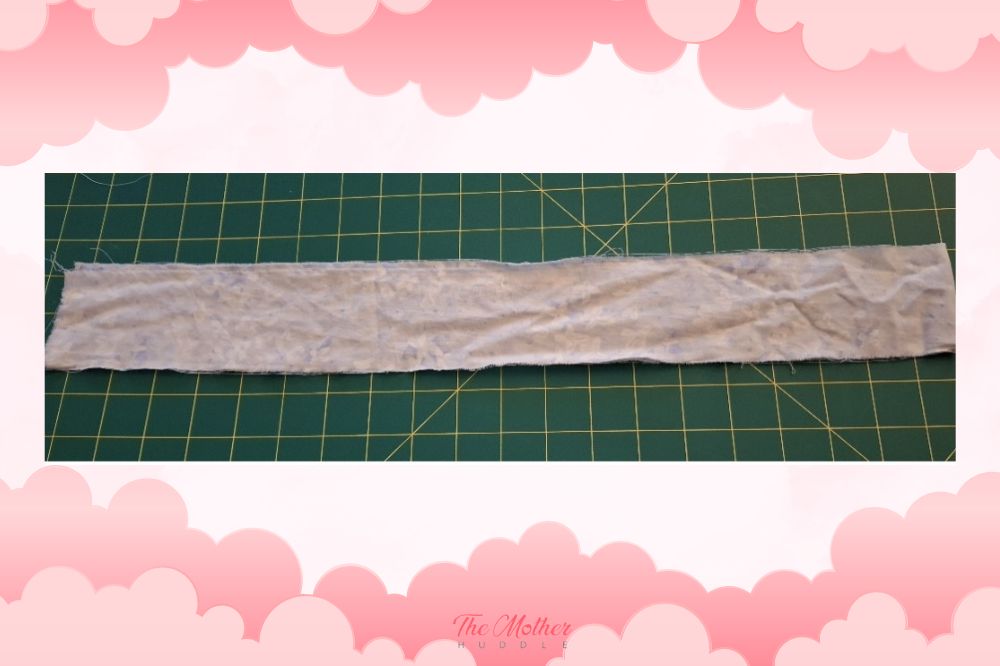
Using the off cuts from your fabric, you’re going to cut a waistband. This needs to be double the width of your elastic plus 2cm for seam allowances, or 1 inch. My elastic was 2cm wide, so my waistband was 6cm wide. As for length, the waistband needs to be the hip measurement you started with plus 10cm, or 4 inches. The reasons for this are because the skirt is partly cut on the bias there will be some stretching as you put the waistband on, and you’re also going to fold it over as you begin sewing it.
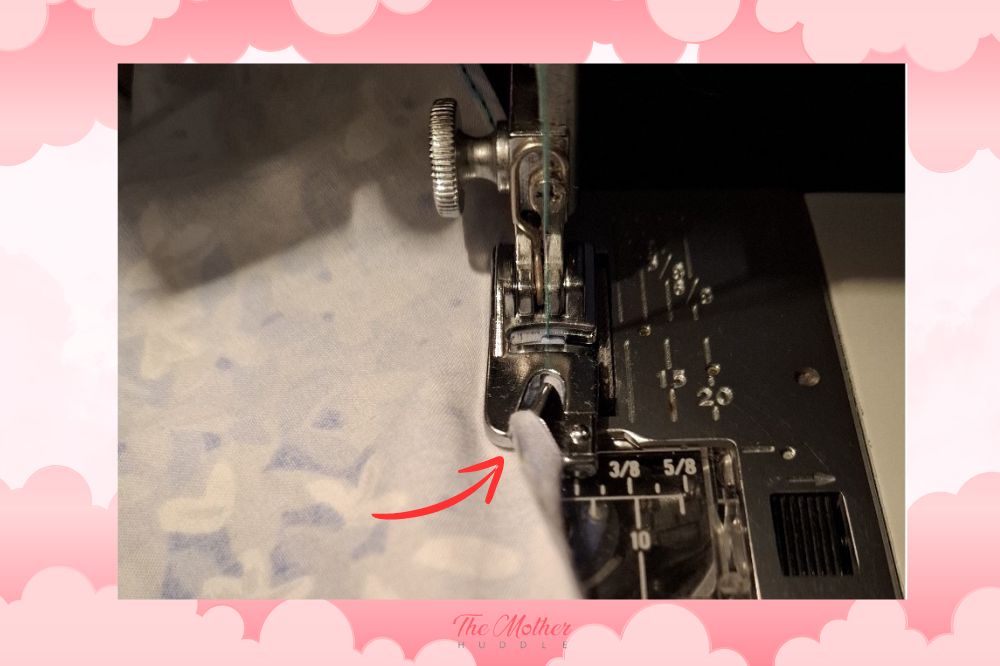
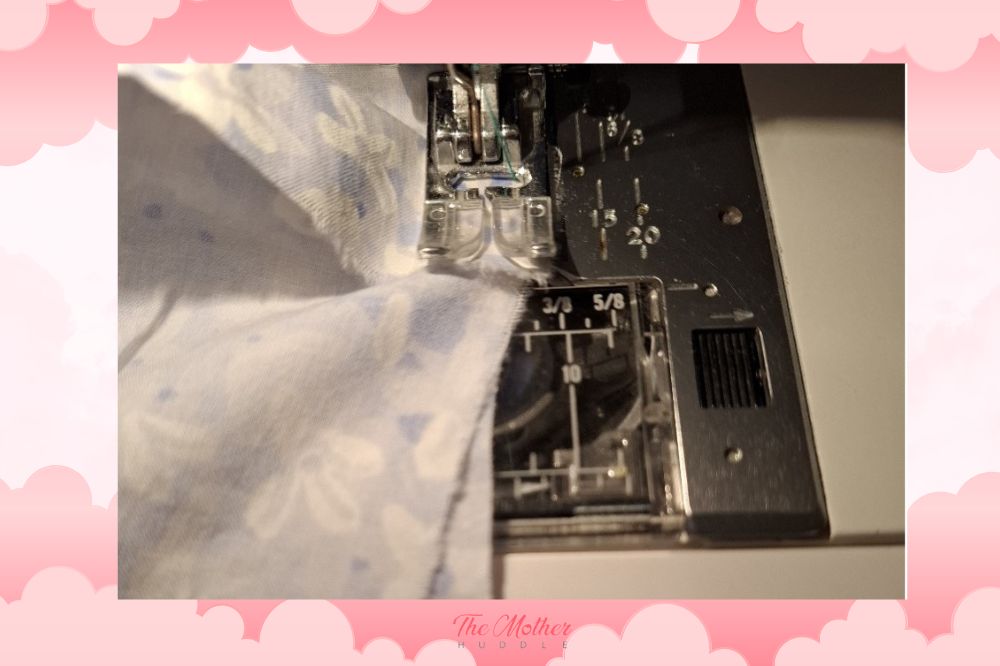
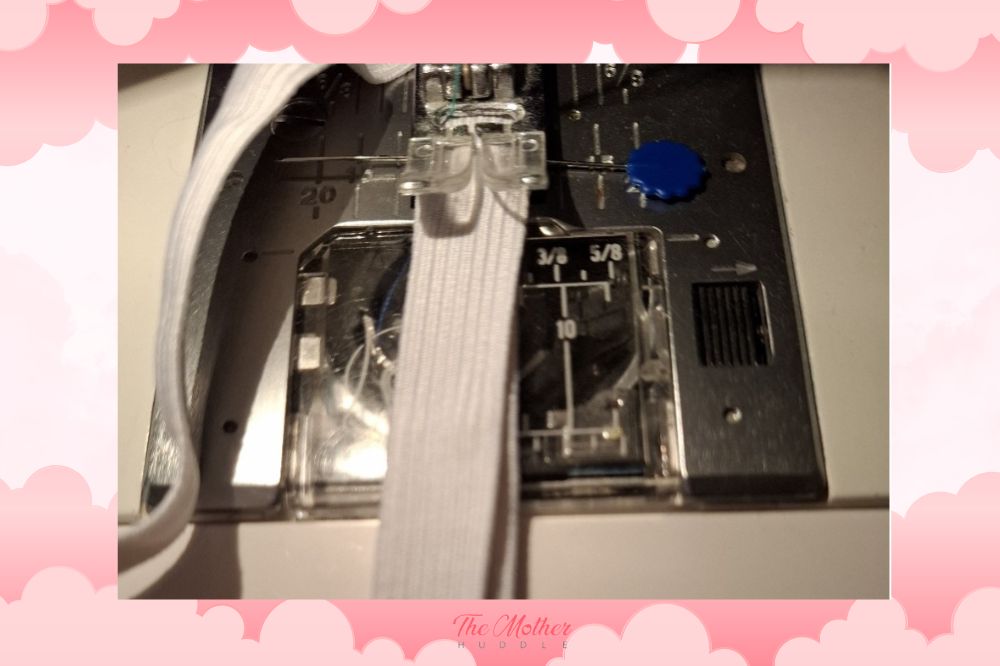
Now you can begin sewing! The first thing I like to do is get the rolled hem out of the way. I always use a rolled hem for circle skirts and with a small amount of practice it’s really very simple. Working with the wrong-side of your fabric facing you, turn the hemline back and slip it into the rolled hem foot, and let it slide through as you sew, trying to keep the turned back edge at the point where the thick part of the rolled hem foot starts on the left. I’ve drawn an arrow at the point I mean.
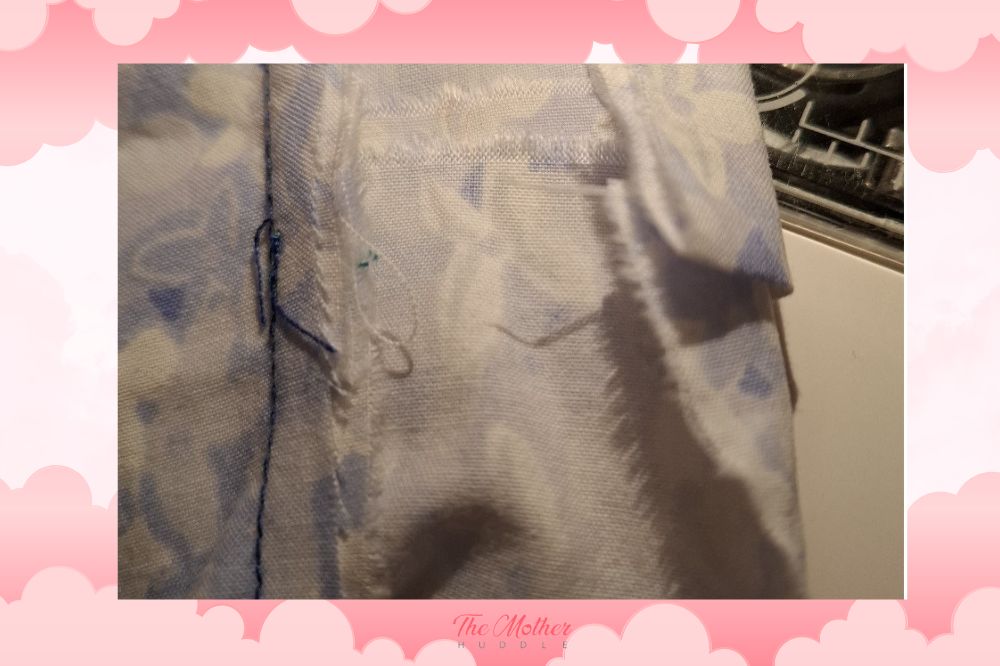
Next up, the waistband! To start with, you’re going to fold over the end of the waistband by about 1.5cm or around ½ an inch, this is the first part you’re going to sew onto your skirt, sewing the right side of your waistband to the wrong side of your skirt, so you’re looking at the wrong sides of both. You could pin this, but I prefer to go slow and keep adjusting to two edges to match together. Try to not put too much tension on the skirt here, because some of it is cut on the bias and will stretch out. Keep going round until your waistband is overlapping that turned-over section we began with.
Now iron the waistband’s unsewn edge over by 1cm or ½ an inch all the way around.
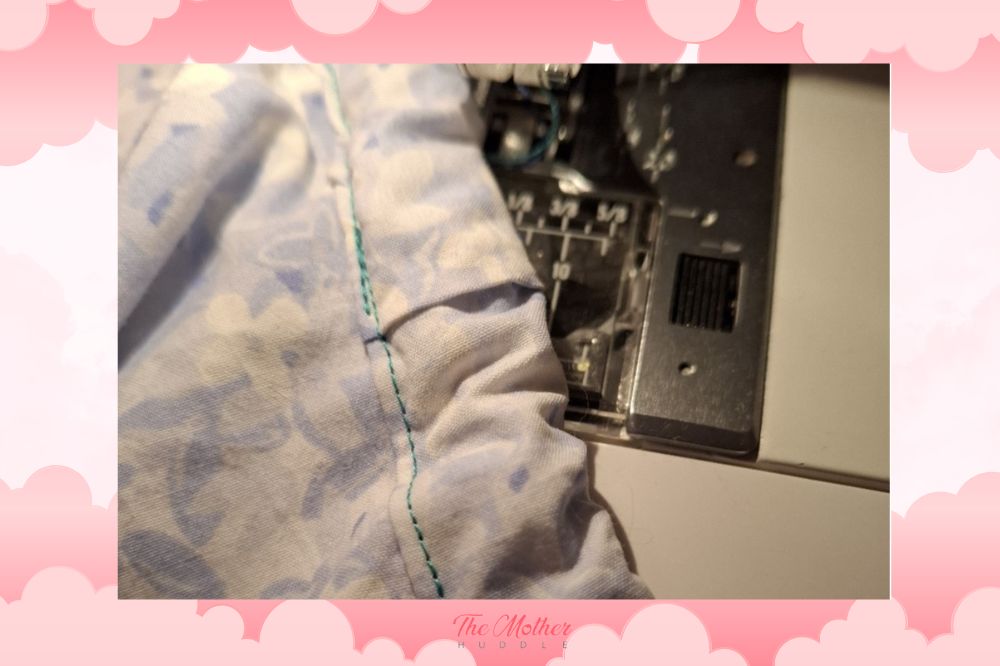
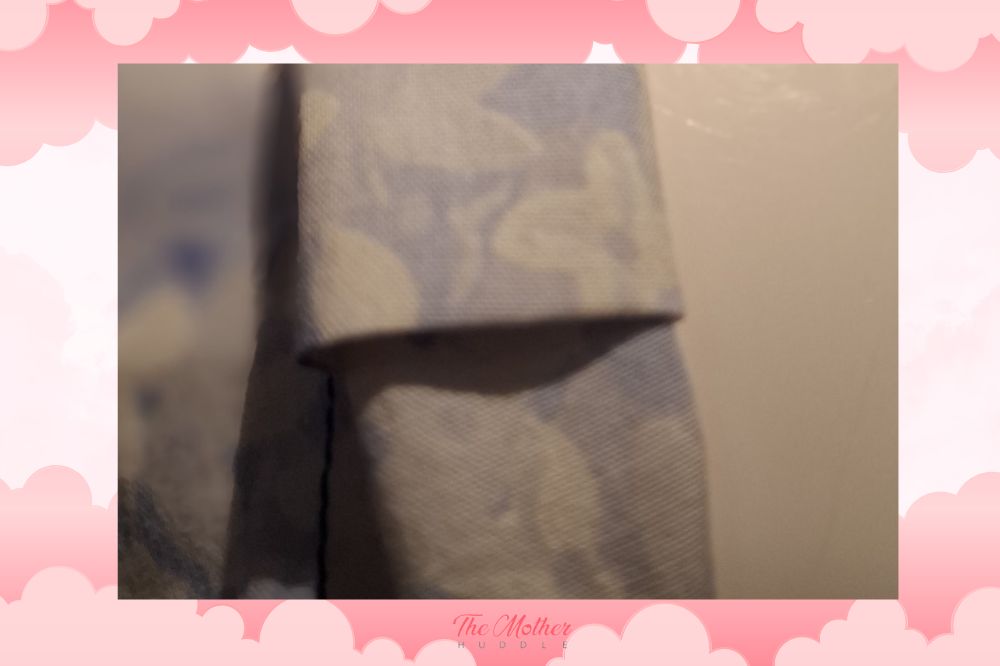 Working on the right side of your skirt, you’re going to bring that ironed edge down over the line where you first stitched the waistband on, and then sew the folded edge down.
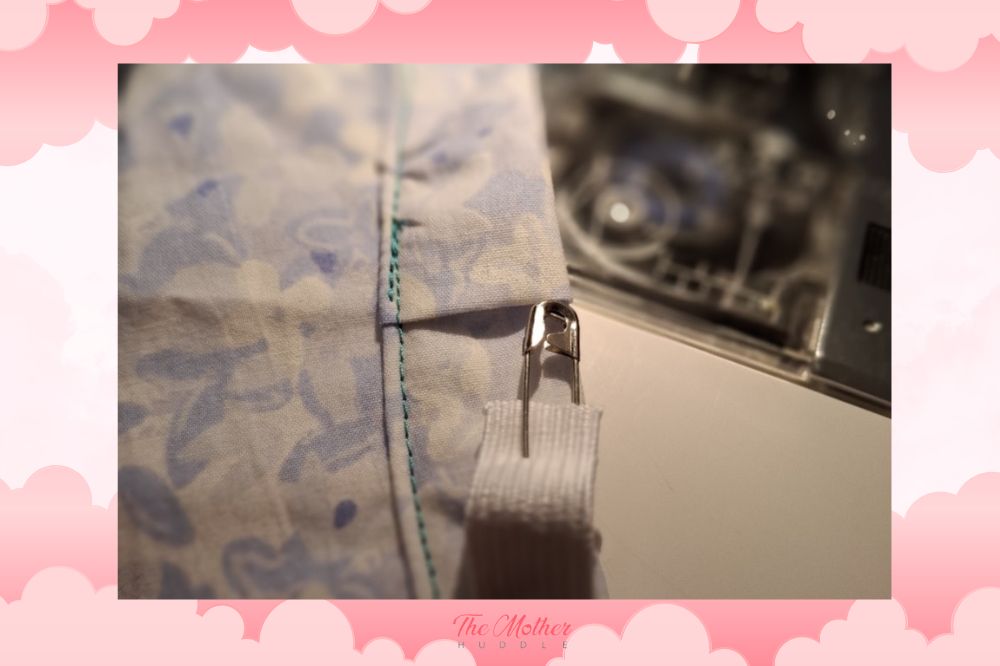
That little fold I told you to do at the beginning of your waistband now gives you a smooth clean edge for your elastic insertion, that doesn’t have to be sewn up afterwards! I love this trick and will be using it a lot in the future. Pop a safety pin onto the end of your elastic and work it through the waistband casing.
Once you’re all the way through with the elastic, use the safety pin to pin the ends together and do a test fitting on the wearer. When it’s the right level of tension, put a sewing pin in to keep it in place and sew your elastic together, being careful not to have any twists in it, then remove the pin.
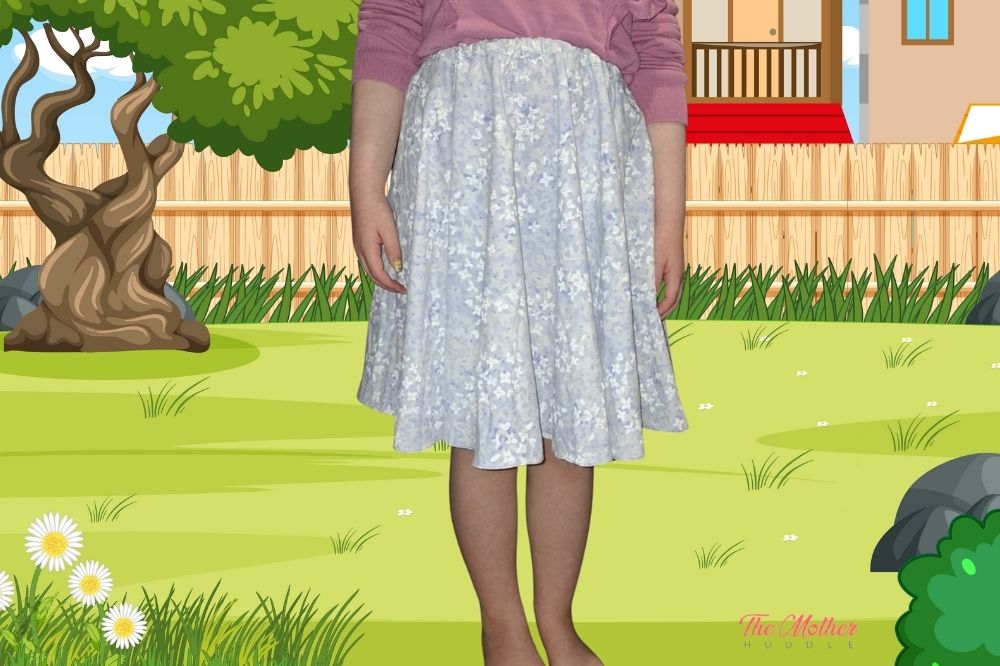
Stretch the skirt out so that the elastic pulls inside the casing, and then it’s ready to wear!
More Sewing Tutorials to Try:
DIY Simple Skirt Tutorial
Ultimate Upcycled Skirt Tutorial
Easy Peasy Harem Pants Tutorial
Fat Quarter Pillow Case Dress Tutorial
Strut Your New Cute Circle Skirt
I love how incredibly versatile the circle skirt is! I’ve made quite a few of them for my daughter over the years, and I also love making them for myself or attaching them to a bodice or top to turn them into dresses. You can embellish them or have them super simple; it’s really up to you. I find this elasticated method easier than a fitted waistband with a zip, and I appreciate the room for fluctuation in size.