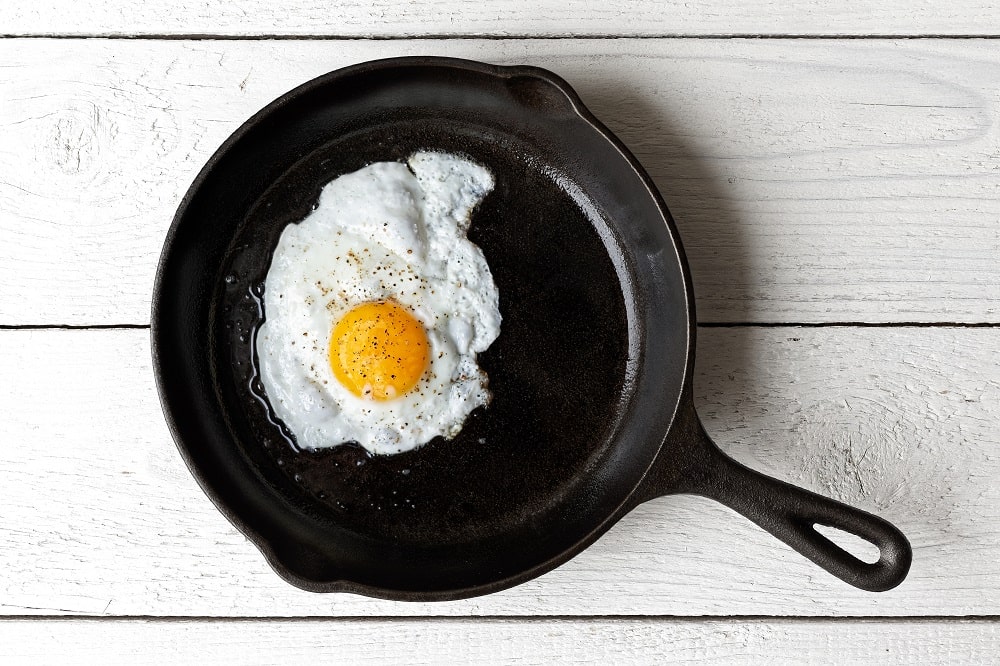
There’s a reason why the humble cast iron pan never goes out of fashion, in spite of whatever amazing new coating for cookware appears on the market. Cast iron is going to last pretty much as long as any chef using it, and maybe longer. Also, unlike those pre-coated pans, you can re-season your cast iron and breathe new life into it over and over!
So, what is seasoning? The name is slightly misleading because we’re not attempting to imbue flavor into the pan, but rather to create a non-stick coating on the surface of the iron. We use fat, and heat, in a process called polymerization, to create this coating. Cast iron doesn’t actually have a smooth surface but rather is pitted with tiny holes. These tiny craters are perfect for holding onto fats which build up to a smooth, non-stick coating. Now preheat your oven to 450F (230C) and let’s get to it!
Step 1
The first step in seasoning your cast iron pan is a really thorough clean. Not just a scrub with hot soapy water, but really scour it down with steel wool and an abrasive cleaner like Barkeepers Friend or Scrub Daddy Power Paste. You want to ensure that you’re fully removing any previous coating, so this includes the handle and underside of your pan. After it’s nice and clean, fully dry the pan and your ready for step 2!
Step 2
Using an unsaturated fat, like sunflower, vegetable, canola, or olive oil, pour small amounts onto your pan and rub them in with a soft dry cloth or some paper towel. Avoid flaxseed oil because it breaks down faster causing your seasoning to flake off. You want to cover every part of your pan with the oil, including the handle and the underside, but continue to buff it so that there’s no excess at all; it should look almost dry again. If excessive quantities of oil remain, they can also polymerize into hard droplets which not only break the smooth flat surface you’re trying to create but are also more likely to break off and ruin your seasoning altogether.
Step 3
Place a piece of aluminum foil on the bottom rack of your oven to catch any drips. Now place your pan upside down on the top rack and set a timer for one hour. Depending on the oil you’ve used you might get a little smoke, and it can smell funny, too, so I like to have my windows open or the exhaust (or both!) going to keep the kitchen well ventilated. After the hour is up, turn off the oven and leave your pan in there until it’s completely cooled. I like to do this process three times to ensure a nice, strong, coating.
After Care
Congratulations! You’ve now seasoned your cast iron cookware! When it comes to after care it’s pretty simple. I find my newly seasoned cast iron responds better to gentle heat for the first few cooks. There’s a lot of conflicting advise on how to clean your cast iron cookware, but for my own, I wipe it down with paper towel after each use until there’s no residue of what I cooked in it. I don’t cook anything with sauces in my cast iron pan, mind you, so this is easily done. I am also careful with the cooking utensils I use, generally wood, silicone, or tongs and I’m careful not to scratch the surface too hard. If I do notice any cracks, scratches, gouges, or chunks out of my seasoned surface, or a build-up of black residue, or food just starts to stick to the pan, then I go back to step one and re-season my pan! It’s really that simple! I find my pan needs to be seasoned about once a year or so, depending on how often I’m using it. Happy cooking in the New Year!

